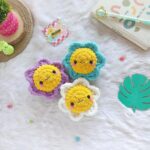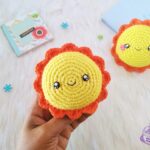

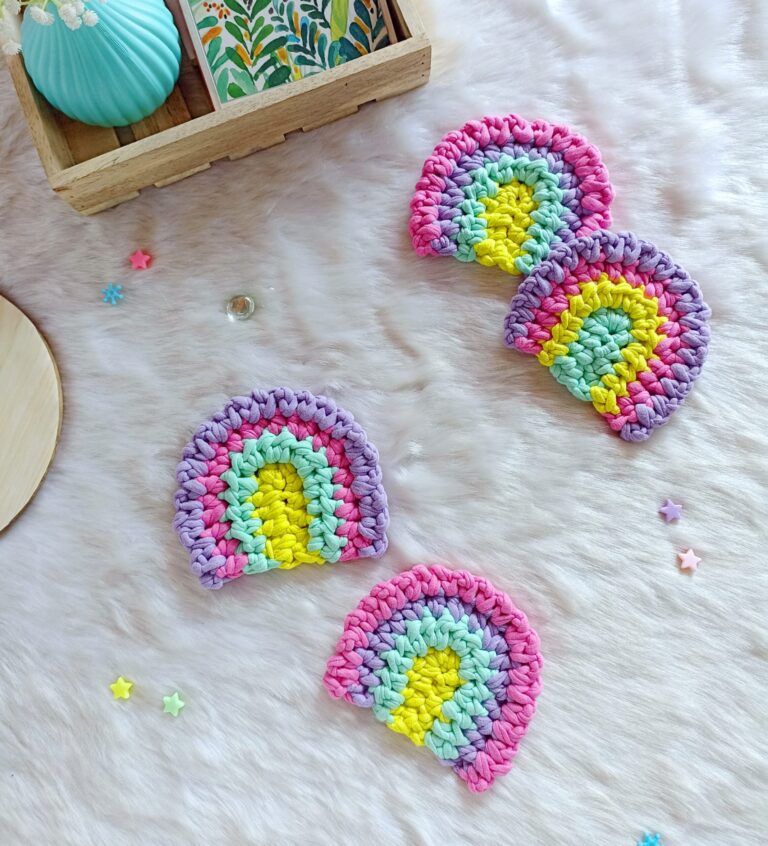
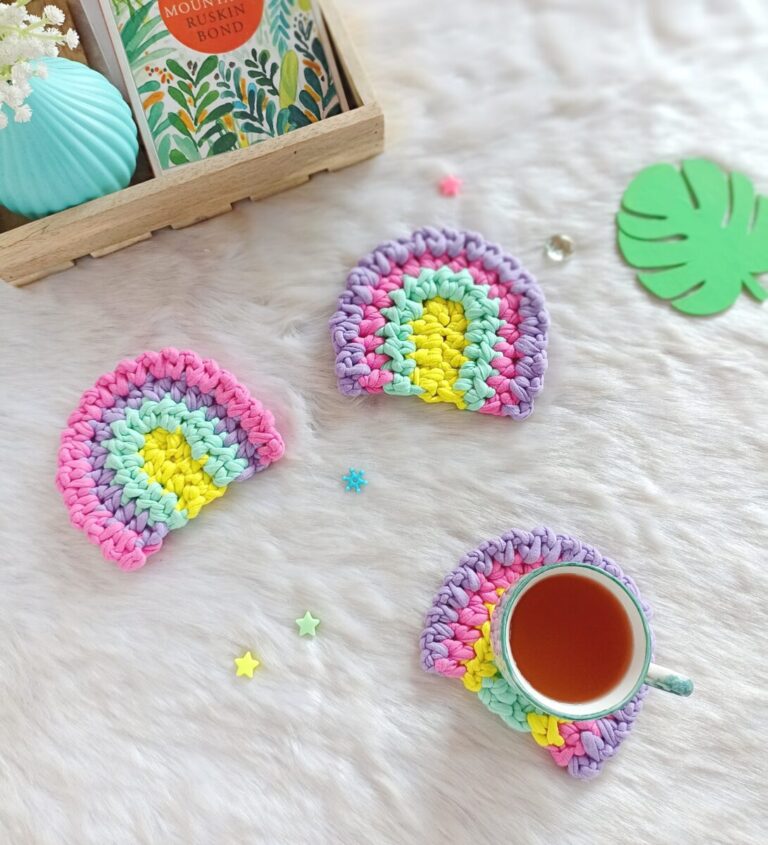
Hello friends! Looking for a quick and cheerful crochet project? This crochet rainbow coaster is perfect for adding a pop of colour to your coffee table. It’s beginner-friendly and a great way to use scrap T-shirt yarns.
Pattern Notes:
This crochet rainbow coaster pattern is for personal use only. Please don’t copy, alter, reproduce or sell the pattern in whole or in parts. You can sell the finished products but kindly credit me as the designer and link back to this post.
You can buy the inexpensive ad-free PDF version for this crochet rainbow coaster fom my Etsy and Ravelry shop.
Materials needed:
- Size 6 Bulky weight cotton T-shirt yarn in 4 different colours (I have used yellow, mint green, pink and lilac)
- 5mm crochet hook.
- Yarn needle and scissors.
Stitches/ Abbreviations
- R –Row.
- Ch – chain.
- St(s) – stitch(es).
- Hdc – half double crochet.
- Hdc Inc – Half double crochet increase (2 hdc in same stitch).
- Sl st – slip stitch.
- […] – repeat the instructions given in between the bracket.
- (…) – total number of stitches.
Instructions:
- This pattern is written in US English terms and is worked in rows.
- The ch 2 made at the beginning of each row do not count as a stitch.
- Colour changes happens at the last st of each row.
Changing colours in HDC:
Yarn over, insert your hook into the last stitch before colour change. Yarn over and pull up a loop. Now you’ll have 3 loops on hook. Drop your current yarn and pick up the new colour. Draw the new yarn through all 3 loops on your hook.
Rainbow:
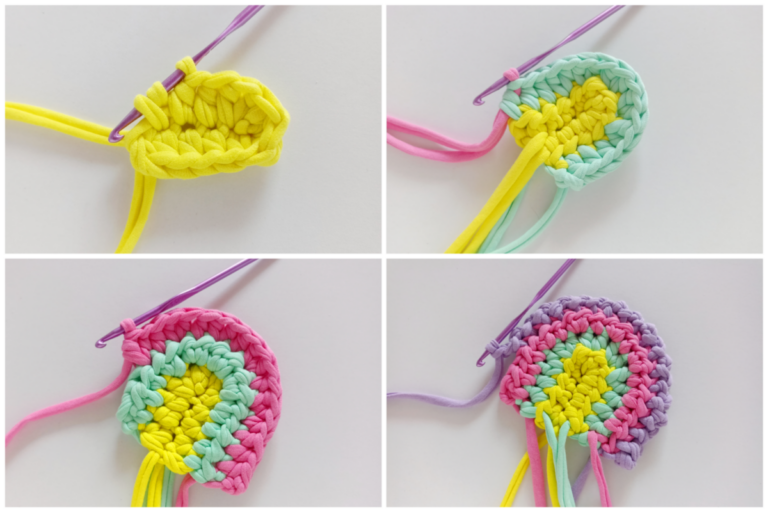
R1: (Using colour A) Ch 6. Starting on third chain from the hook, hdc 3, 5 hdc in last ch. Working on the other side of the chain, hdc 3 (11) – change to colour B in last st.
R2: (Colour B) Ch2, turn, hdc 3, [hdc inc] x 5, hdc 3 (16) – change to colour C in last st.
R3: (Colour C) Ch 2, turn, hdc 3, [hdc, hdc inc] x 5, hdc 3 (21) – Change to colour D in last st.
R4: (Colour D) Ch 2, turn, sl in same st, [ch 2, sl st in next st] x 20.
Note: R4 is worked with the wrong side facing you. So weave in all the remaining yarn tails at this side.
And your colourful rainbow coaster is now ready!
Click below image to save this pattern on Pinterest

Looking for more coasters or cute patterns, check below free patterns.