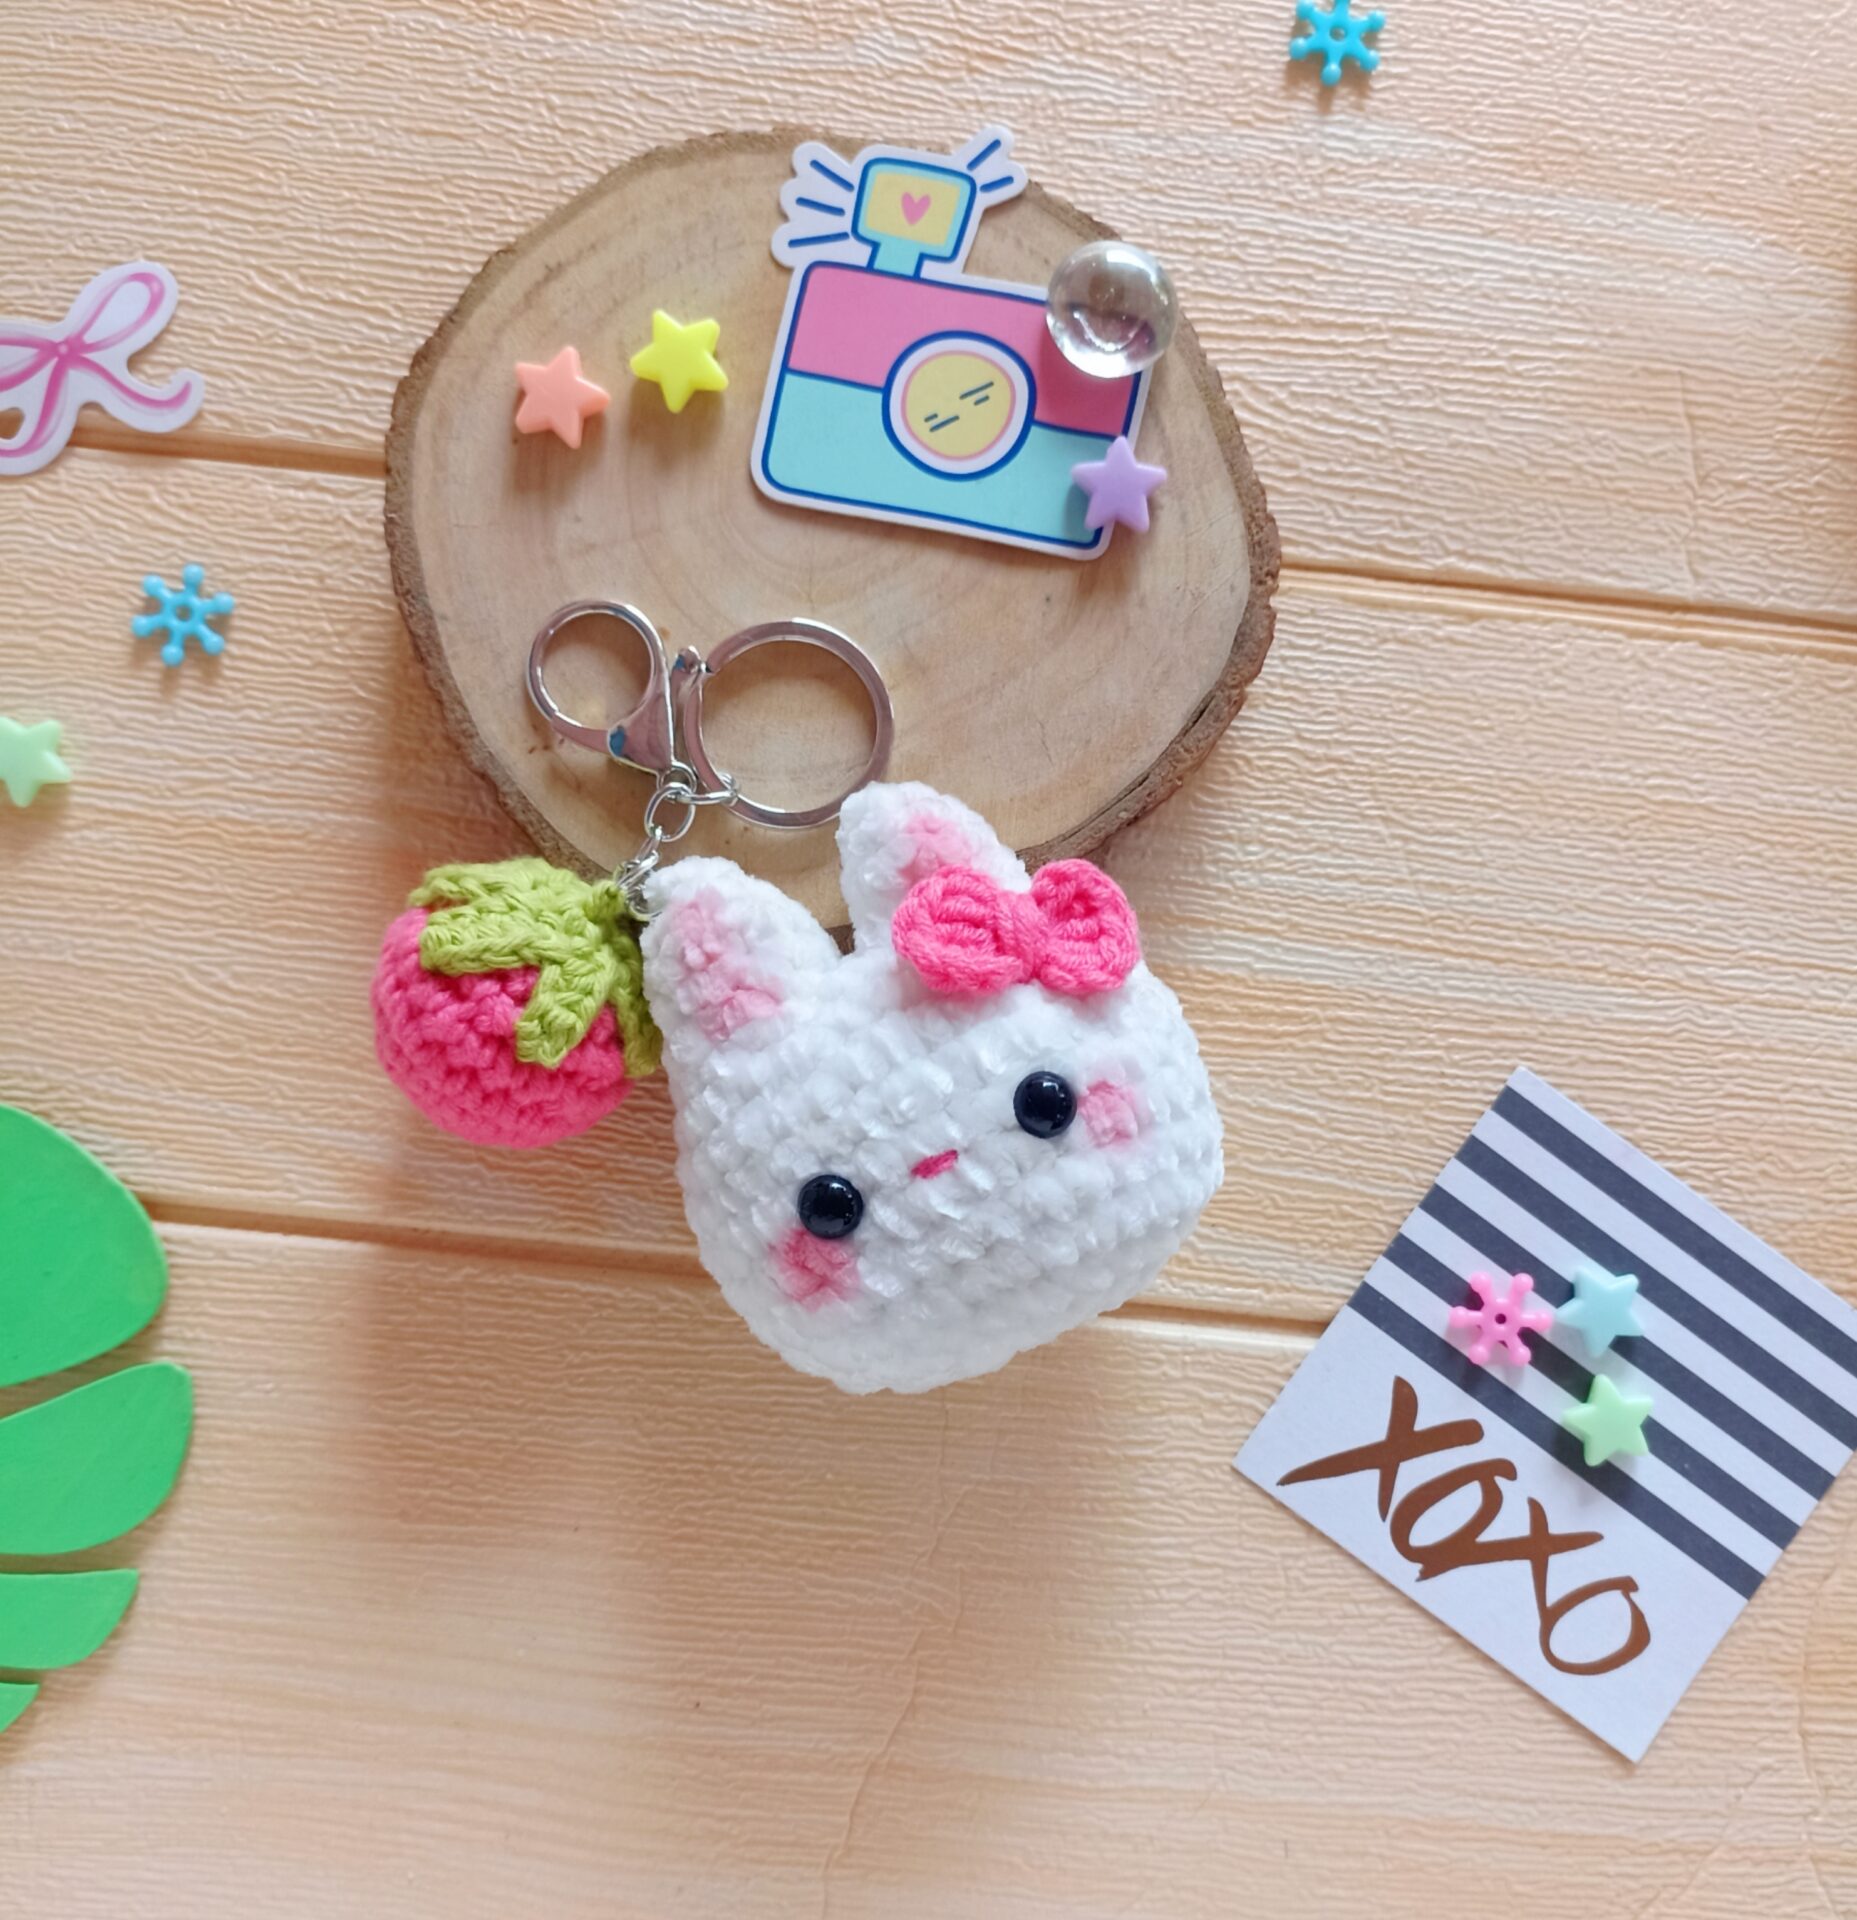
Hello friends! Today, I’m here with a cute amigurumi bunny keychain pattern as an Easter special. They are quick and easy to make with a pretty little strawberry attached. They make perfect Easter basket fillers for kids. Read below for instructions.
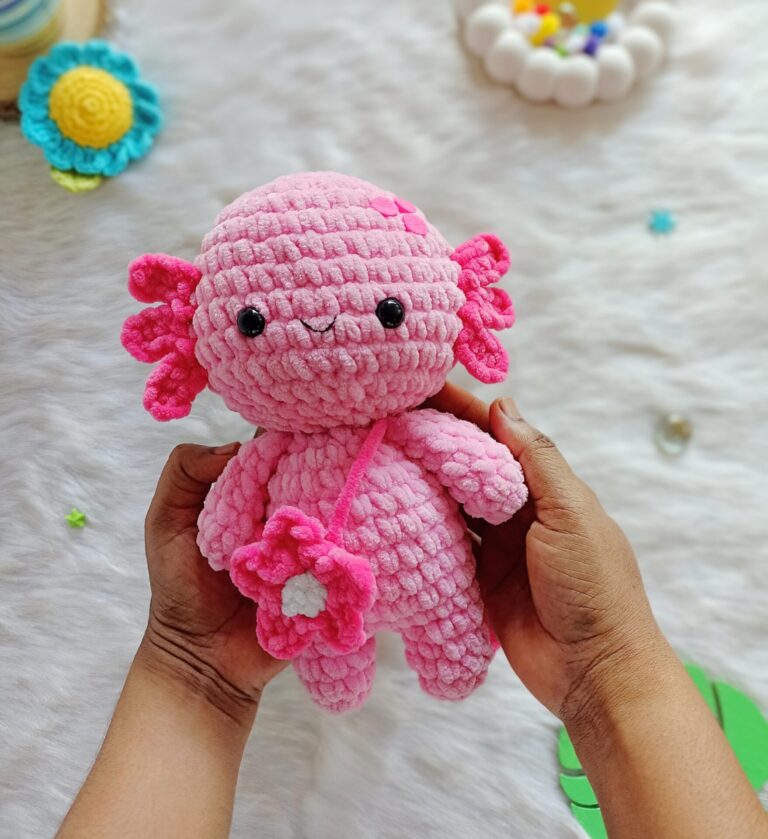
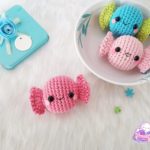
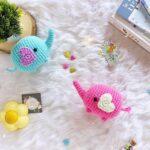
Spring is here! Instead of bunnies, bees, and flowers, I have decided to make an axolotl with a flower bag this time. So, let’s welcome this spring by making this cute amigurumi axolotl.
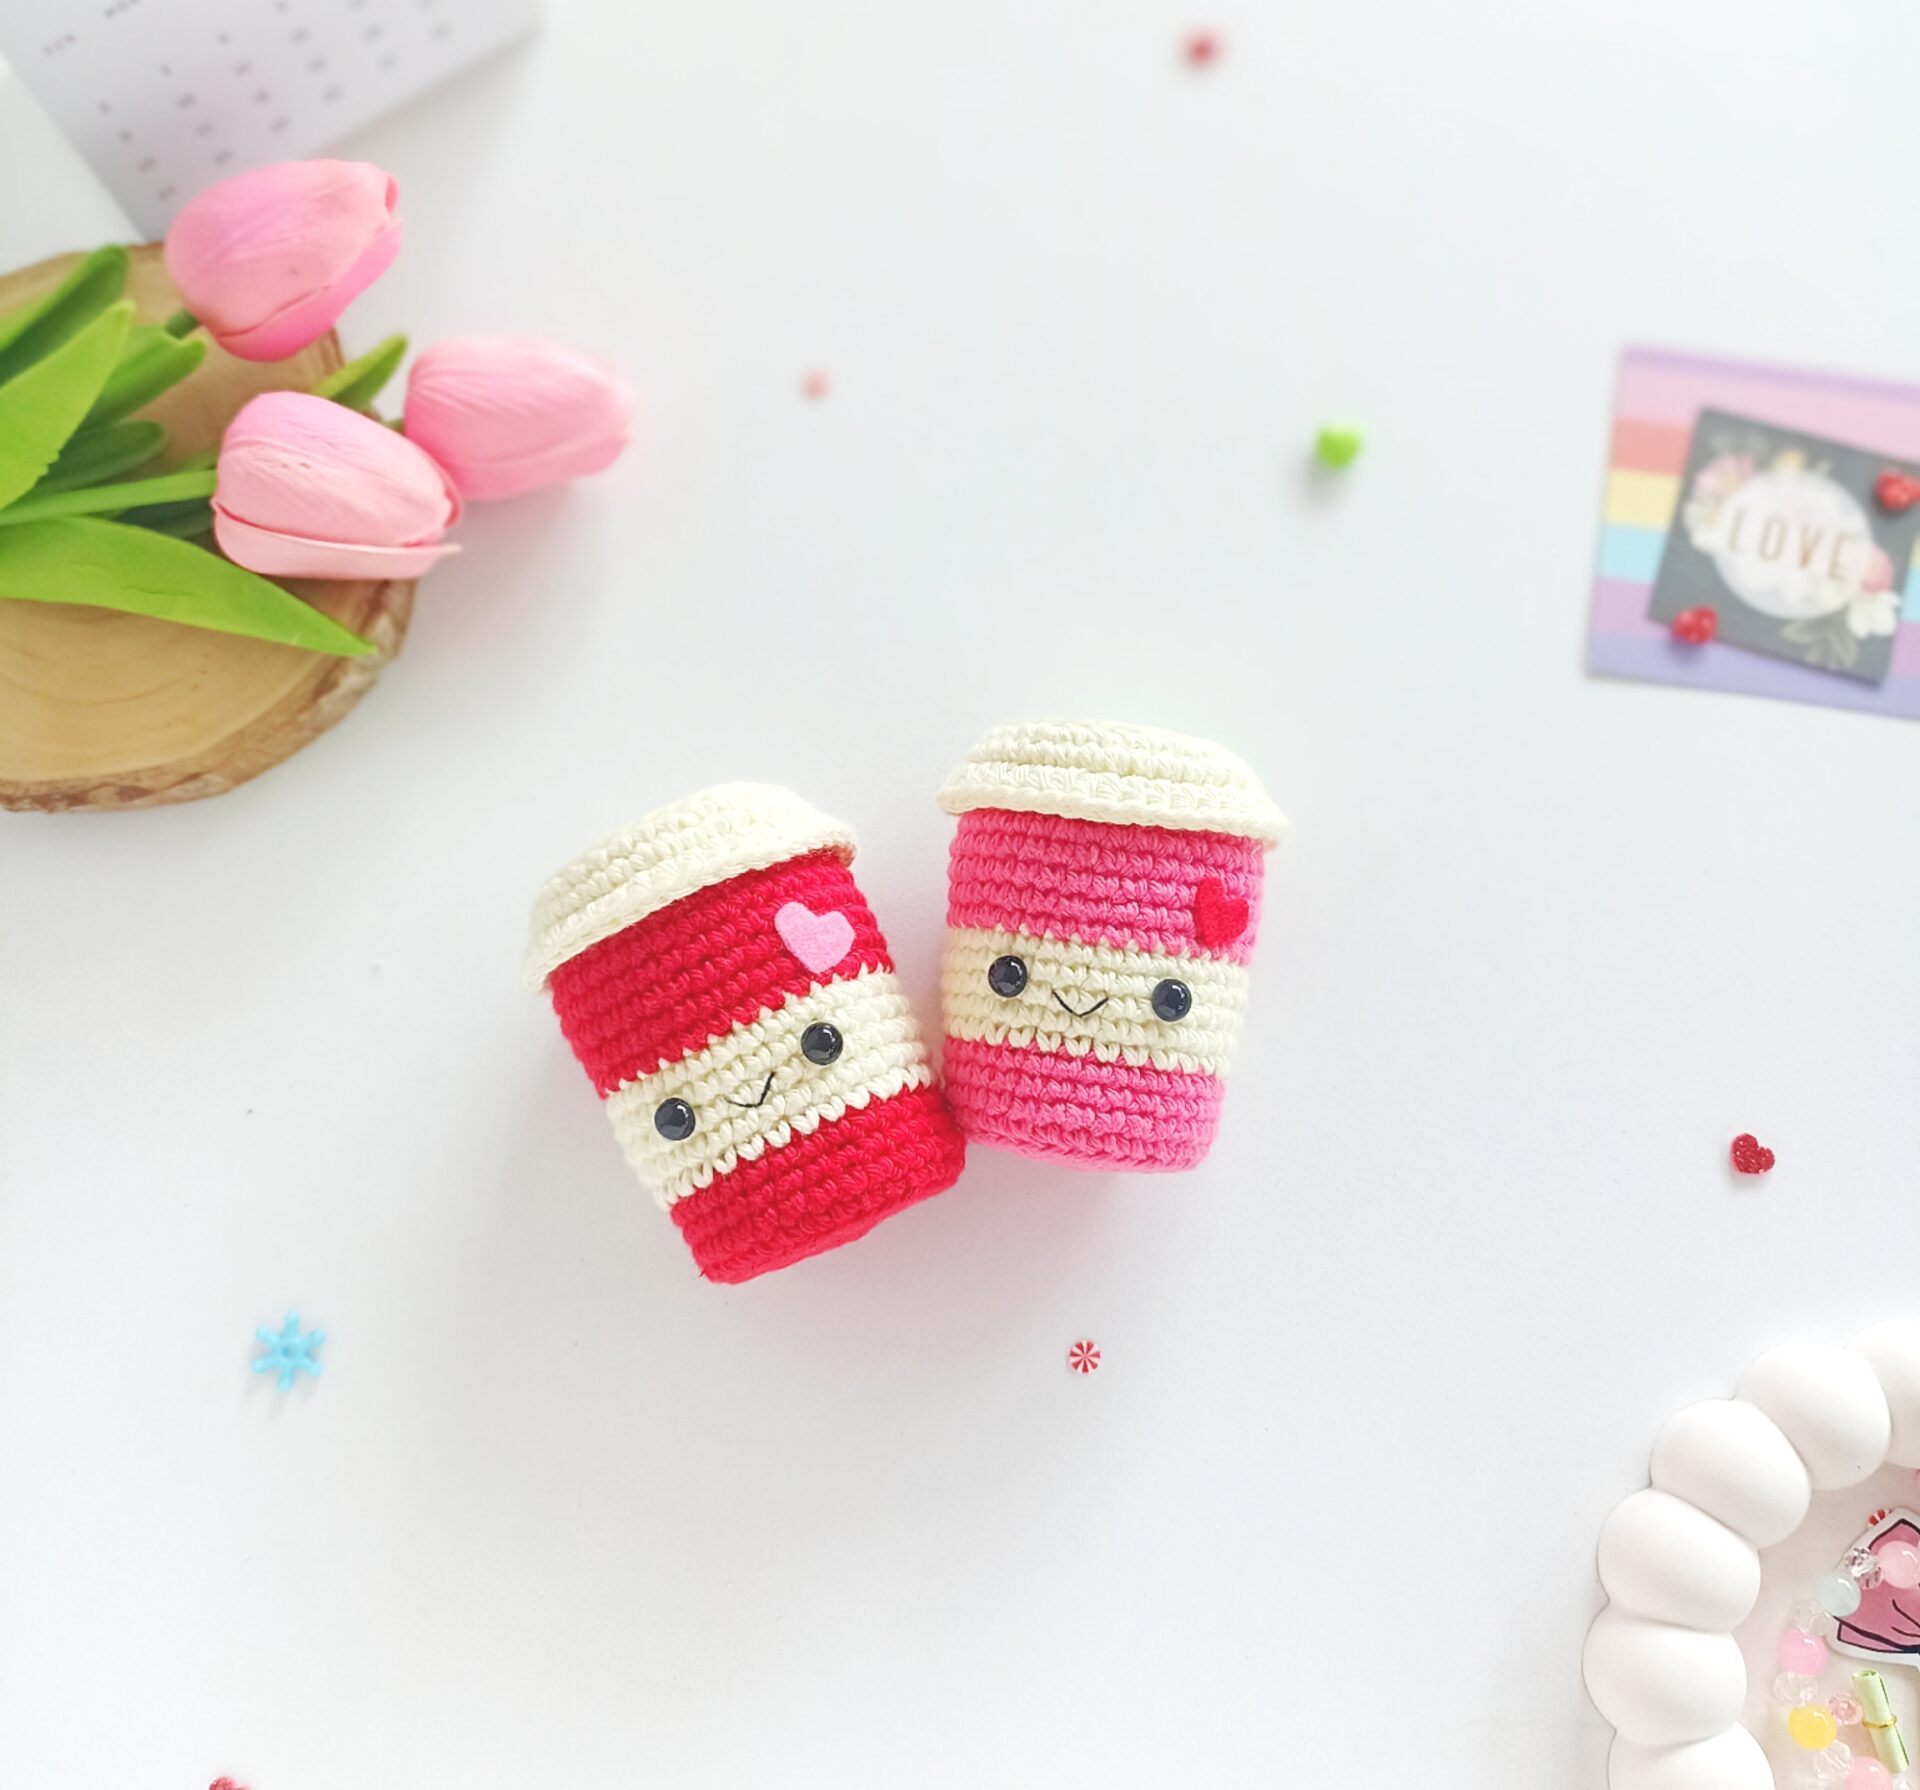
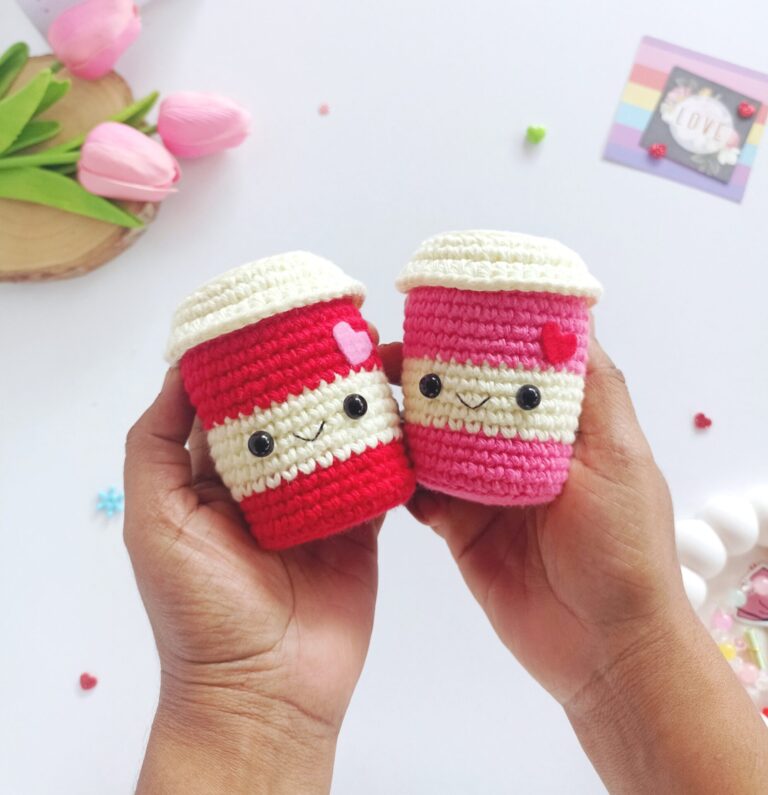
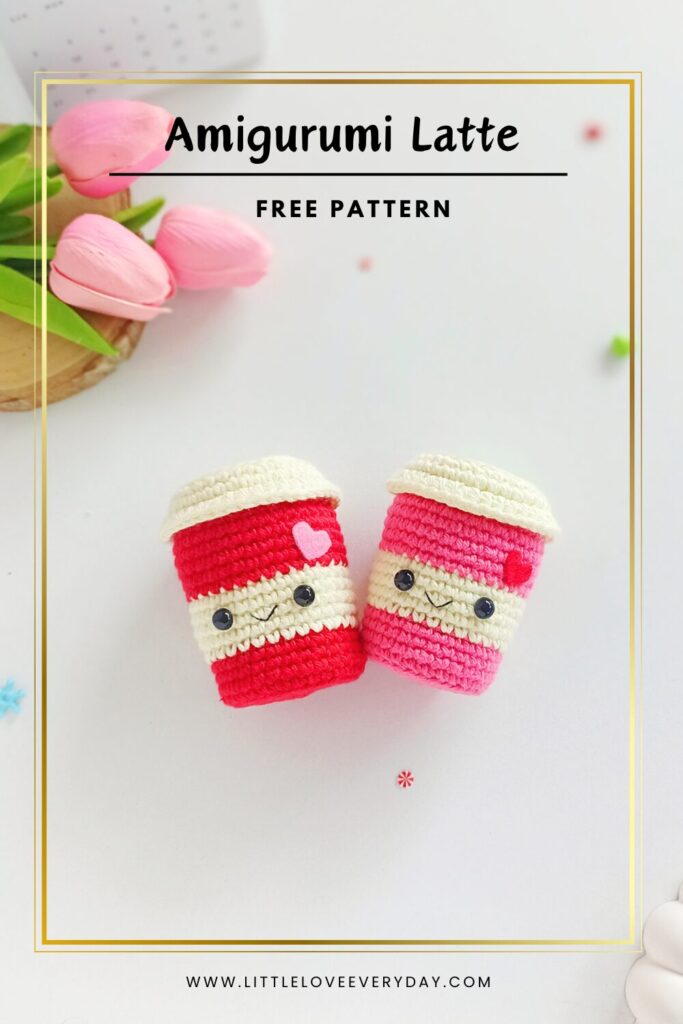
Happy 2025, friends! How’s this year treating you so far? Life has been keeping me busy lately. Amidst the hustle, I found time to design something for Valentine’s Day. Make these adorable latte cups and gift them to your special ones to show how much you love them. Read instructions below for the amigurumi Latte pattern.
Please note: This amigurumi Latte pattern is for personal use only. Please don’t copy, reproduce, alter, distribute or sell this pattern in whole or in parts. You may sell the finished products but please credit me as the designer and link back to this post.
You can buy the inexpensive as free printable PDF pattern with detailed instructions and step by step pictures from my Etsy and Ravelry shop.
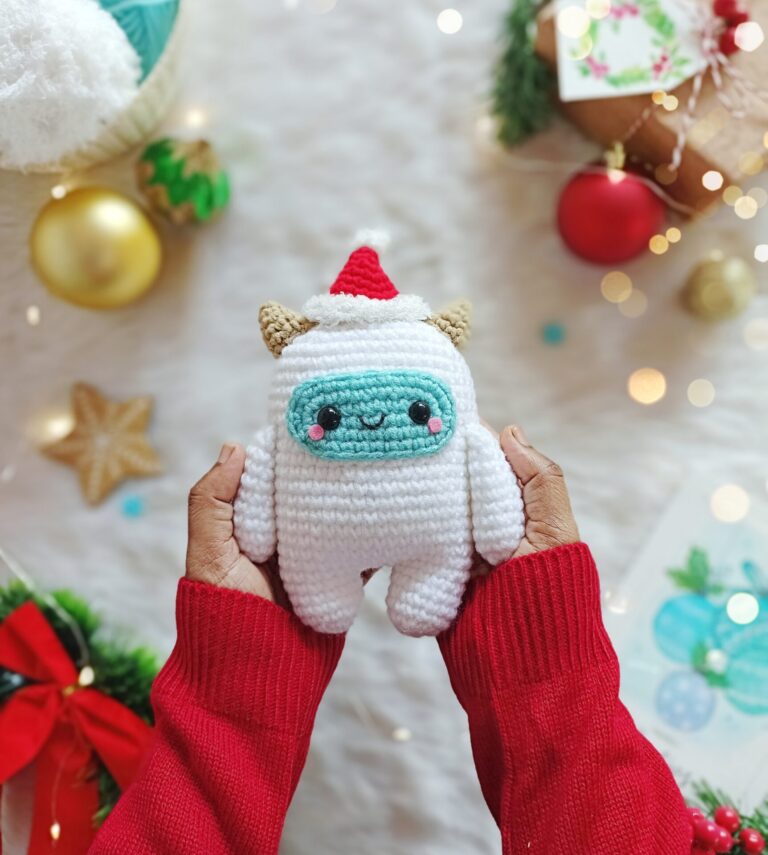
Hello December! The much-awaited time of the year is here! I’m pretty sure you all are busy shopping for gifts or making one if you are a crafter like me. Today, I’m here with a cute Christmas-themed Amigurumi Yeti pattern for you guys to make. Are you excited for the pattern? Read below for instructions.
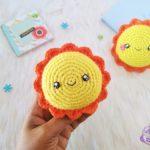
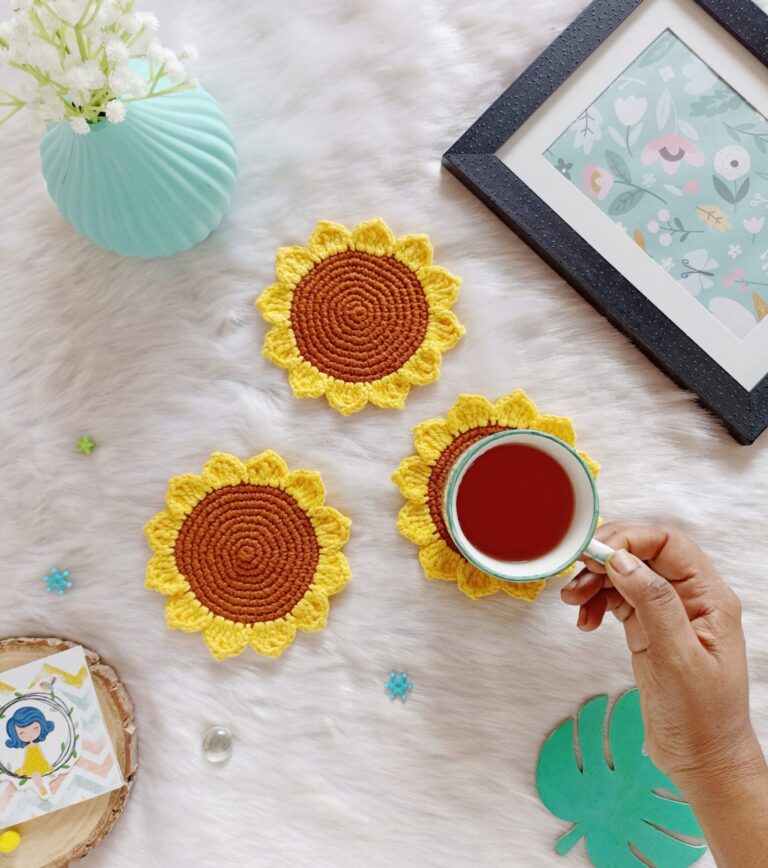
Hello friends! I’m here with a beautiful crochet sunflower coaster pattern for you guys to try. This sunflower coaster is a delightful and functional project that can bring a touch of warmth and joy to your table. They are super quick to make and a thoughtful gift to your loved ones. Read instructions below on how to make them.
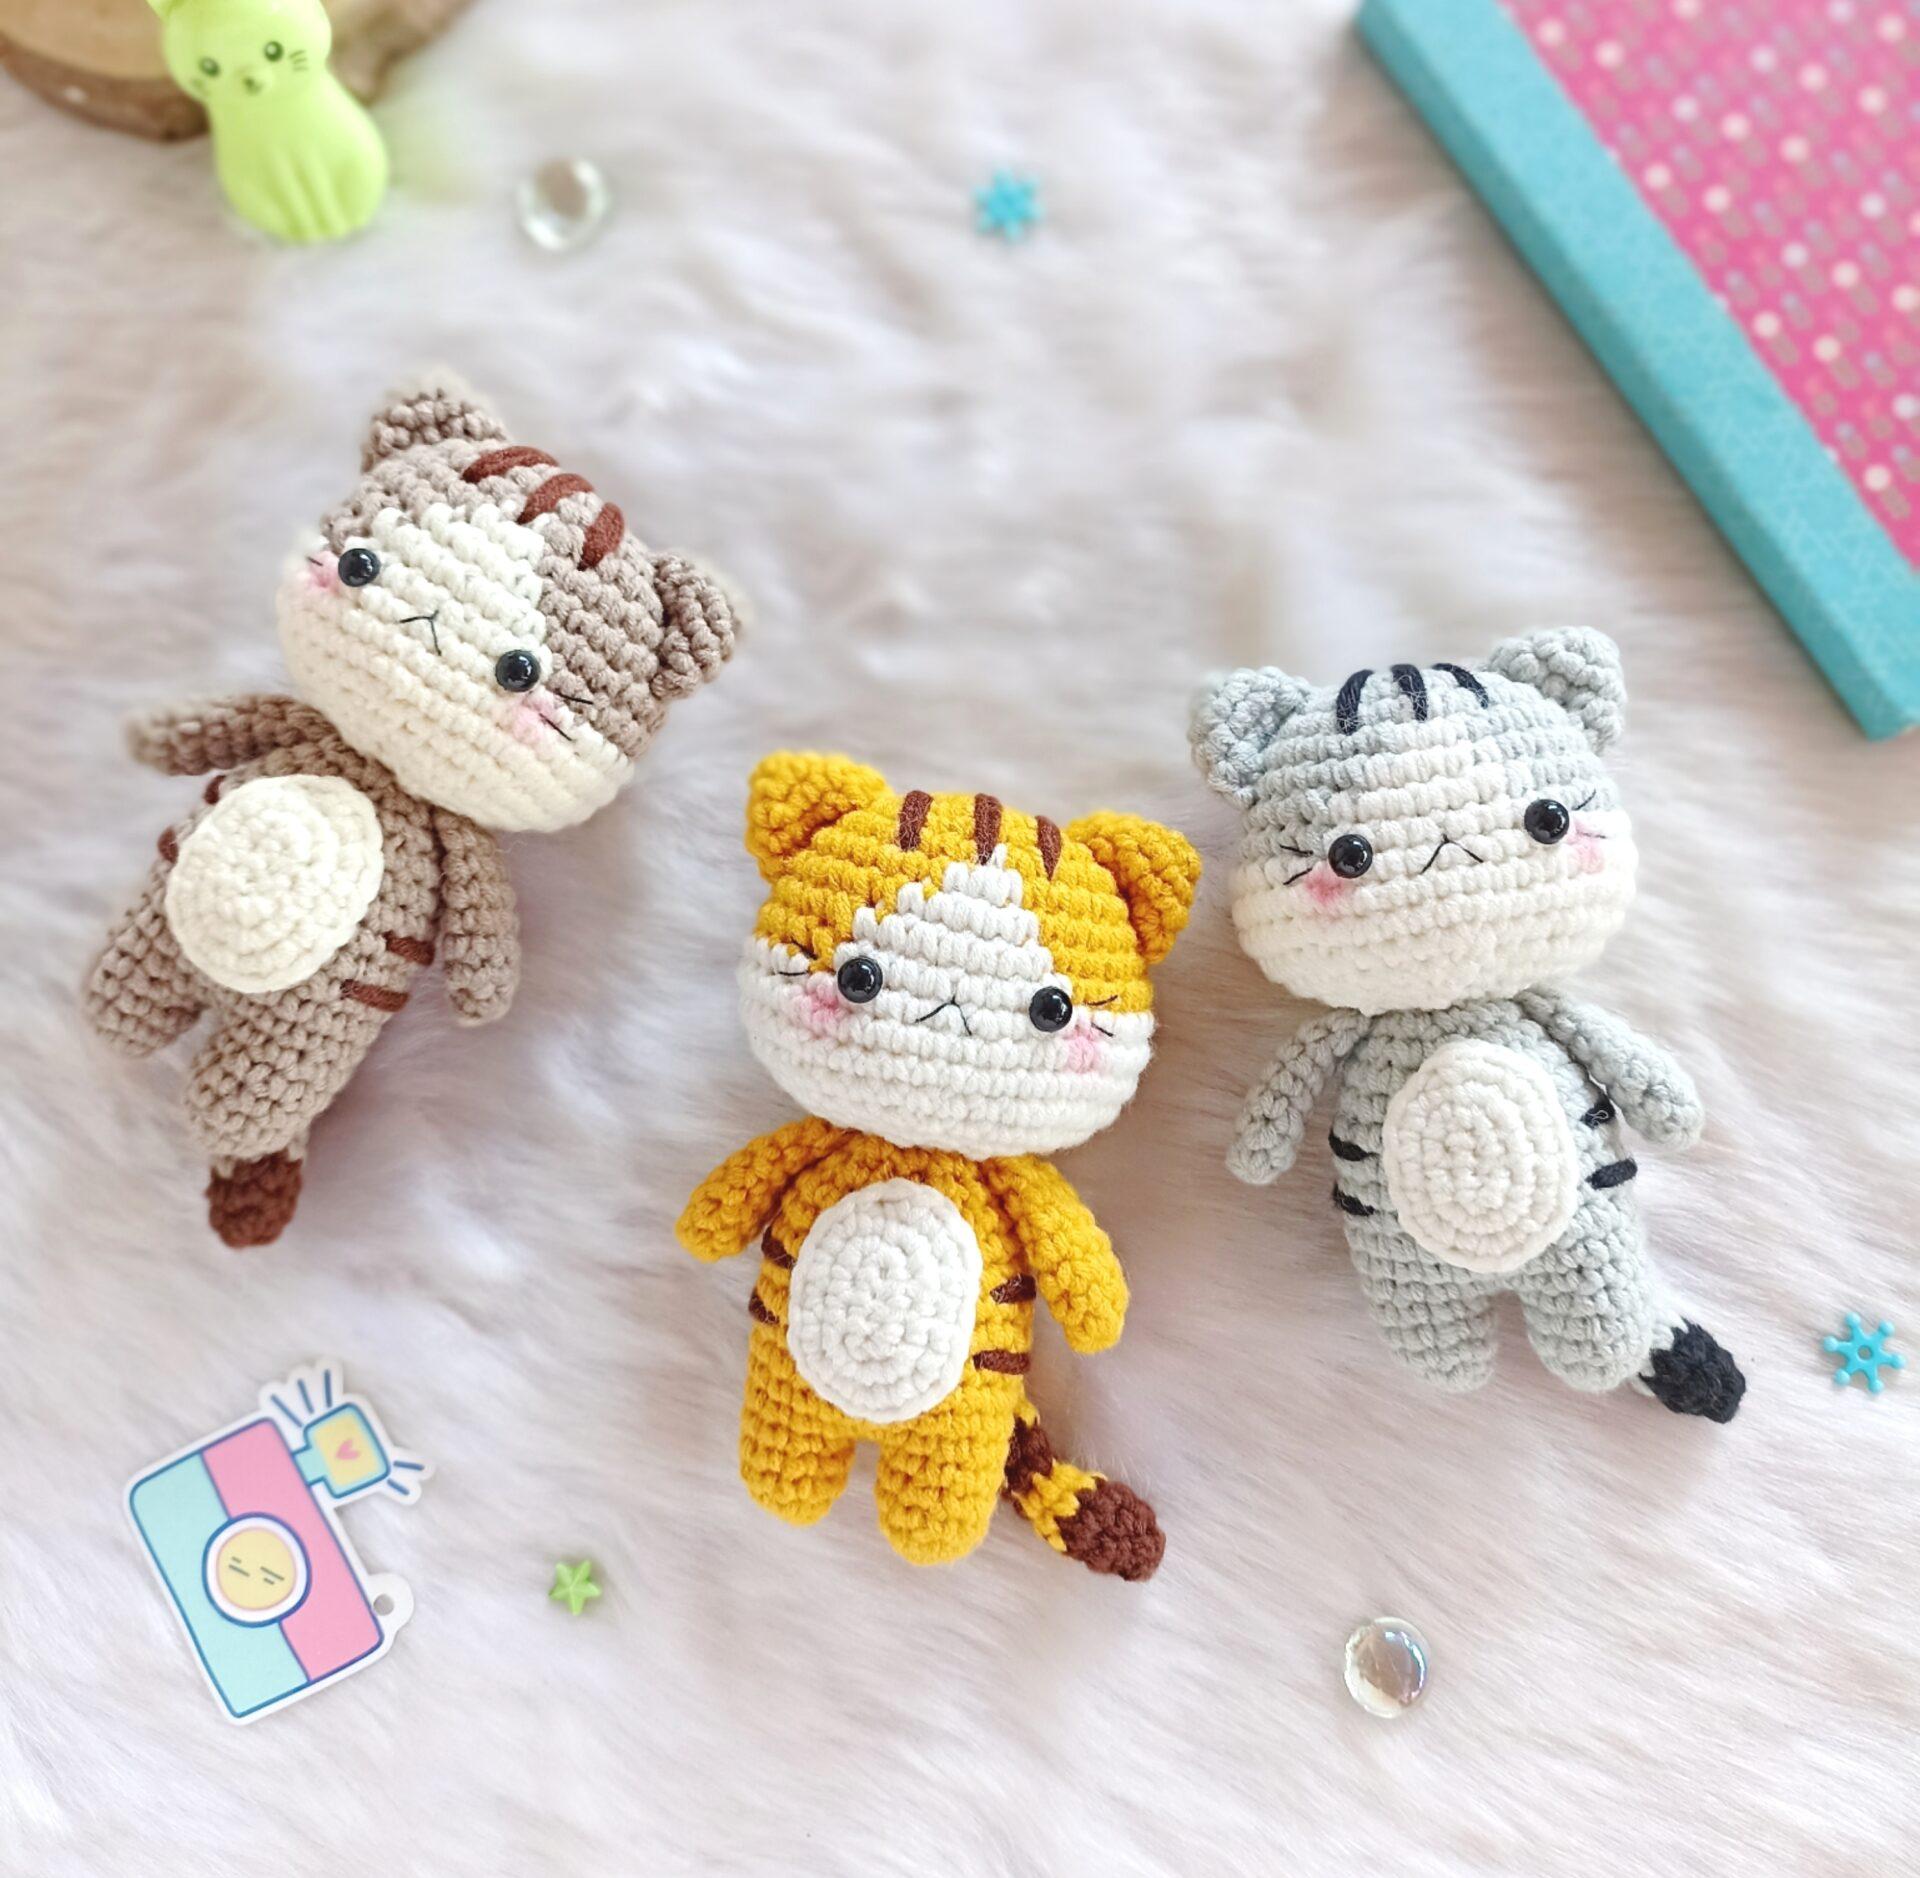
I’m a dog person, but I can’t resist the cuteness of cats. If you scroll through my free patterns, you’ll find that most patterns are cat-themed. So I’m here with another amigurumi cat pattern for you guys to make.