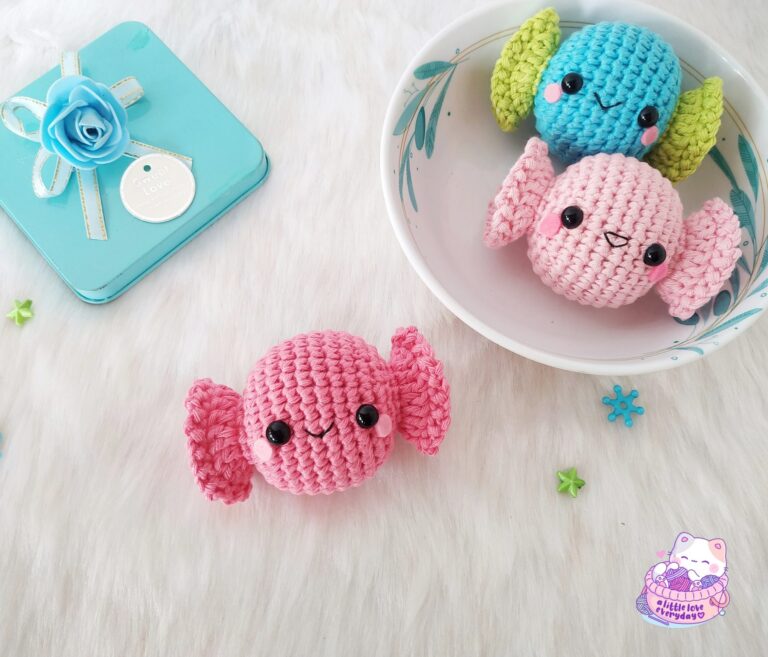
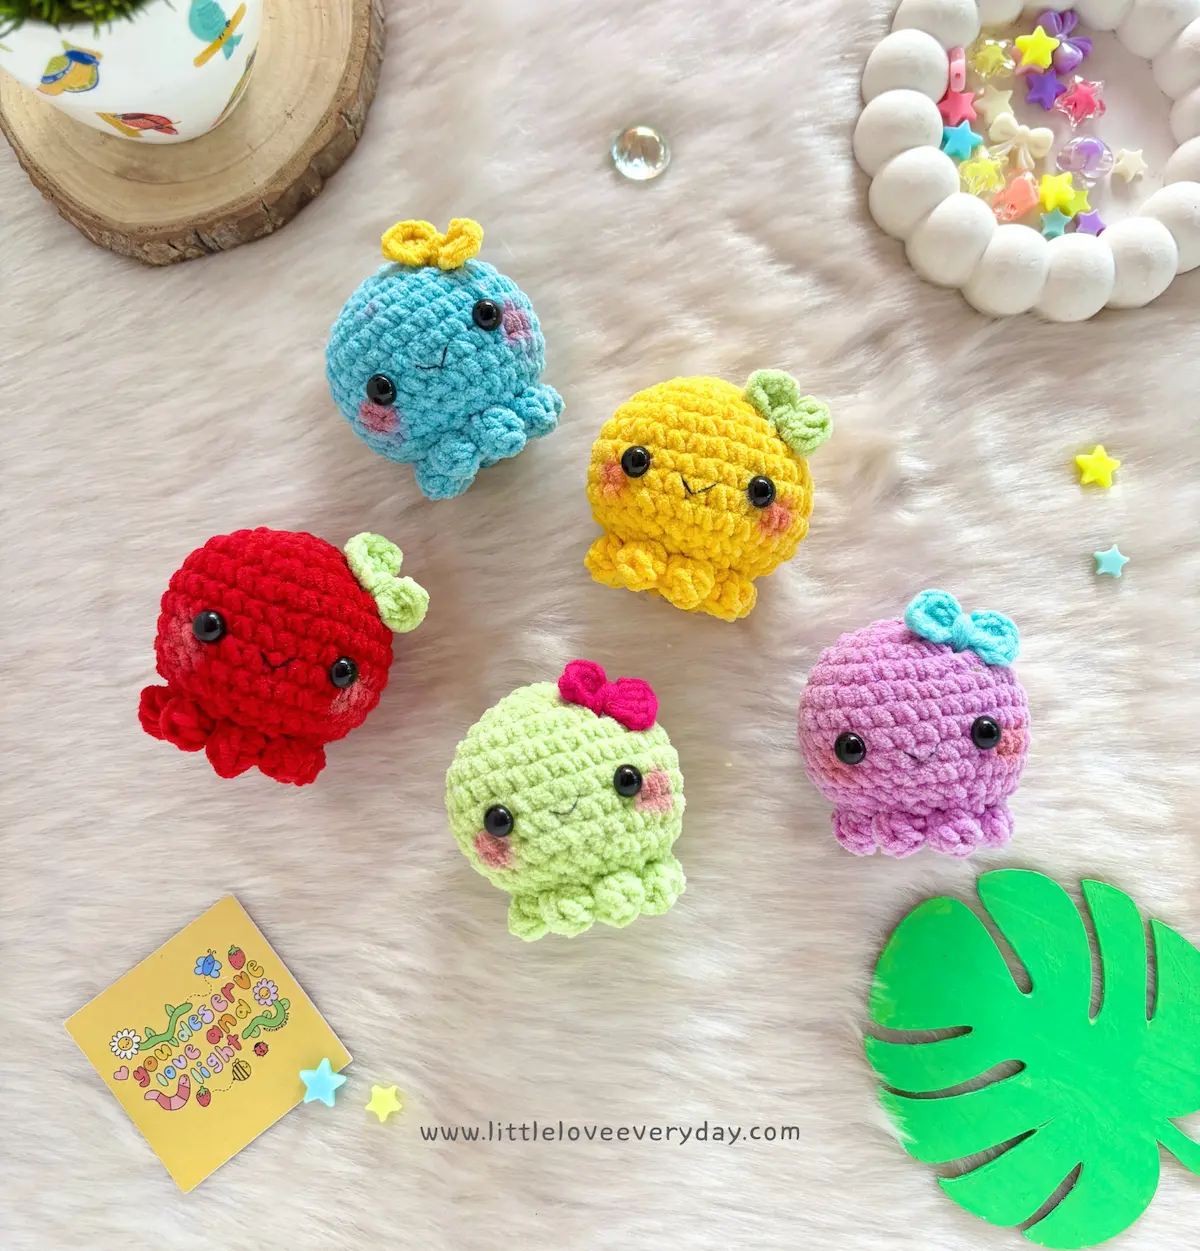
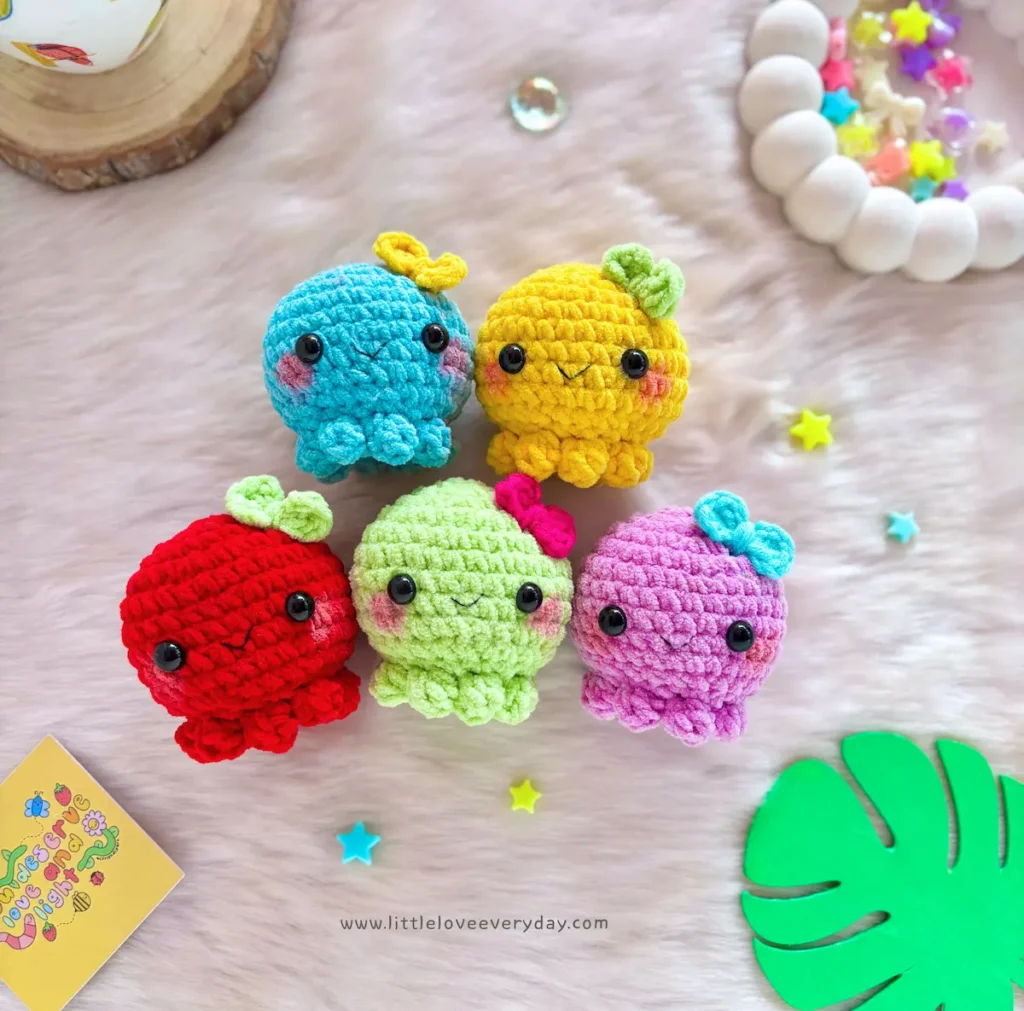
No-sew Octopus amigurumi pattern
Some of you may remember the Amigurumi Baby octopus pattern I posted on my old blog years ago. I published it at the beginning of my pattern designer era. I tweaked the pattern a little so you can make a No-sew Octopus amigurumi. The pattern works up quickly and is so fun to make.
Read below for Instructions.
Please Note:
All content, including the pattern instructions and photographs, is the exclusive property of A little love everyday. This pattern is for personal use only. Please do not redistribute, sell, modify or reproduce this pattern, in whole or in part, electronically or physically. You are welcome to sell finished items made from this pattern, provided you credit the design to Anitha of ‘A little love everyday’.
You can buy the ad-free PDF pattern with step-by-step pictures and clear instructions from my Etsy shop
Purchased this pattern before the no-sew update? Message me your order details and I’ll send you the new PDF free.
This No-sew Octopus amigurumi is written in US English terms and worked in continuous rounds unless stated otherwise.
Materials needed:
- Worsted weight chenille yarn in main colour (MC) and a contrasting colour (CC).
- 3.5 mm crochet hook.
- 8 mm safety eyes.
- Fiberfill for stuffing.
- Black embroidery thread and needle.
- Stitch markers, needles and scissors.
Stitches/ Abbreviations
- R- Round/Row
- Ch – chain
- St(s) – stitch(es)
- Sc – single crochet
- PC – popcorn stitch
- Dc – double crochet
- Inc – increase (2 sc in same stitch)
- Dec – decrease (sc 2 st together)
- Sl st – slip stitch
- BLO – Back loops only
- FLO – front loops only
- […] – repeat the instructions given in-between the brackets
- (…) – total number of stitches

Special stitch: We use popcorn stitch for making tentacles.
Popcorn stitch (PC) explained:
Work 5 double crochet into the same stitch, drop the loop from your hook, insert the hook into the first dc, pick up the dropped loop from the back and pull it through.
When a popcorn stitch is made at the beginning of a round, start with ch 3 (counts as 1 dc), then work 4 dc into the same stitch. Insert the hook into the third chain of the ch 3, pick up the dropped loop and pull it through.
Pattern Instructions:
Head:
With main colour yarn,
R1: 6sc in a magic ring (6)
R2: Inc in each st (12)
R3: [ Sc, inc ] x 6 (18)
R4: [ Sc 2, inc ] x 6 (24)
R5: [ Sc 3, inc ] x 6 (30)
R6-10: Sc in each st (30)
R11: [ Sc 3, dec ] x 6 (24)
Insert 8mm safety eyes between R8 and R9 with 6 stitches in between.
R12: [ Sc, dec ] x 8 (16)
Stuff the head firmly with fiber fill and stuff as you go.
R13: (BLO) Sc in each st (16)
R14: Dec x 8 (8)
Fasten off and leave a long tail.
Weave the yarn tail through the front loops of the remaining 8 stitches.
Pull tight to close the hole and weave in the yarn tail.
Tentacles:
Join the main colour with a sl st in the front loop of any stitch in R12,
working in the front loops only throughout.
Make [ PC, ch 1, skip 1 st ] x 8, sl st in the first st to join.
Fasten off and weave in the ends.
Bow:
With contrasting colour yarn,
In magic ring, [ ch 2, dc 2 in ring, ch 2, sl st into ring ] x 2.
Pull the starting tail to close the ring.
Fasten off, leaving a long tail.
Wrap around the middle of the bow 3 times and make a knot at the back.
Use the remaining tail to sew the bow to the octopus.
Assembling:
Embroider the mouth using black embroidery thread.
Add the bow to the head around R4.
Add blush to the cheeks using your preferred method.
I really hope you enjoyed making this No-Sew Octopus Amigurmi pattern. Do share your makes on my Instagram as I would like to see your works.
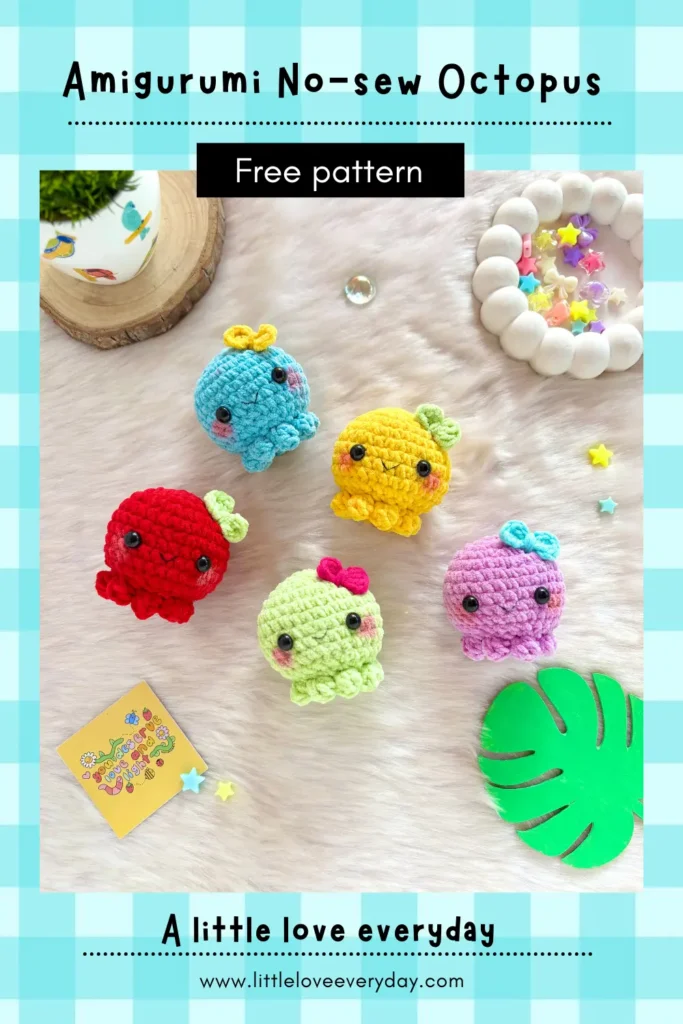
Pin below image to save this pattern on Pinterest
Looking for more cute makes? Check below free patterns