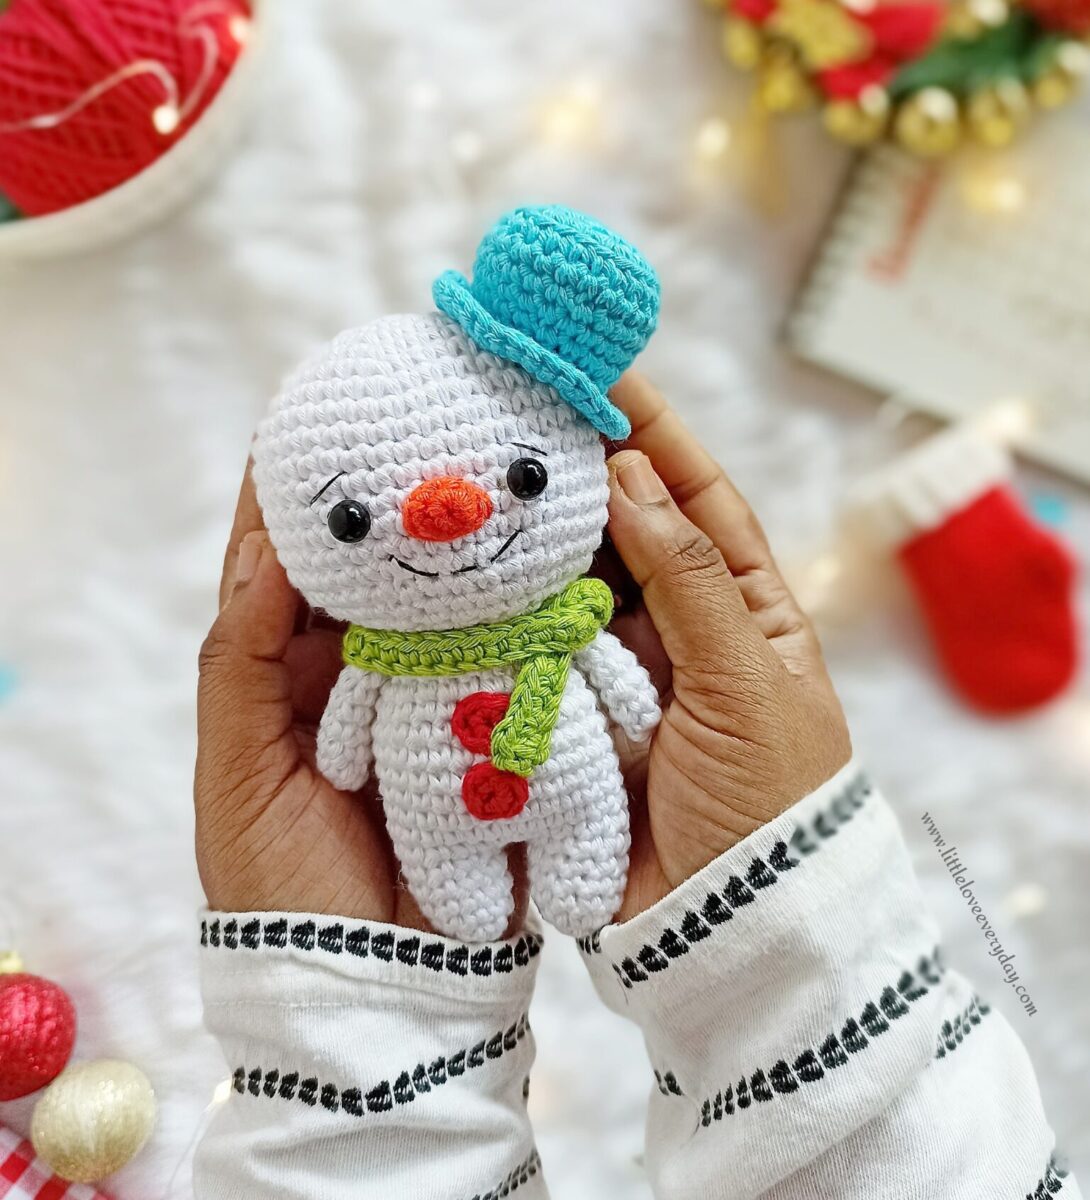
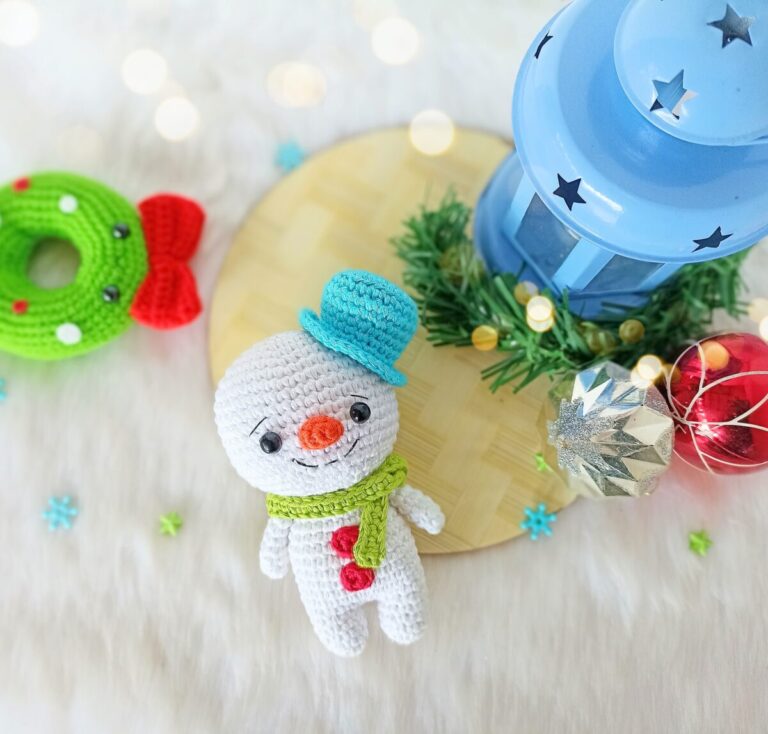
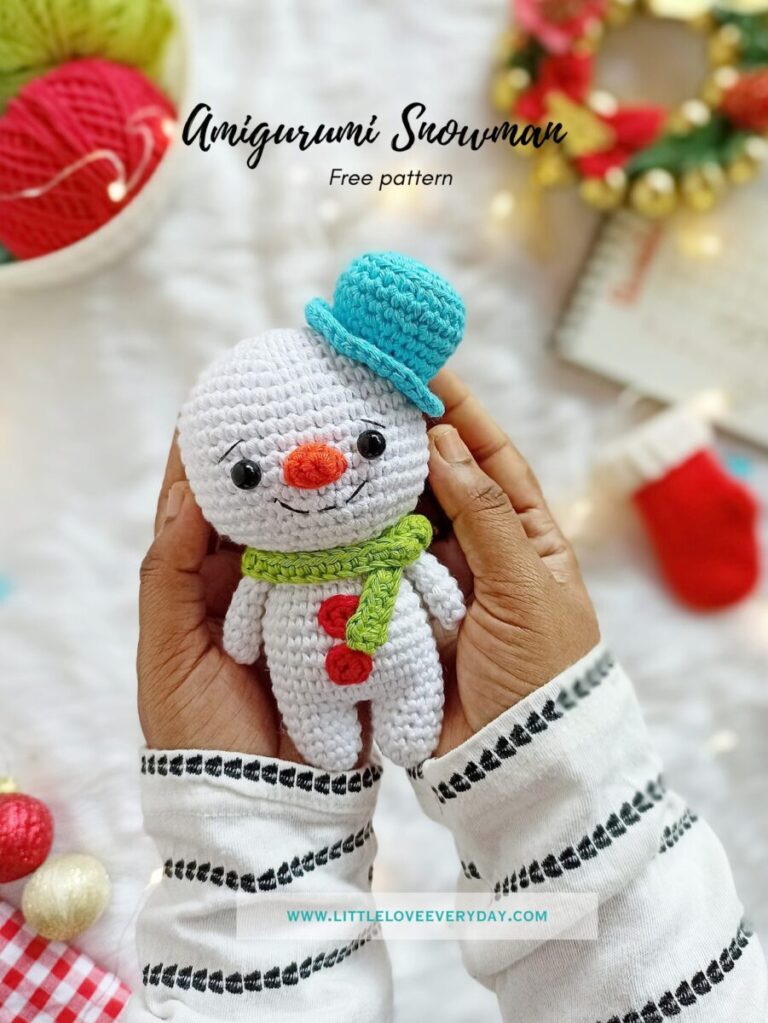
Every winter needs a cute Snowman… The one that never melts and always brings a smile. This Amigurumi Snowman was such a joy to make and I’m so excited to share this pattern with you all! Find a cozy place, grab some yarn and let’s start stitching this cute snowman together!
Please note:
All content, including the pattern instructions and photographs, is the exclusive property of A little love everyday. This pattern is for personal use only. Please do not redistribute, sell, or reproduce this pattern, in whole or in part, electronically or physically. You are welcome to sell finished items made from this pattern, provided you credit the design to Anitha of ‘A little love everyday’.
You can buy the inexpensive ad-free PDF pattern of this Amigurumi Snowman from my Etsy and Ravelry store.
Materials needed:
- DK weight cotton yarn in white, orange, blue, green and red colour.
- 3 mm crochet hook.
- Fiberfill for stuffing.
- 8mm safety eyes.
- Tapestry needle.
- Black embroidery thread and needle.
Stitches/ Abbreviations
- R – round/ row.
- Ch – chain.
- St(s) – stitch(es).
- Sc – single crochet.
- Inc – increase (2sc in one st).
- Dec – decrease (sc 2 st together).
- BLO – back loops only.
- FLO – front loops only.
- Sl st – slip stitch.
- […] – repeat the instructions given in-between the brackets.
- (…) – total number of stitches.
Instructions:
This pattern is written in US English terms and worked in continuous rounds unless stated otherwise.
Head:
Using white yarn,
R1: 6 sc in a magic ring (6).
R2: Inc x 6 (12).
R3: [ Sc, inc ] x 6 (18).
R4: [ Sc 2, inc ] x 6 (24).
R5: [ Sc 3, inc ] x 6 (30).
R6: [ Sc 4, inc ] x 6 (36).
R7: [ Sc 5, inc ] x 6 (42).
R8-15: Sc in each st (42).
R16: [ Sc 5, dec ] x 6 (36).
R17: [ Sc 4, dec ] x 6 (30).
Insert 8 mm safety eyes between R12 and R13 with 7 stitches in between.
R18: [ Sc 3, dec ] x 6 (24).
R19: [ Sc 2, dec ] x 6 (18).
Stuff firmly and fasten off leaving a long tail for sewing.
Arms (make 2):
Using white yarn,
R1: 6 sc in magic ring (6).
R2: [ Sc 2, inc ] x 2 (8).
R3-R7: Sc in each st (8).
Stuff a little and Sc through both the top layers to close.
Fasten off leaving a long tail for sewing.
Legs (make 2):
Using white yarn,
R1: 6 sc in magic ring (6).
R2: [ Sc, inc 2 ] x 2 (10).
R3-5: Sc in each st (10).
Fasten off the first leg but don’t cut off the yarn in second one. Stuff the legs and continue to body part.
Body:
R6: With the second leg, chain 2, join to the first leg and sc around the first leg (10 sts), sc in the 2 chains (2 sts), sc around the second leg (10 sts) and sc in the other side of 2 chains (2 sts). [ 24 sts in total].
R7: [ Sc 10, inc 2 ] x 2 (28).
R8-13: Sc in each st (28).
R14: [ Sc 5, dec ] x 4 (24).
R15: Sc in each st (24).
R16: [ Sc 4, dec ] x 4 (20).
R17: [ Sc 8, dec ] x 2 (18).
Stuff the body, fasten off and weave in the ends.
Nose:
Using orange yarn,
R1: 5 sc in magic ring (5).
R2: [ Sc, inc, sc, inc, sc ] (7).
Fasten off leaving a long tail for sewing.
Hat:
Using blue yarn,
R1: 6 sc in a magic ring (6).
R2: Inc in each st (12).
R3: [ Sc, inc ] x 6 (18).
R4: [ Sc 2, inc ] x 6 (24).
R5: (BLO) Sc in each st (24).
R6: Sc in each st (24).
R7: [ Sc 10, dec ] x 2 (22).
R8: Sc in each st (22).
R9: [ Sc 9, dec ] x 2 (20).
R10: Sc in each st (20).
R11: (FLO) Inc x 20 (40).
R12: Sc in each st (40).
Fasten off leaving a long tail for sewing. Stuff the hat with fiber fill.
Note: Cut a cardboard in small circular shape and place it inside the hat. It gives a sturdy top when filling the hat
Scarf:
Using green yarn, Ch 51.
Starting from second chain on hook, sc 50 (50).
Fasten off and weave in the ends.
Buttons (make 2):
Using red yarn,
R1: 6 sc in magic ring (6). Sl st to the first st.
Fasten off leaving a long tail for sewing.
Assembling:
- Flatten the nose and sew it in between the eyes.
- Add in the mouth using running stitch. I used sewing pins for guide.
- Embroider two slanting lines around R11 for eyebrows.
- Attach the head to the body.
- Sew the arms where the head meets the body.
- Attach the hat slantingly to the head using the back loops left on R11.
- Sew the buttons to the snowman’s body.
- Finally tie the scarf around the snowman.
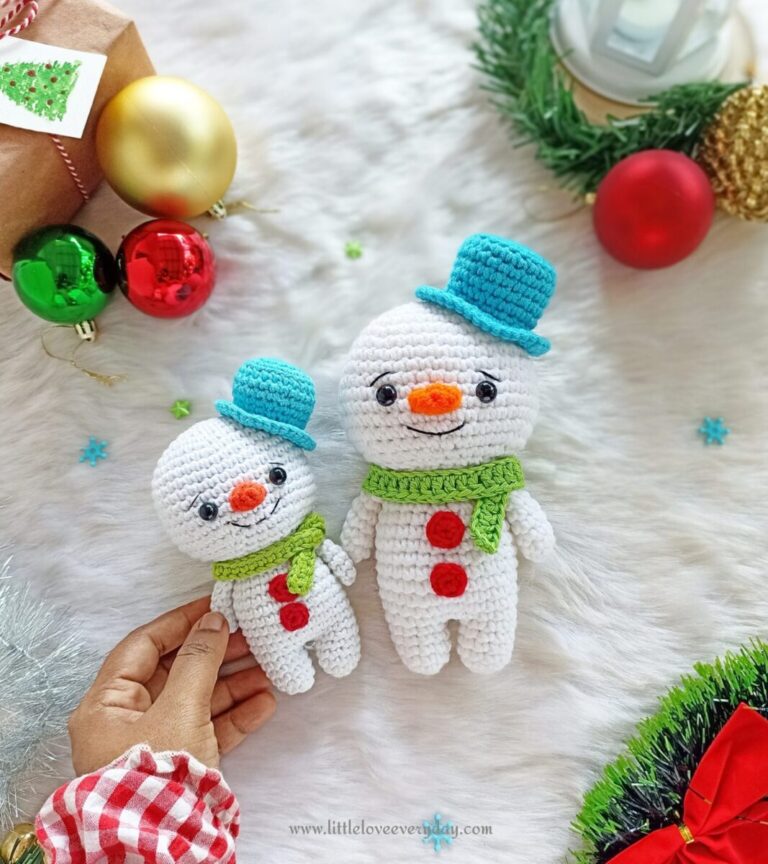
And your cute little Snowman is now done! The left one was made using Dk cotton yarn and the right using worsted weight yarn.
Click on the image below to save this pattern on Pinterest
Looking for more Christmas makes? Check out these free patterns…