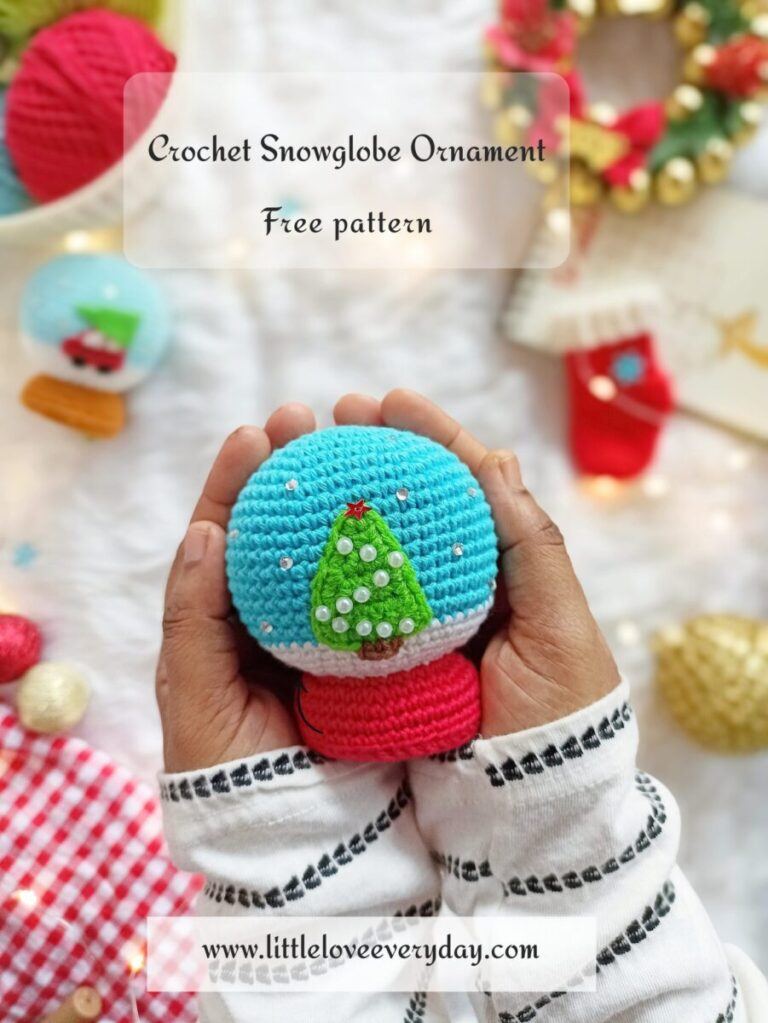
It’s that time of the year again… the season when I start singing Christmas songs all day and get funny looks from my husband in return 🙂 One thing that always reminds me of Christmas is the sight of snow-clad trees and sparkling lights. Sadly, it doesn’t snow where I live, so I decided to bring a little winter wonderland into my home instead.
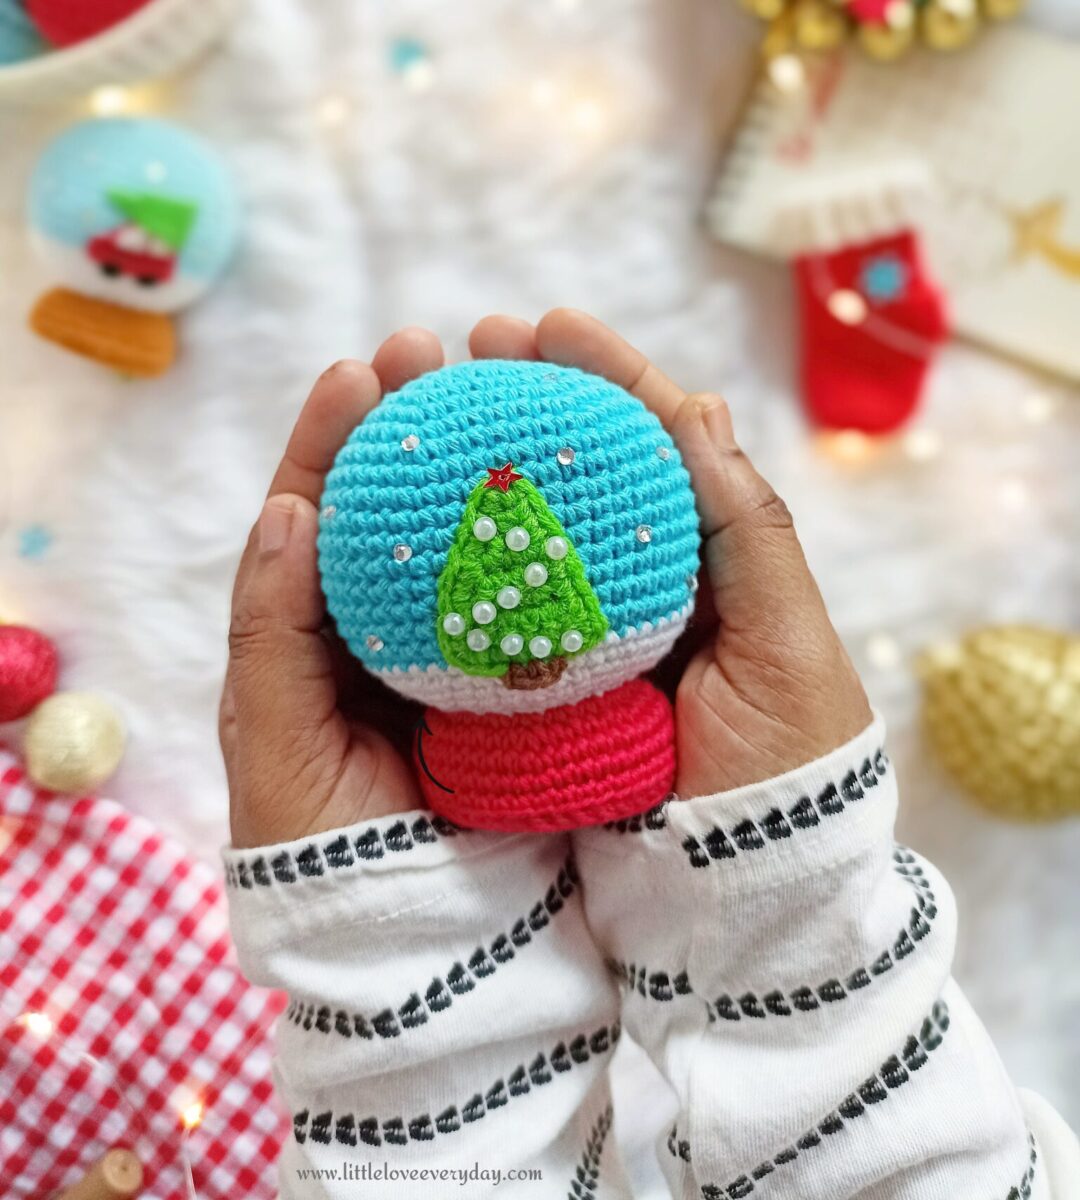
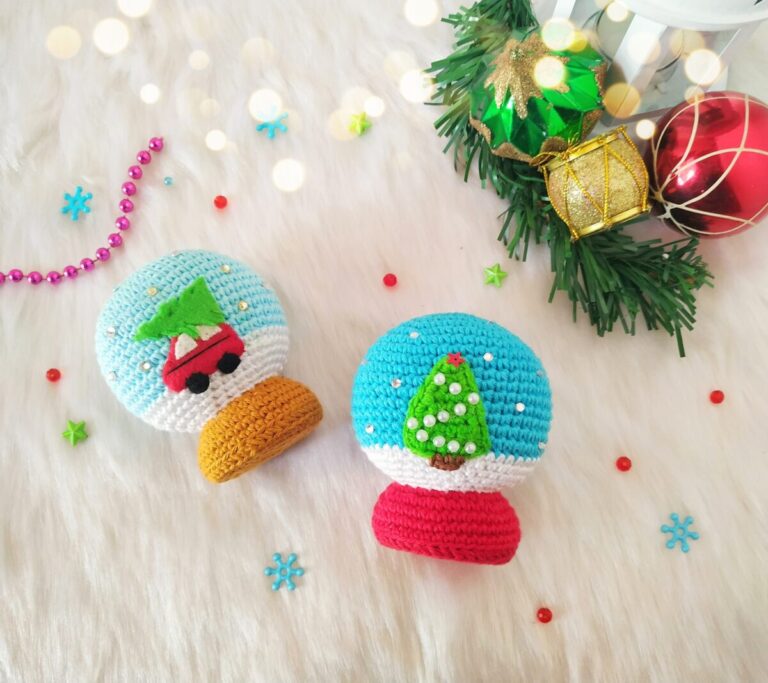
This crochet snow globe ornament brings that cozy, magical feeling right into your home and is perfect for decorating your Christmas tree. Keep reading for the full tutorial!
Please note:
This pattern is for personal use only. Please don’t copy, alter, reproduce or sell the pattern in whole or in parts. You can sell the finished project but kindly credit me as the designer and link back to this post.
You can buy the inexpensive ad-free PDF version for this pattern from my Etsy and Ravelry store.
Materials needed:
- Sport weight cotton yarn in blue, white, red, green and brown colour.
- 2 mm crochet hook.
- Fiberfill for stuffing.
- Tapestry needle.
- A small piece of cardboard.
- Some star sequins, rhinestones and flat back pearl beads.
- All-purpose adhesive glue.
Stitches/ Abbreviations
- R – round/ row.
- Ch – chain.
- St(s) – stitch(es).
- Sc – single crochet.
- Hdc – half double crochet.
- Inc – increase (2sc in one st).
- Dec – decrease (sc 2 st together).
- Slst – slip stitch.
- […] – repeat the instructions given in between the brackets.
- (…) – total number of stitches.
Instructions:
This pattern is written in US crochet terms and crocheted in continuous rounds unless stated otherwise.
Snowglobe:
Start with blue colour yarn,
R1: 6 sc in a magic ring (6).
R2: Inc in each st (12).
R3: [ Sc, inc ] x 6 (18).
R4: [ Sc 2, inc ] x 6 (24).
R5: [ Sc 3, inc ] x 6 (30).
R6: [ Sc 4, inc ] x 6 (36).
R7: [ Sc 5, inc ] x 6 (42).
R8: [ Sc 6, inc ] x6 (48).
R9-17: Sc in each st (48).
Switch to white colour yarn,
R18: Sc in each st (48)
R19: [ Sc 6, dec ] x 6 (42).
R20: [ Sc 5, dec ] x 6 (36).
R21: [ Sc 4, dec ] x 6 (30).
R22: [ Sc 3, dec ] x 6 (24).
R23: [ Sc 2, dec ] x 6 (18).
Stuff firmly with fiberfill.
Switch to red colour yarn,
R24: Inc in each st (36).
R25: [ Sc 5, inc ] x 6 (42).
R26-28: Sc in each st (42).
Fasten off and sew the ends.
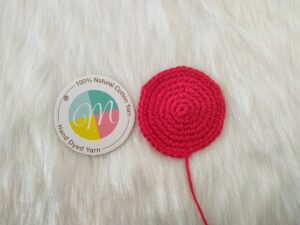
Base:
Using red colour yarn,
R1: 6sc in a magic ring (6).
R2: Inc in each st (12).
R3: [ Sc, inc] x 6 (18).
R4: [ Sc, inc, sc ] x6 (24).
R5: [ Sc 3, inc] x6 (30).
R6: [ Sc 2, inc, sc 2 ] x6 (36).
R7: [ Sc 5, inc] x6 (42).
Fasten off leaving a long tail for sewing.
Cut a cardboard in circular shape that is slightly smaller than the base.

Tree:
The christmas tree applique is worked in rows.
Worked from top to bottom.
Using green colour yarn,
R1: Ch 2, inc in 2nd chain from hook (2). Ch 1, turn.
R2:Sc 1, inc(3). Ch 1, turn.
R3:Sc 2, inc(4). Ch 1, turn.
R4: Sc 3, inc (5). Ch 1, turn.
R5: Sc in each st (5). Ch 1, turn.
R6: Inc, sc 4 (6). Ch 1, turn.
R7: Sc in each st (6).
Now Sc evenly around the edges. Make (sc,hdc,sc) at the top corner and 3 sc in the bottom 2 corners of the tree. Fasten off leaving a long tail for sewing.
For the trunk:
Use brown colour yarn and attach it around 3rd stitch at the bottom of the tree.
Ch 1, sc 3 and fasten off.

Assembling:
- Place the base piece to the bottom of the snow globe with right side facing out. Sew the back loop of base to the back loop of the snowglobe using whipstitch.
- Insert the round cardboard piece when you are halfway done and continue to sew.
- Stuff the snow globe with fiber fill when you are three fourth done sewing. Make sure you stuff only above the cardboard piece and not below it. This gives you a rigid bottom.
- Continue to stuff till end, fasten off and sew the ends.
- Sew the tree applique to the snowglobe.
- Finally decorate the snowglobe according to your likes. I have glued a little star sequin, flatback pearls for the tree and some rhinestones around the snowglobe.
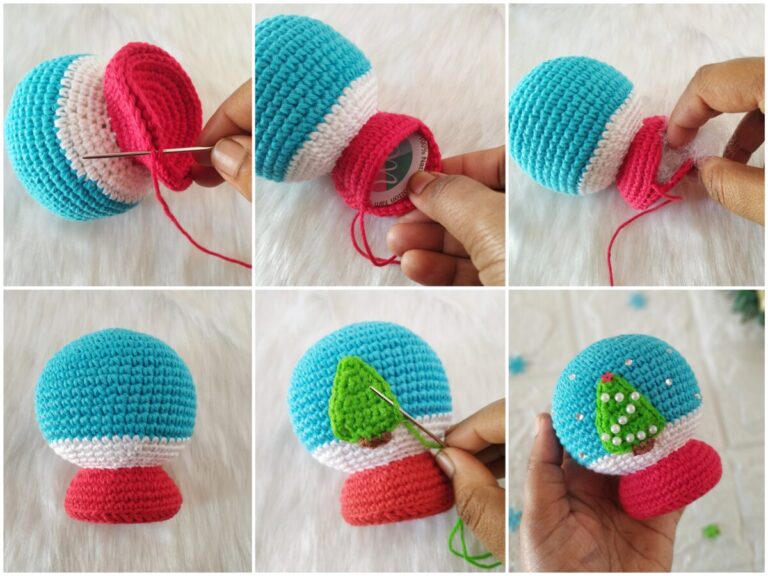
And your snow globe is now done!
Click below image to save this pattern on Pinterest
Looking for more Christmas makes? Check below free patterns..