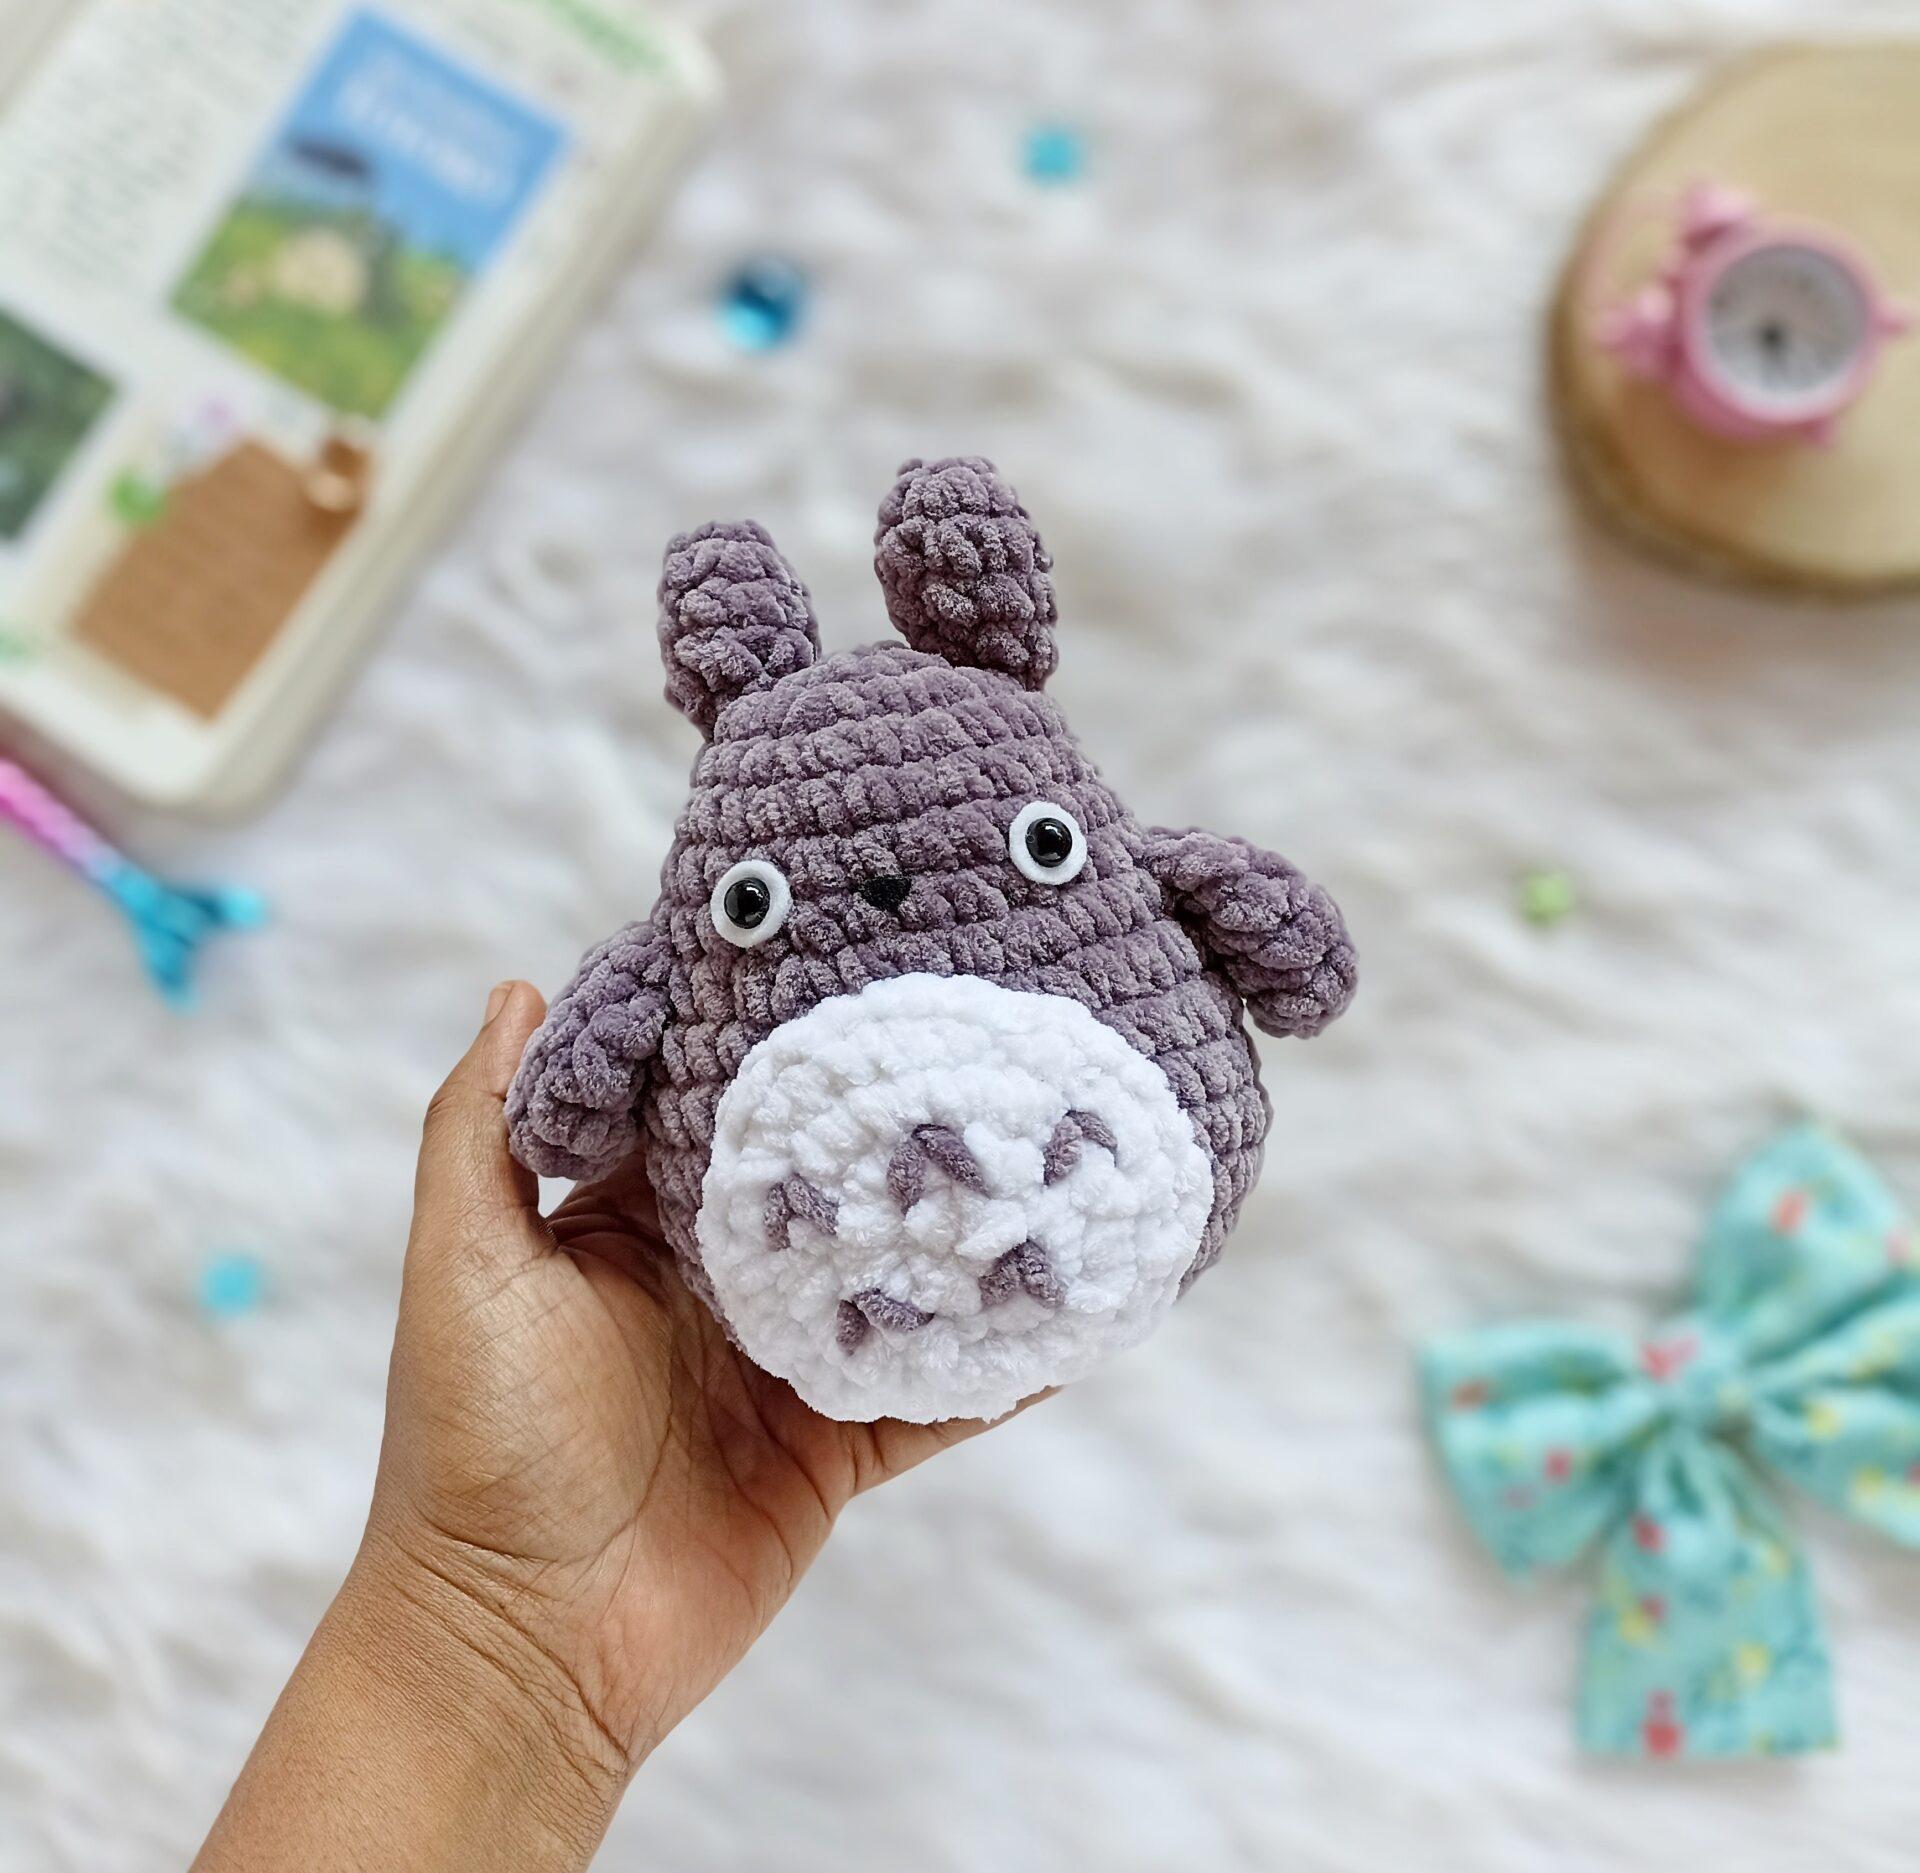
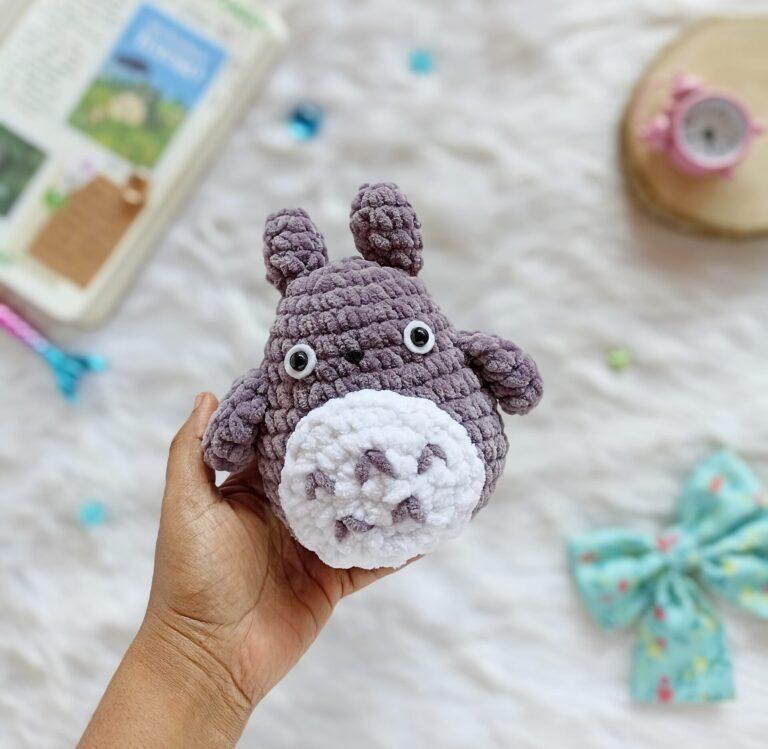
I love Studio Ghibli’s movies and I’m sure most of you are. Totoro, the forest spirit that appears in ‘My Neighbor Totoro’ is one of the most beloved characters among children and adults alike.
Let’s make an adorable amigurumi Totoro today. I’m sure he’ll make a perfect desk buddy for Totoro fans.
Please note:
This Totoro amigurumi pattern is for personal use only. Please don’t copy, reproduce, alter, distribute or sell this pattern in whole or in parts.
Instructions:
This pattern is written in US English terms and worked in continuous rounds unless stated otherwise.
Materials needed:
- Bulky weight chenille/velvet yarn in grey and white colour.
- 4.5 mm crochet hook.
- Fiberfill for stuffing.
- 8 mm safety eyes.
- Yarn needle.
- Small amount of felt in white and black colour.
Stitches/ Abbreviations
- R – Round/row.
- ch – chain.
- st(s) – stitch (es).
- sc – single crochet.
- inc – increase (2sc in one st).
- dec – decrease (sc 2 st together).
- sl st – slip stitch.
- [..] – repeat the instructions given in between the brackets.
- (..) – total number of stitches.

Instructions:
Eyes and nose:
Cut two small circles of white felt.
Poke a small hole in the middle.
Insert the safety eyes into the hole.
We’ll attach the backing when placing the eyes to Totoro’s head.
Cut a small triangle using black felt for nose.

Head and body:
Using grey yarn,
R1: 7 sc in a magic ring (7).
R2: Inc in each st (14).
R3: [ Sc, inc ] x 7 (21).
R4: [ Sc, inc, sc ] x 7 (28).
R5-7: Sc in each st (28)
R8: [ Sc 3, inc ] x 7 (35).
R9-13: Sc in each st (35).
R14: [ Sc 3, dec ] x 7 (28).
Insert the eyes between R6 and R7, around 5 or 6 stitches apart.
Glue the nose in between the eyes.
R15: [ Sc, dec, sc ] x 7 (21).
R16: [ Sc , dec ] x 7 (14).
Stuff firmly using fiber fill.
R17: Dec x 7 (7).
Fasten off and leave a long tail. Weave the yarn tail through the front loops of the remaining 7 stitches. Pull tight to close the hole and weave in the tail.
Arms (make 2):
Using grey yarn,
R1: 6 sc in a magic ring (6).
R2: [ Sc 2, inc ] x 2 (8).
R3-R4: Sc in each st (8).
Don’t stuff and sc through both the top layers to close.
Fasten off leaving a long tail for sewing.
Ears (make 2):
Using grey yarn,
R1: 4 sc in a magic ring (4).
R2: [ Sc, inc ] x 2 (6).
R3: [ Sc 2, inc ] x 2 (8).
R4: Sc in each st (8).
R5: [ Sc 2, dec ] x 2 (6).
Stuff the ears.
Fasten off leaving a long tail for sewing.
Tail:
Using grey yarn,
R1: 6 sc in a magic ring (6).
R2: [ Sc, inc ] x 3 (9).
R3: [ Sc 2, inc ] x 3 (12).
R4: Sc in each st (12).
R5: [ Sc 2, dec ] x 3 (9).
Stuff the tail.
Fasten off leaving a long tail for sewing.
Belly patch:
Using white yarn,
R1: 8 sc in a magic ring (8).
R2: Inc x 8 (16).
R3: [Sc, inc ] x 8 (24).
R4: [Sc, inc, sc ] x 8 (32).
Fasten off invisibly, leaving a long tail for sewing.
Learn how to invisible fasten off.
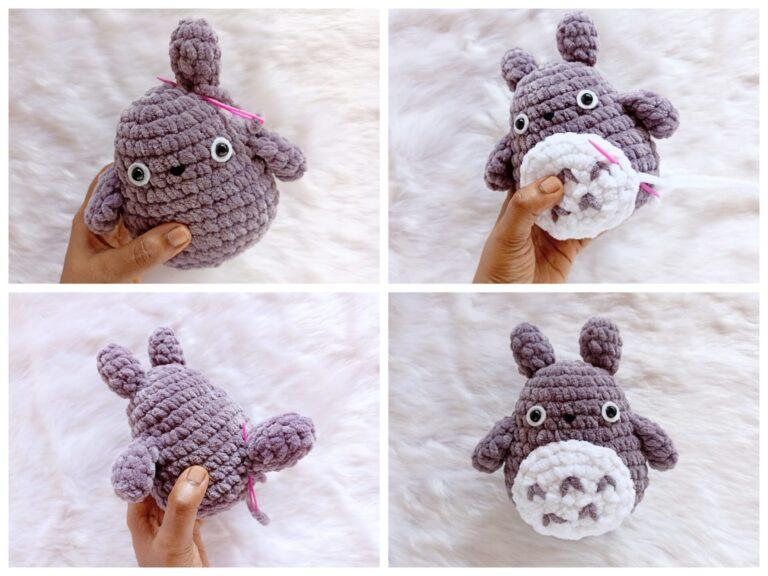
Embroider inverted V shapes on the belly patch using grey yarn.
Assembling:
- Attach the arms between R7-R8.
- Sew the ears between R2-R3 on either side of the head.
- Sew the belly patch between R9-R14.
- Place the Totoro on a flat surface and find the right position for attaching tail so the body does not tilt forward or backward.

And your amigurumi Totoro is now ready!
Loved making this Totoro? Do share and tag your makes to my Instagram.
Click below image to save this pattern on pinterest


