A Little Love Everyday

Tiny teddy amigurumi

Tiny Teddy Amigurumi

Some of you may remember the Tiny Teddy Amigurumi Pattern I shared years ago. It was one of my earliest designs, and revisiting it now feels so nostalgic. I’ve been wanting to update the pattern for so long and today it finally gets its glow up!

This pattern is quick to make, fun to customize and guaranteed to become one of your favorite mini makes

Please note:

All content, including the pattern instructions and photographs, is the exclusive property of A little love everyday. This pattern is for personal use only. Please do not redistribute, sell, or reproduce this pattern, in whole or in part, electronically or physically. You are welcome to sell finished items made from this pattern, provided you credit the design to Anitha of ‘A little love everyday’.

You can buy the inexpensive ad-free PDF version for this pattern from my Etsy and Ravelry store.

Materials needed:

  • Thin velvet yarn in any colour of your choice.
  • 3 mm crochet hook.
  • Fiberfill for stuffing.
  • Small amount of felt in black and pink.
  • Black embroidery thread and needle.
  • Adhesive glue.
  • Small satin ribbon.

 Stitches/ Abbreviations

  • R – round/ row.
  • Ch – chain.
  • St(s) – stitch(es).
  • Sc – single crochet.
  • Inc – increase (2sc in one st).
  • Dec – decrease (sc 2 st together).
  • Sl st – slip stitch.
  • […] – repeat the instructions given in-between the brackets.
  • (…) – total number of stitches.

Pattern Instructions:

Head:

R1: 6 sc in a magic ring (6).                            

R2: Inc x 6 (12).

R3: [ Sc, inc ] x 6 (18).

R4: [ Sc, inc, sc ] x 6 (24).

R5-R8: Sc in each st (24) – 4 rounds.

R9: [ Sc, dec, sc ] x 6 (18).

R10: [ Sc, dec ] x 6 (12).

Stuff firmly and fasten off leaving a long tail for sewing.


Ears (make 2):

R1: 5 sc in a magic ring (5).                            

Fasten off leaving a long tail for sewing.


Arms (make 2):

R1: 6 sc in magic ring (6).                             

R2-R4: Sc in each st (6) – 3 rounds.

Sc through both the top layers to close.

Fasten off leaving a long tail for sewing.


Legs (make 2):

R1: 7 sc in magic ring (7).

R2-R3: Sc in each st (7) – 2 rounds.

Fasten off the first leg but don’t cut off the yarn in second one.

Stuff the legs and continue to body part.

Body:

R4: With the second leg, chain 1, join to the first leg and sc around the first leg (7 sts), sc in the chain space (1 st), sc around the second leg (7 sts) and sc in the other side of the chain     (1 st). [ 16 sts in total].   

R5-R6: Sc in each st (16) – 2 rounds.

R7: [ Dec, sc 6 ] x 2 (14).

R8: Sc in each st (14).

R9: [ Dec, sc 5 ] x 2 (12).

Stuff the body, fasten off and weave in the ends.

Assembling:

  • Attach the head to the body.
  • Sew the arms to the body, placing them just below the head.
  • Sew the ears between R3-R5.
  • Cut two small oval pieces of black felt for the eyes and a small triangle for the nose.
  • Glue the eyes between R6 and R7 with 4 stitches in between.
  • Embroider an inverted V shape for the nose using black embroidery thread.
  • Glue the small triangle felt piece you cut for the nose above the inverted V shape.
  • Add blush using two small circles of pink felt.
  • Finally, make a small bow with satin ribbon and glue it to the neck.

And your teeny tiny bear is now done!

Click below image to save this pattern on Pinterest
Tiny teddy Pin

Looking for more tiny makes? Check below free patterns too!

Amigurumi Panda
Amigurumi cat
Amigurumi cat pattern
Amigurumi Axolotl
Amigurumi Axolotl
Amigurumi bear
Amigurumi bear

One Reply to “Tiny Teddy amigurumi”

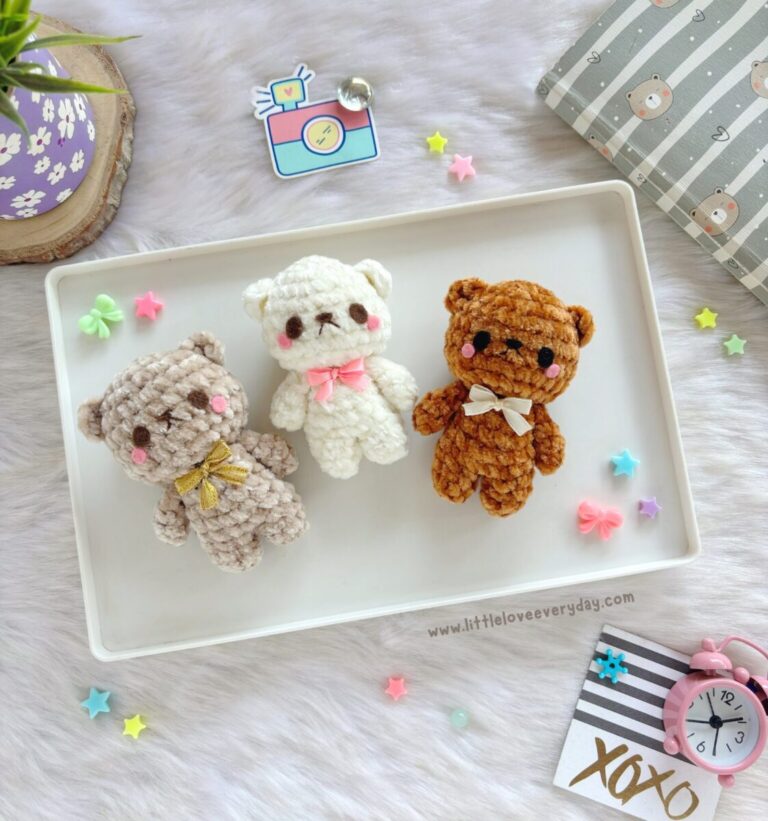
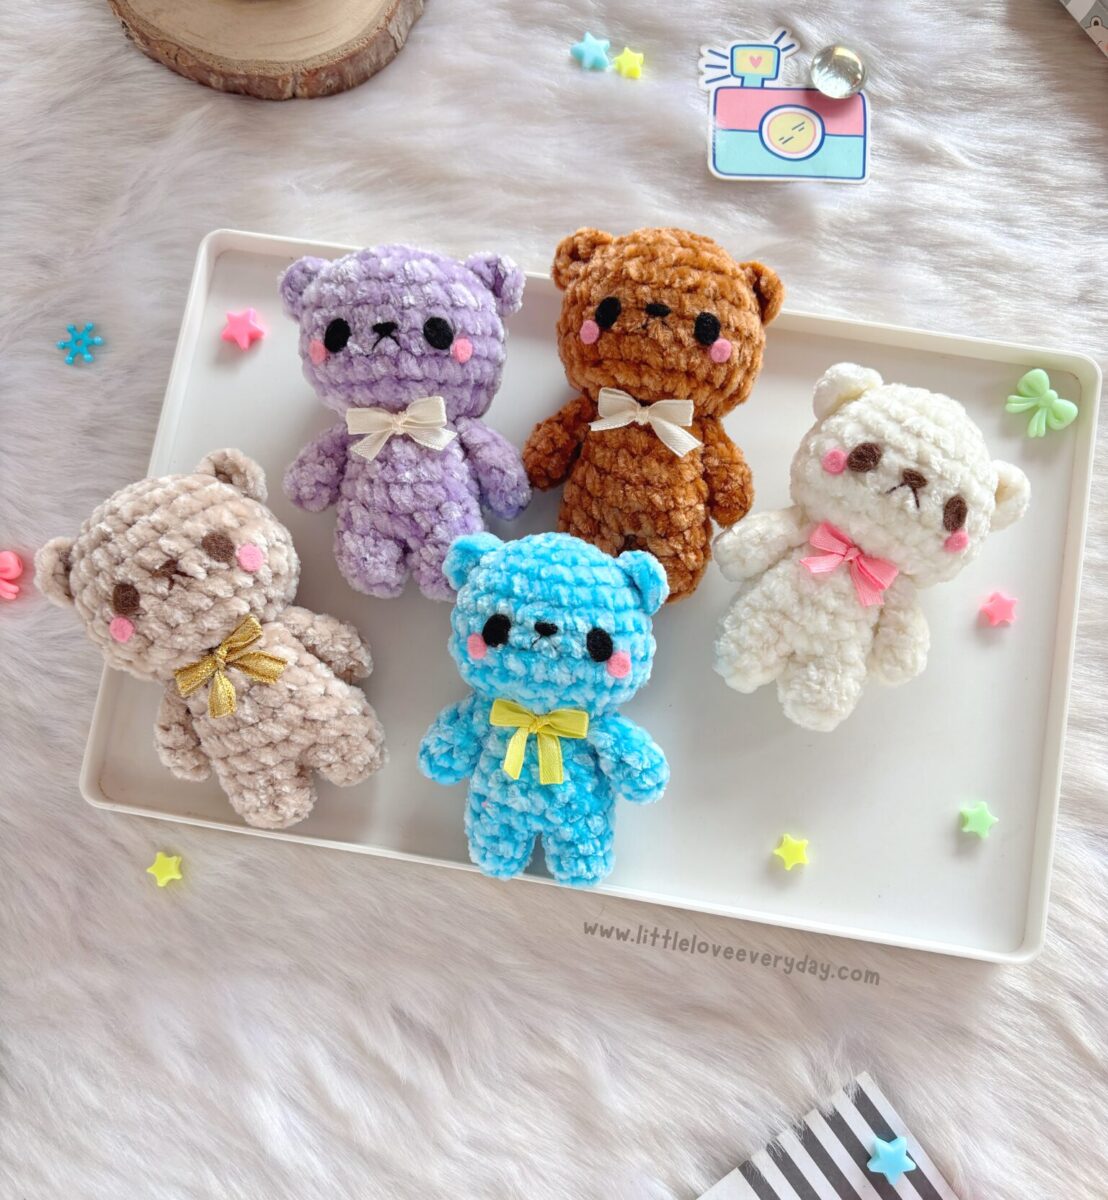
  1. thank you so much for so sweet bear pattern

Leave a Reply

Your email address will not be published.

You may use these <abbr title="HyperText Markup Language">HTML</abbr> tags and attributes: <a href="" title=""> <abbr title=""> <acronym title=""> <b> <blockquote cite=""> <cite> <code> <del datetime=""> <em> <i> <q cite=""> <s> <strike> <strong>

*