
Tag: amigurumi free patterns
-
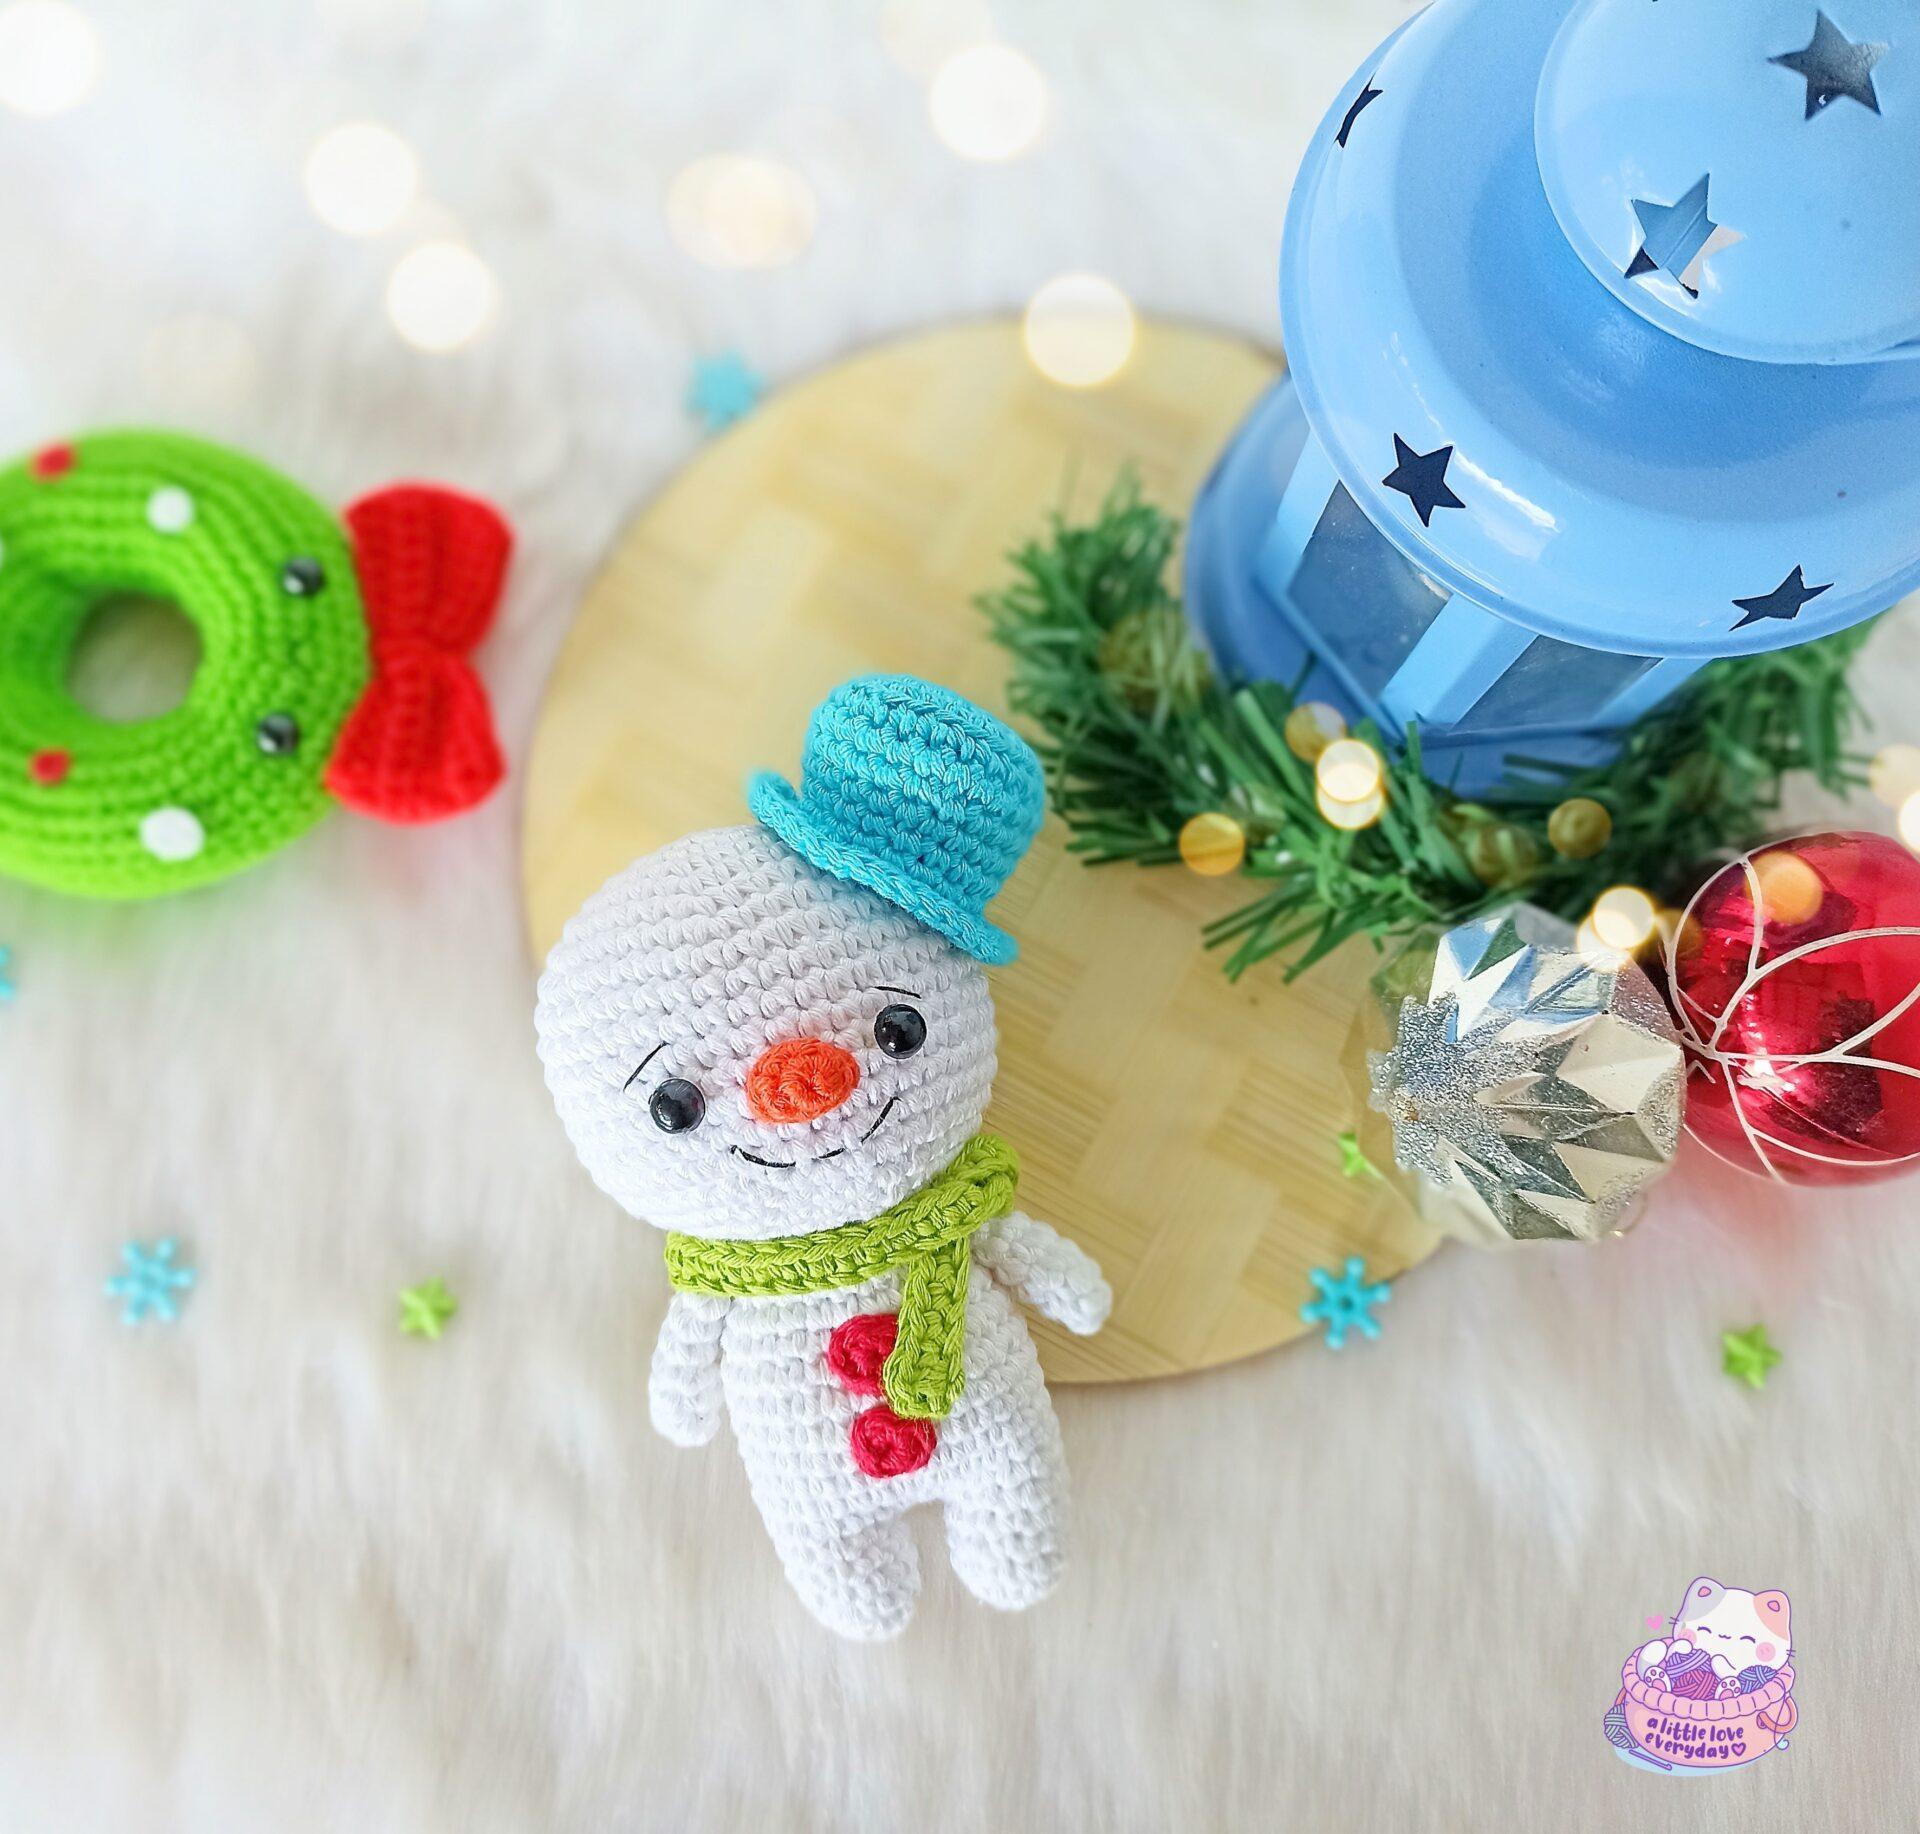
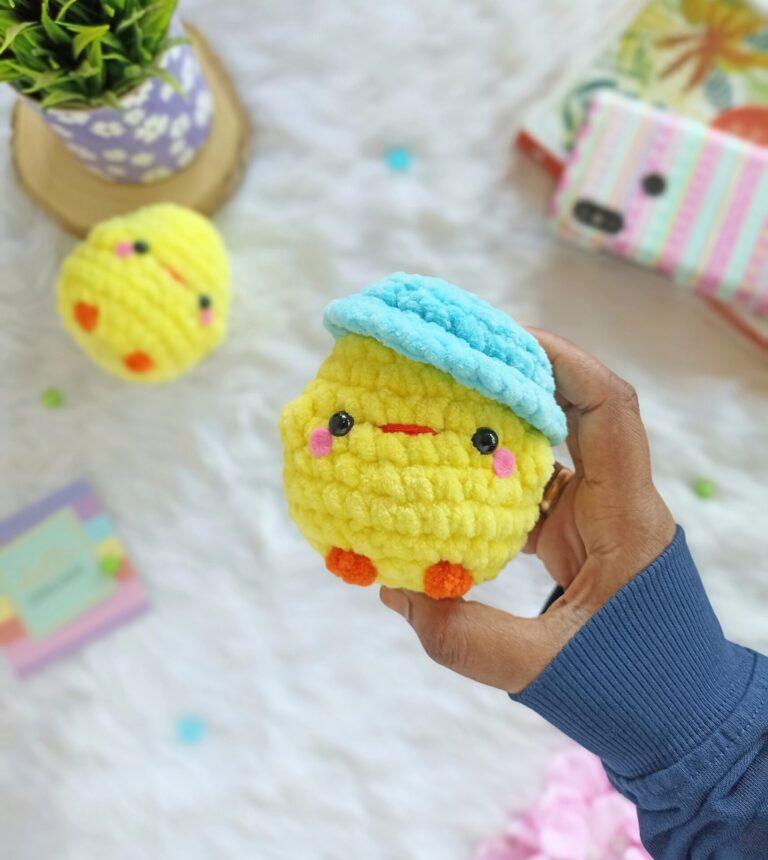
Amigurumi Snowman Pattern
Stitches/Abbreviations:
- R – round/ row.
- Ch – chain.
- St(s) – stitch(es).
- Sc – single crochet.
- Inc – increase (2sc in one st).
- Dec – decrease (sc 2 st together).
- BLO – back loops only.
- FLO – front loops only.
- Sl st – slip stitch.
- […] – repeat the instructions given in between the bracket.
-
- (..) – Total number of stitches
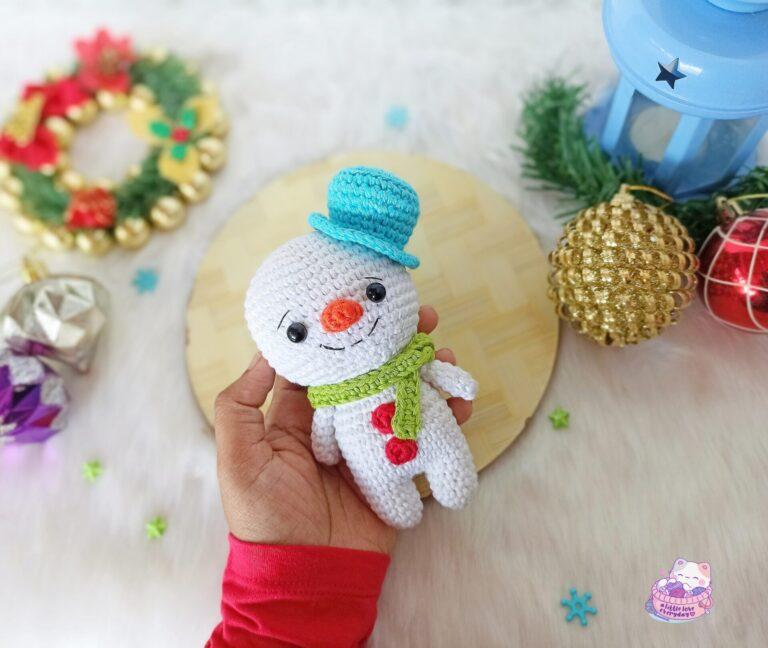
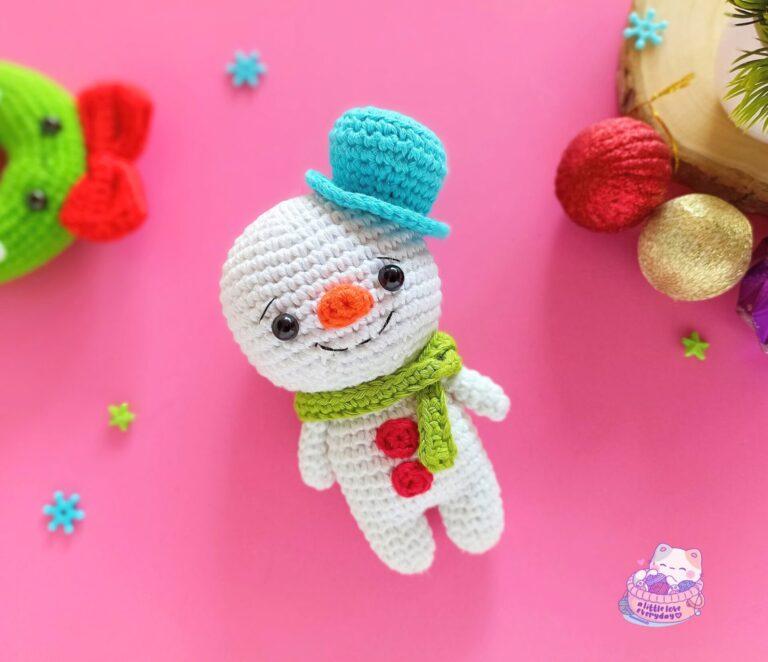
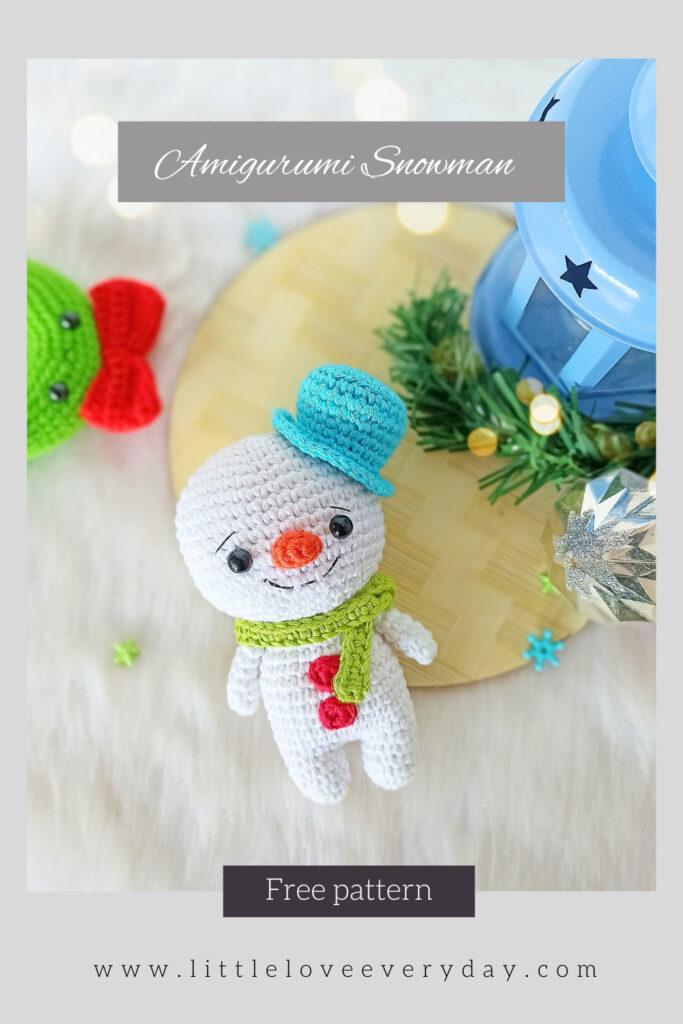

Snow man ornament 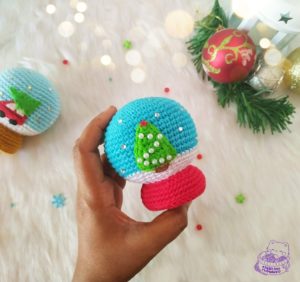
Crochet snow globe 
Christmas Wreath 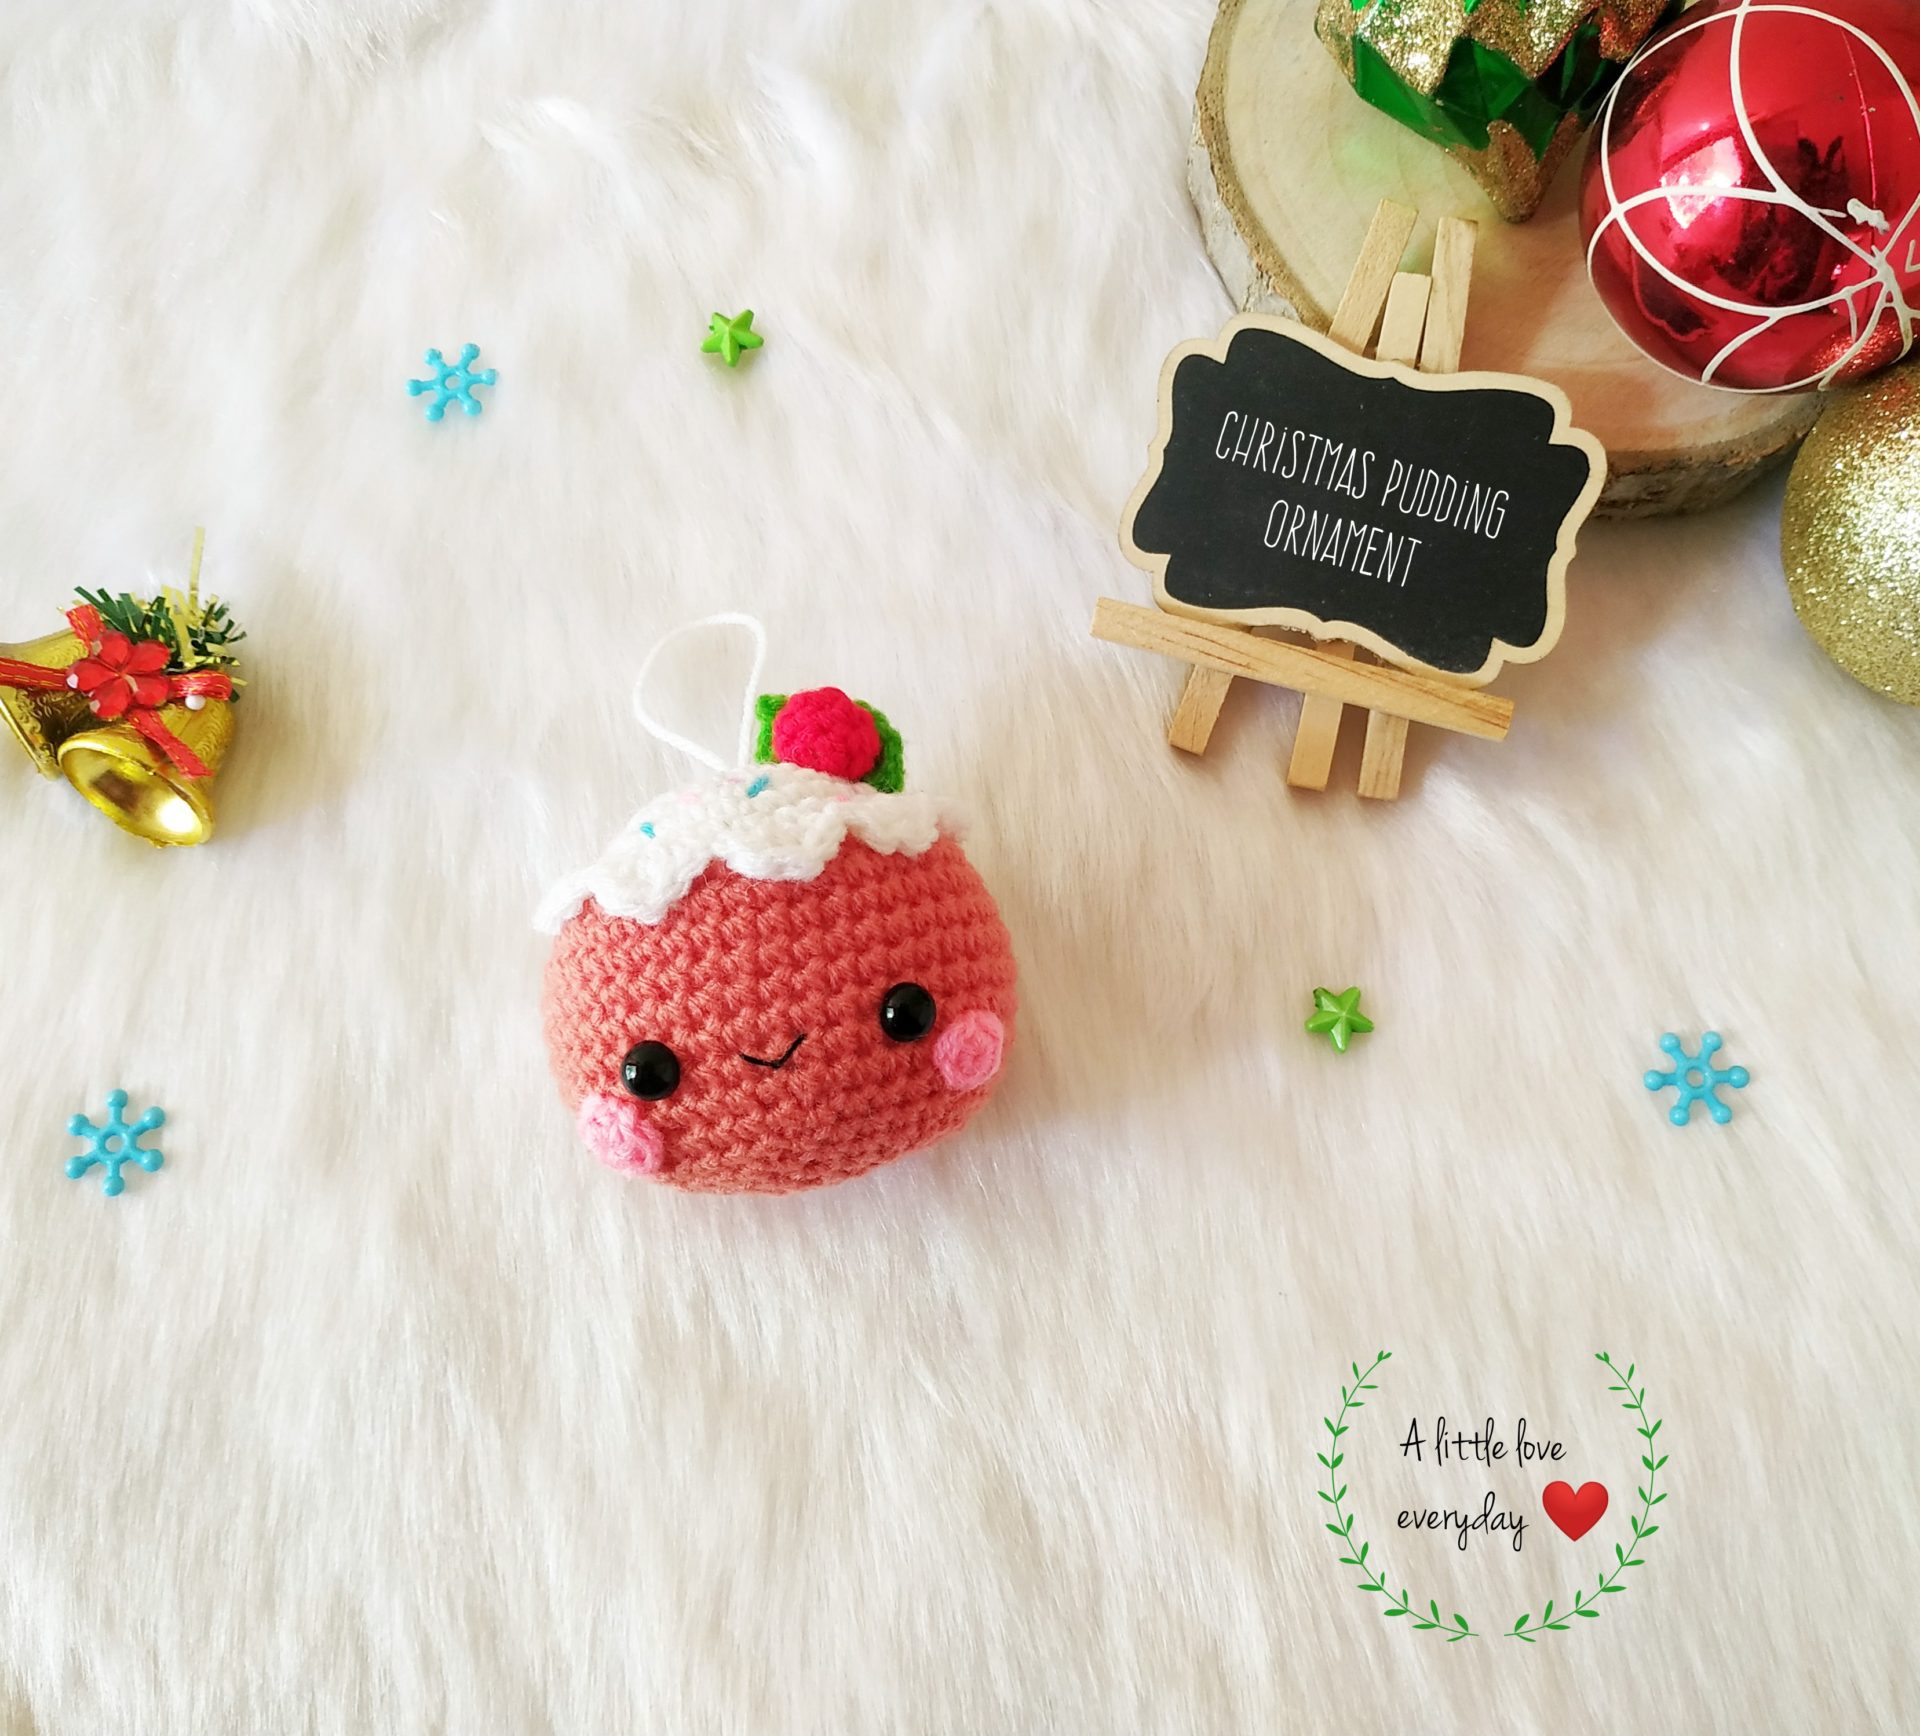
Christmas pudding ornament 
-

Amigurumi Tree stump
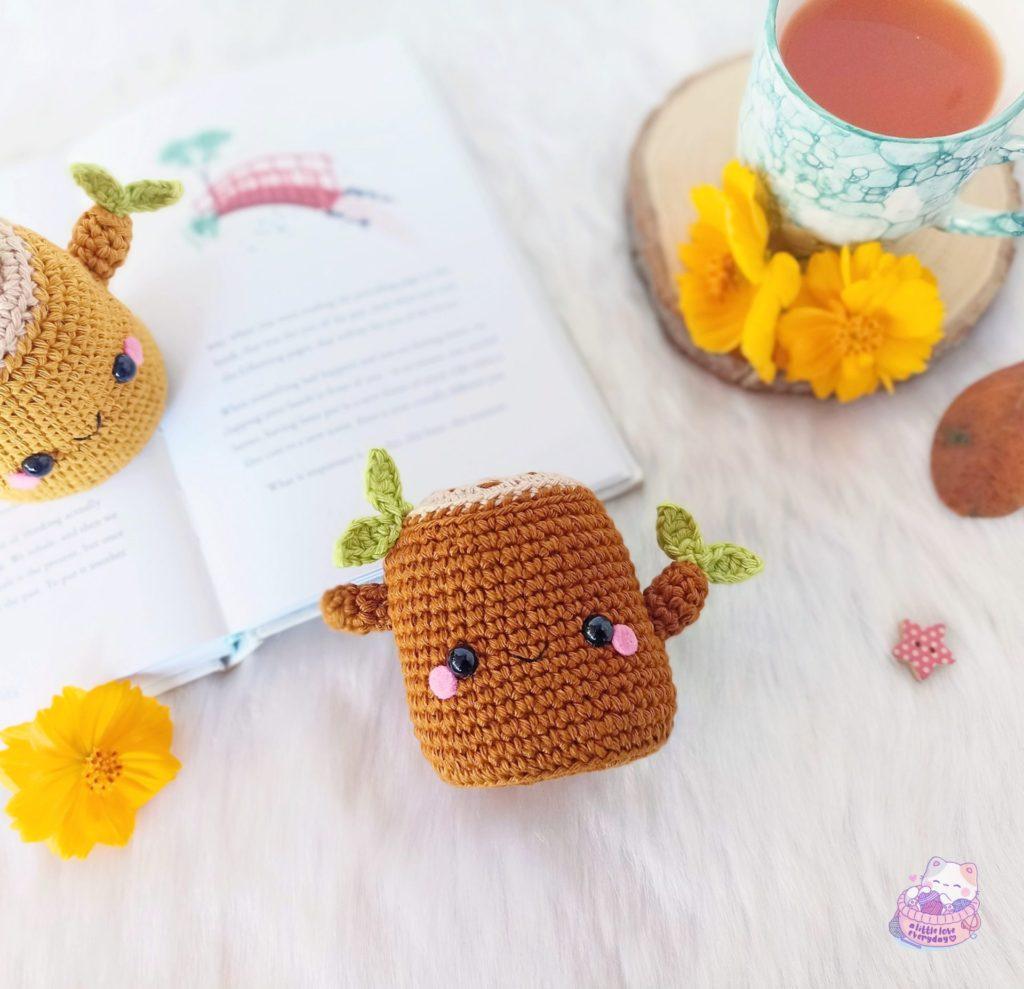
Hello all! Fall is just a day away and I’m sure many of you love this crisp and cozy weather. So I’m here with a tree stump amigurumi pattern to celebrate this season. Hope you’ll like it too.
(more…) -

Amigurumi candy pattern
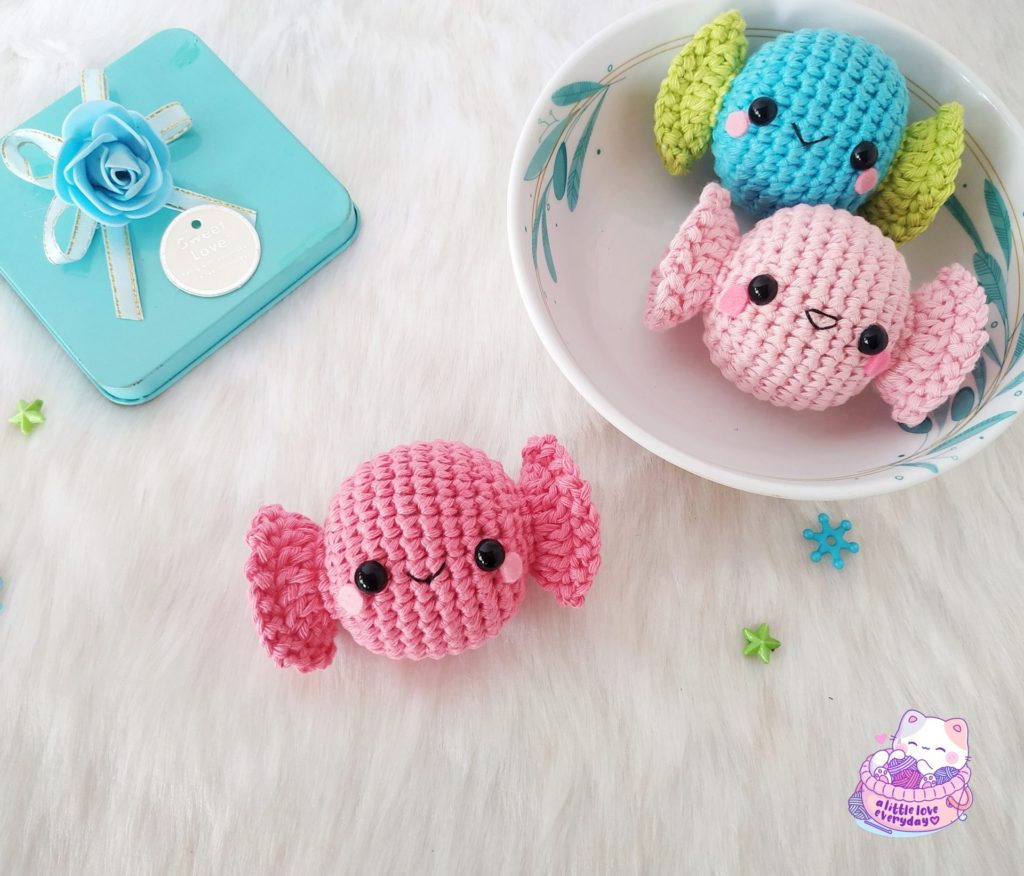
Having lots of scrap yarn lying around? Then this project is perfect for you. Make use of the leftover yarns to create these cute and colourful amigurumi candy. I’m sure kids will love it.
(more…) -
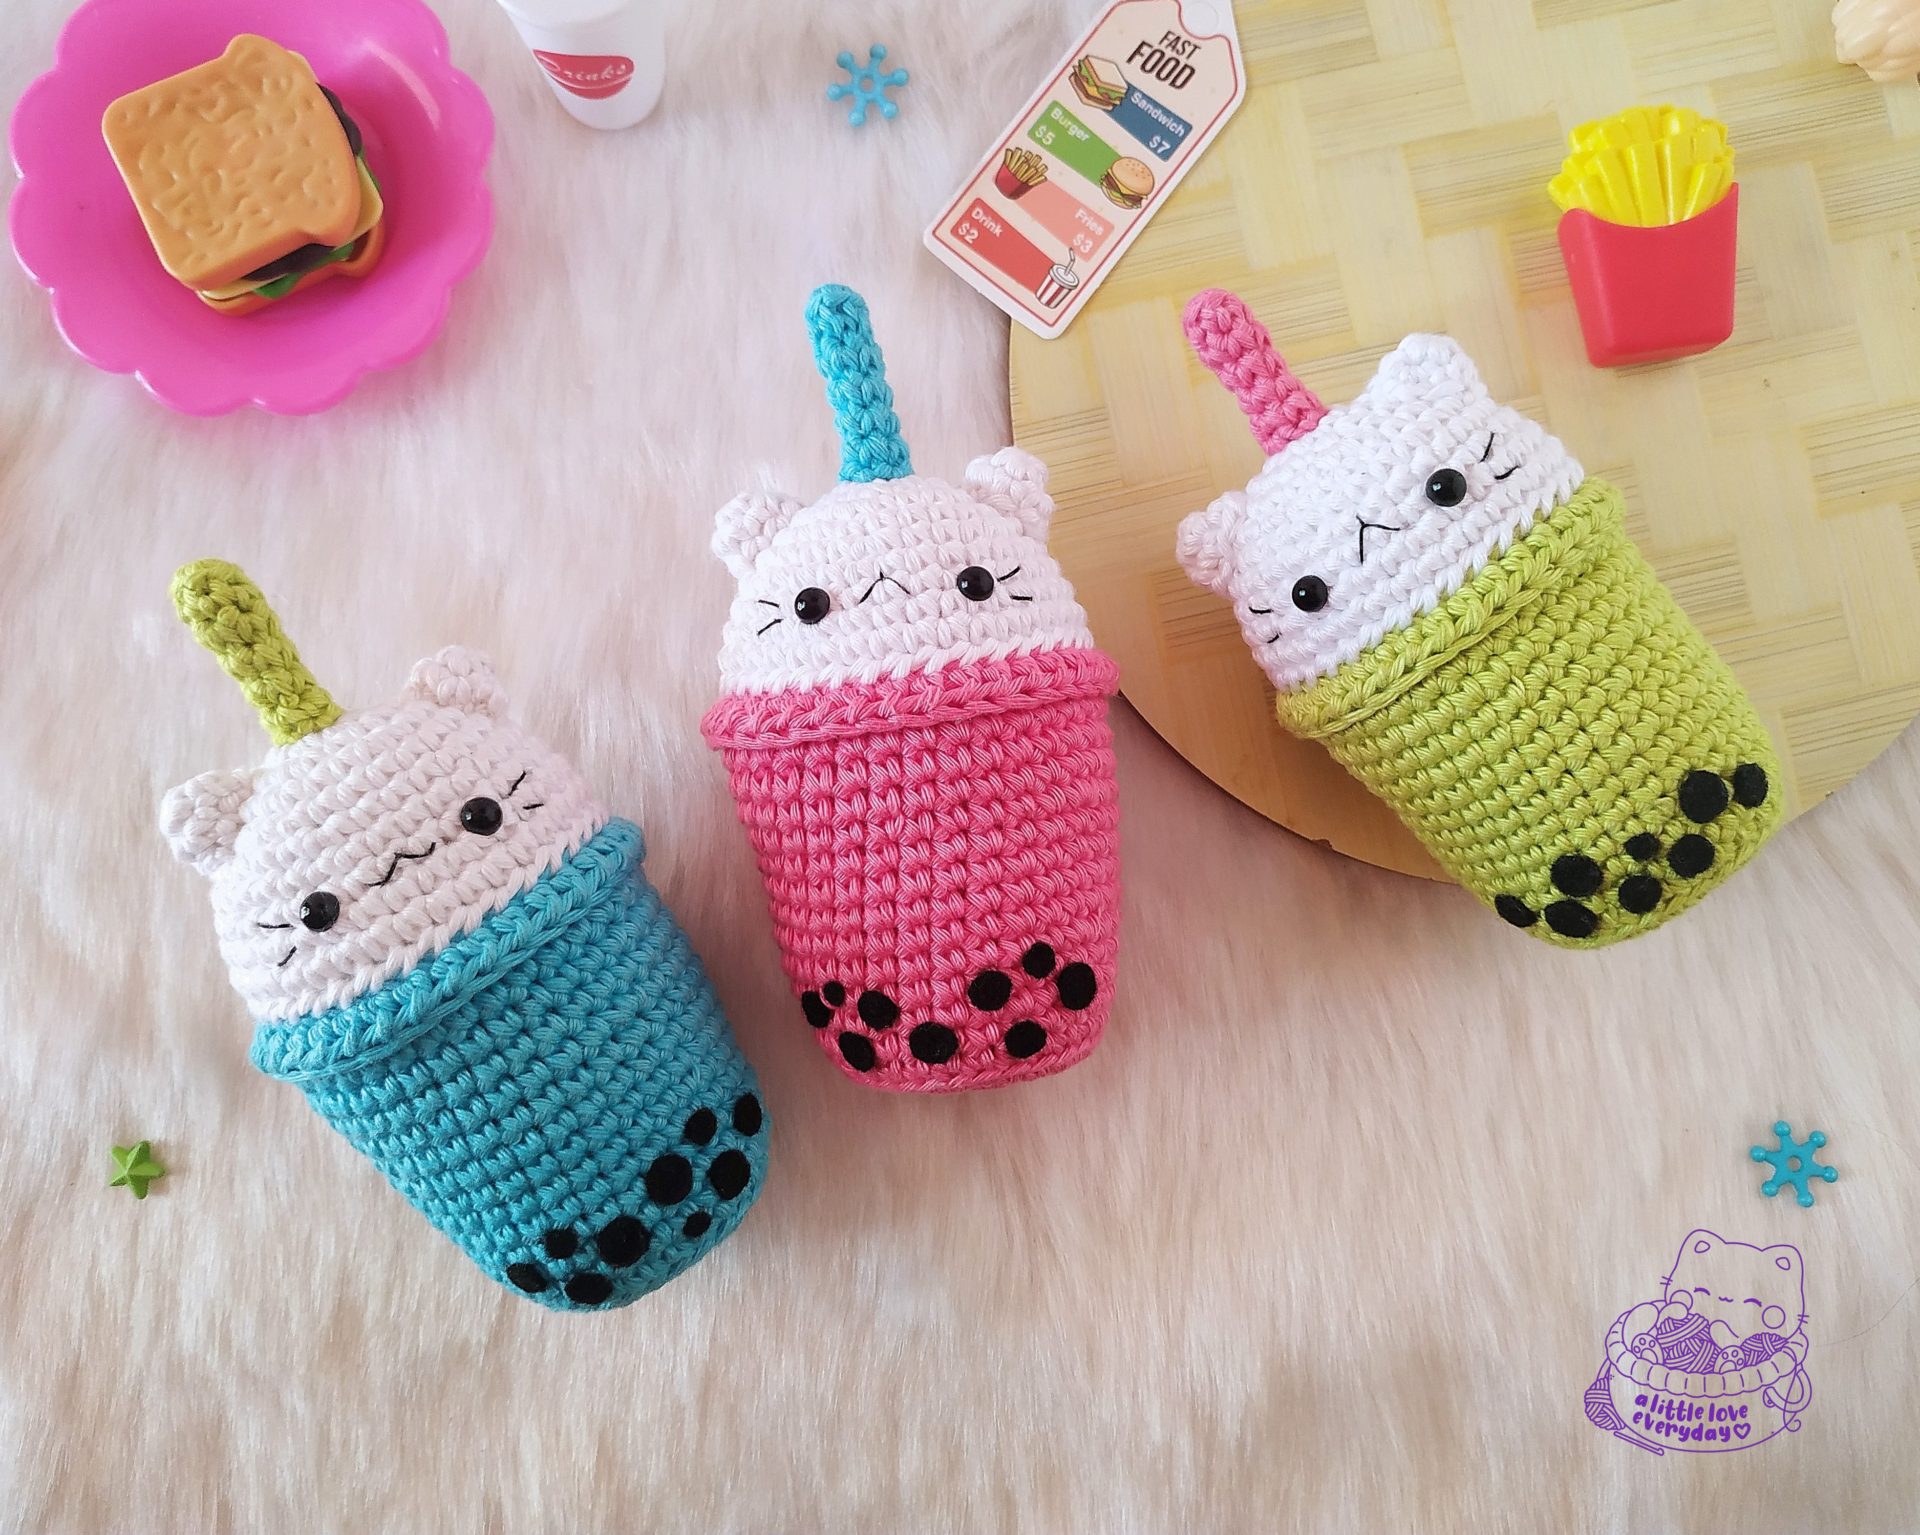
Boba cat amigurumi pattern
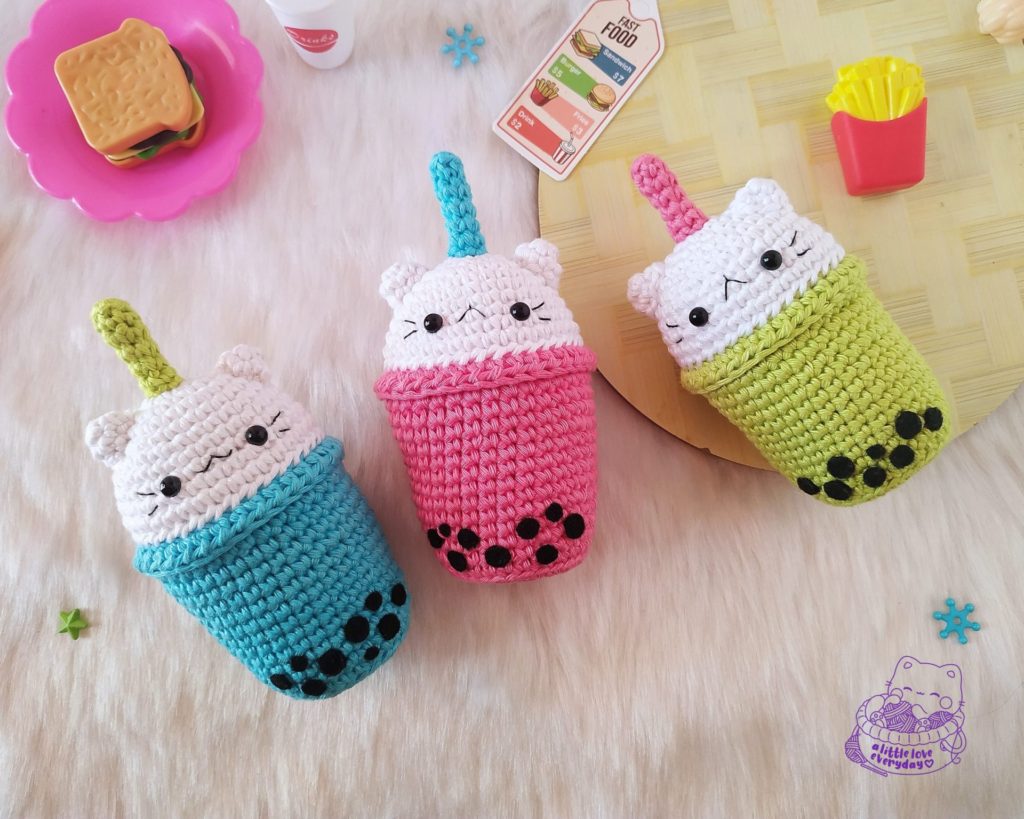
Hello all! I know many of us like to make cute food amigurumi as much as animals. So a yummy drink combined with cute animal is a double treat right! Let’s learn how to make a Boba cat amigurumi today 🙂
(more…) -

Amigurumi Sun pattern
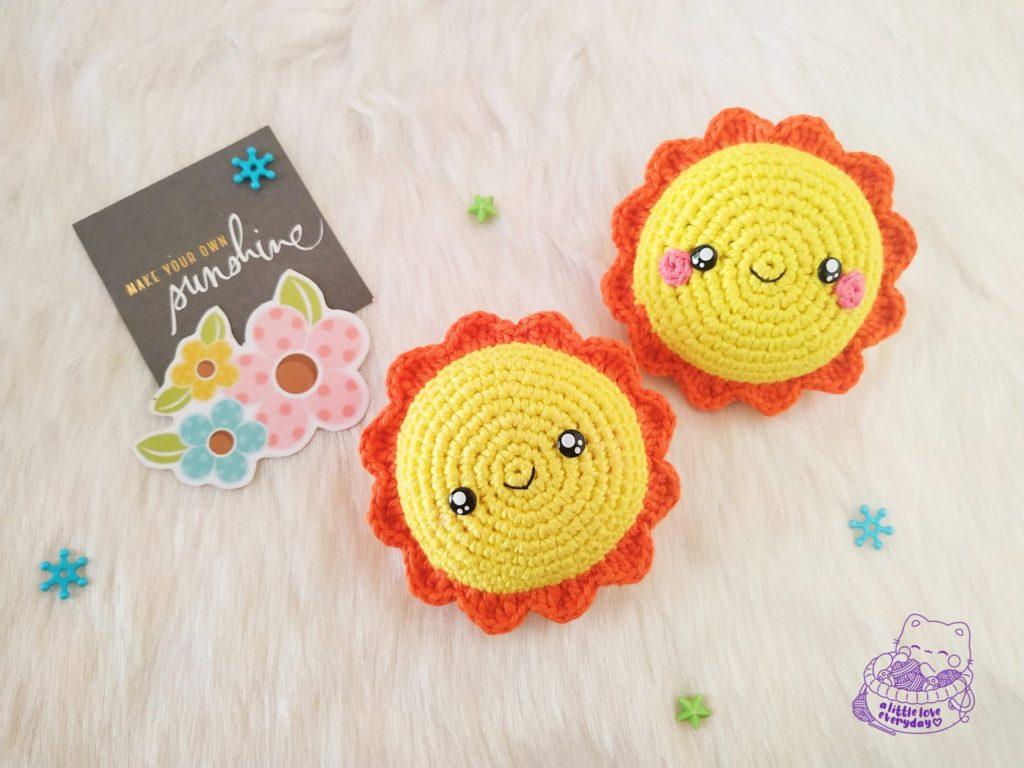
Make your own sunshine!
To me, sunshine represents happiness and hope. We could all use a little sunshine with all things happening in the world right now. It’s important to look at the brighter side even at darker times. So I’m here with a cute little amigurumi sun to brighten your day.
It’s a simple and beginner friendly project. You can turn it into a rattle by adding a sound box while stuffing. Let’s see how to make this amigurumi sun.
(more…)