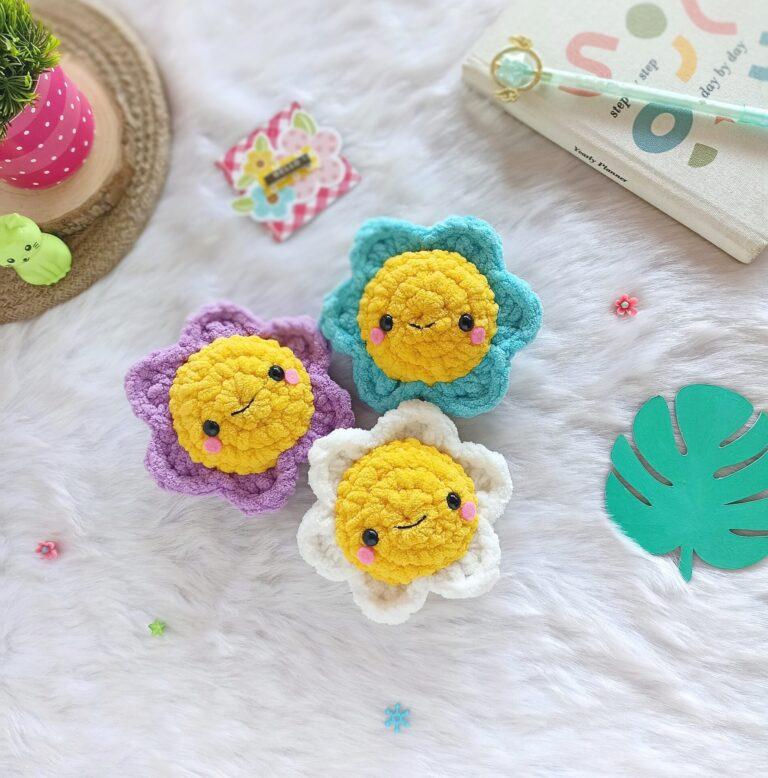
Spring has arrived! It’s the season of joy and new beginnings. I’m here with a cute Daisy flower amigurumi pattern to share the joy and celebrate this wonderful season. It’s a super quick and fun project so you can whip up lots of these flowers in no time.
Please note: This daisy flower amigurumi pattern is for personal use only. Please don’t copy, alter, reproduce, distribute or sell this pattern in whole or in parts. You may sell the finished products but kindly credit me as designer and link back to this post.
Instructions:
This pattern is written in US English terms and worked in continuous rounds unless stated otherwise.
Materials needed:
- Bulky weight blanket yarn in yellow and blue.
- 5 mm crochet hook.
- 12 mm safety eyes.
- Polyester fiberfill for stuffing.
- Black embroidery thread and needle.
- Pink felt for blush.
- Tapestry needle, stitch markers and scissors.
Abbreviations:
- R – round/ row.
- ch – chain.
- st(s) – stitch(es).
- sc – single crochet.
- hdc – half double crochet.
- dc – double crochet.
- trc – triple crochet/treble crochet.
- BLO – back loops only.
- inc – increase (2sc in one st).
- dec – decrease (sc 2 st together).
- Sl st – slip stitch.
- […] – repeat the instructions given in between the bracket.
- (…) – total number of stitches.
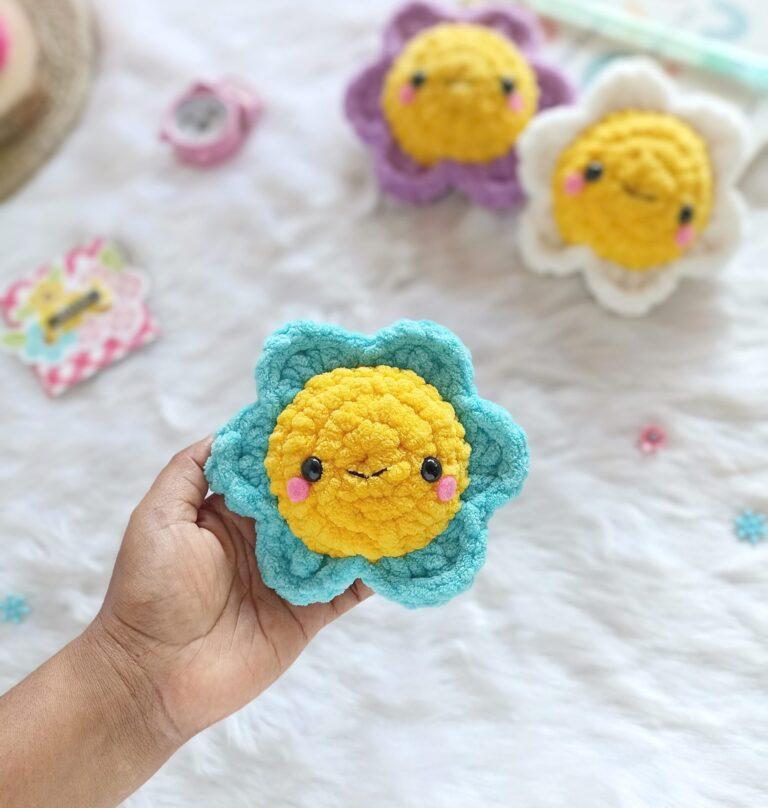
Pattern Instruction:
Flower centre:
Using yellow yarn,
R1: 8 sc in a magic ring (8).
R2: Inc in each st (16).
R3: [ Sc, inc ] x 8 (24).
R4: Sc in each st (24).
R5: (work in BLO) [ Sc 2, dec ] x 6 (18).
R6: [ Sc, dec ] x 6 (12).
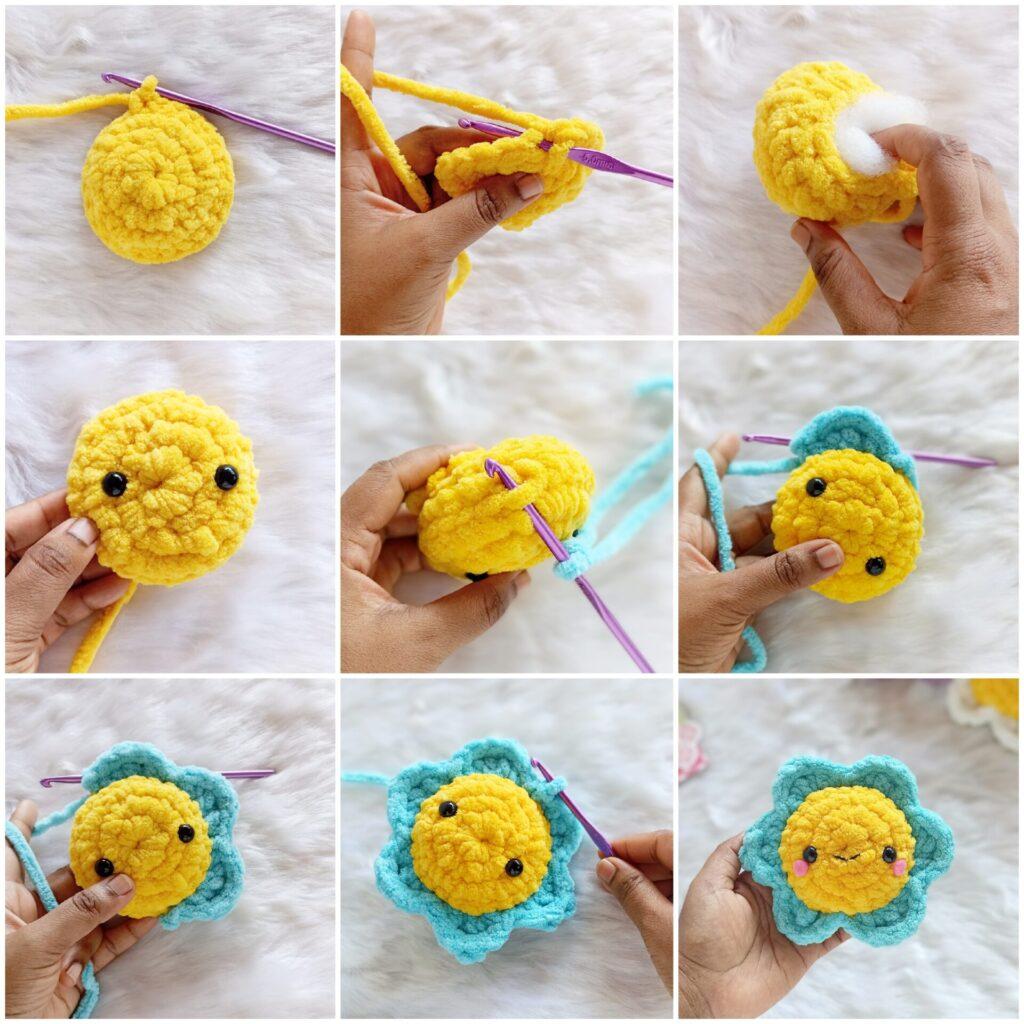
Insert 12 mm safety eyes between R2 and R3 on both sides from the centre.
Stuff with fibrefill.
R7: Dec x 6 (6).
Fasten off leaving a long tail. Weave the yarn tail through the front loops of the remaining 6 stitches. Pull tight to close the hole and weave in the yarn tail.
Petals:
Insert blue yarn into the front loop of first stitch on R4 and
[ sl st, (hdc, dc), trc inc, (dc, hdc) ] x 6.
Finally sl st to the first st.
Fasten off and weave in the ends.
Finally embroider a smile and add in blush.
And your cute little flower is ready! You can add a string and turn it into a car hanging or even make a flower garland.
CLICK BELOW IMAGE TO SAVE THIS PATTERN ON PINTEREST
I really hope you enjoy making this flower amigurumi pattern. Do share your works on Instagram using the hashtag #littleloveeveryday as I would love to see your works.
Looking for more spring themed amigurumi? Check below free patterns.
