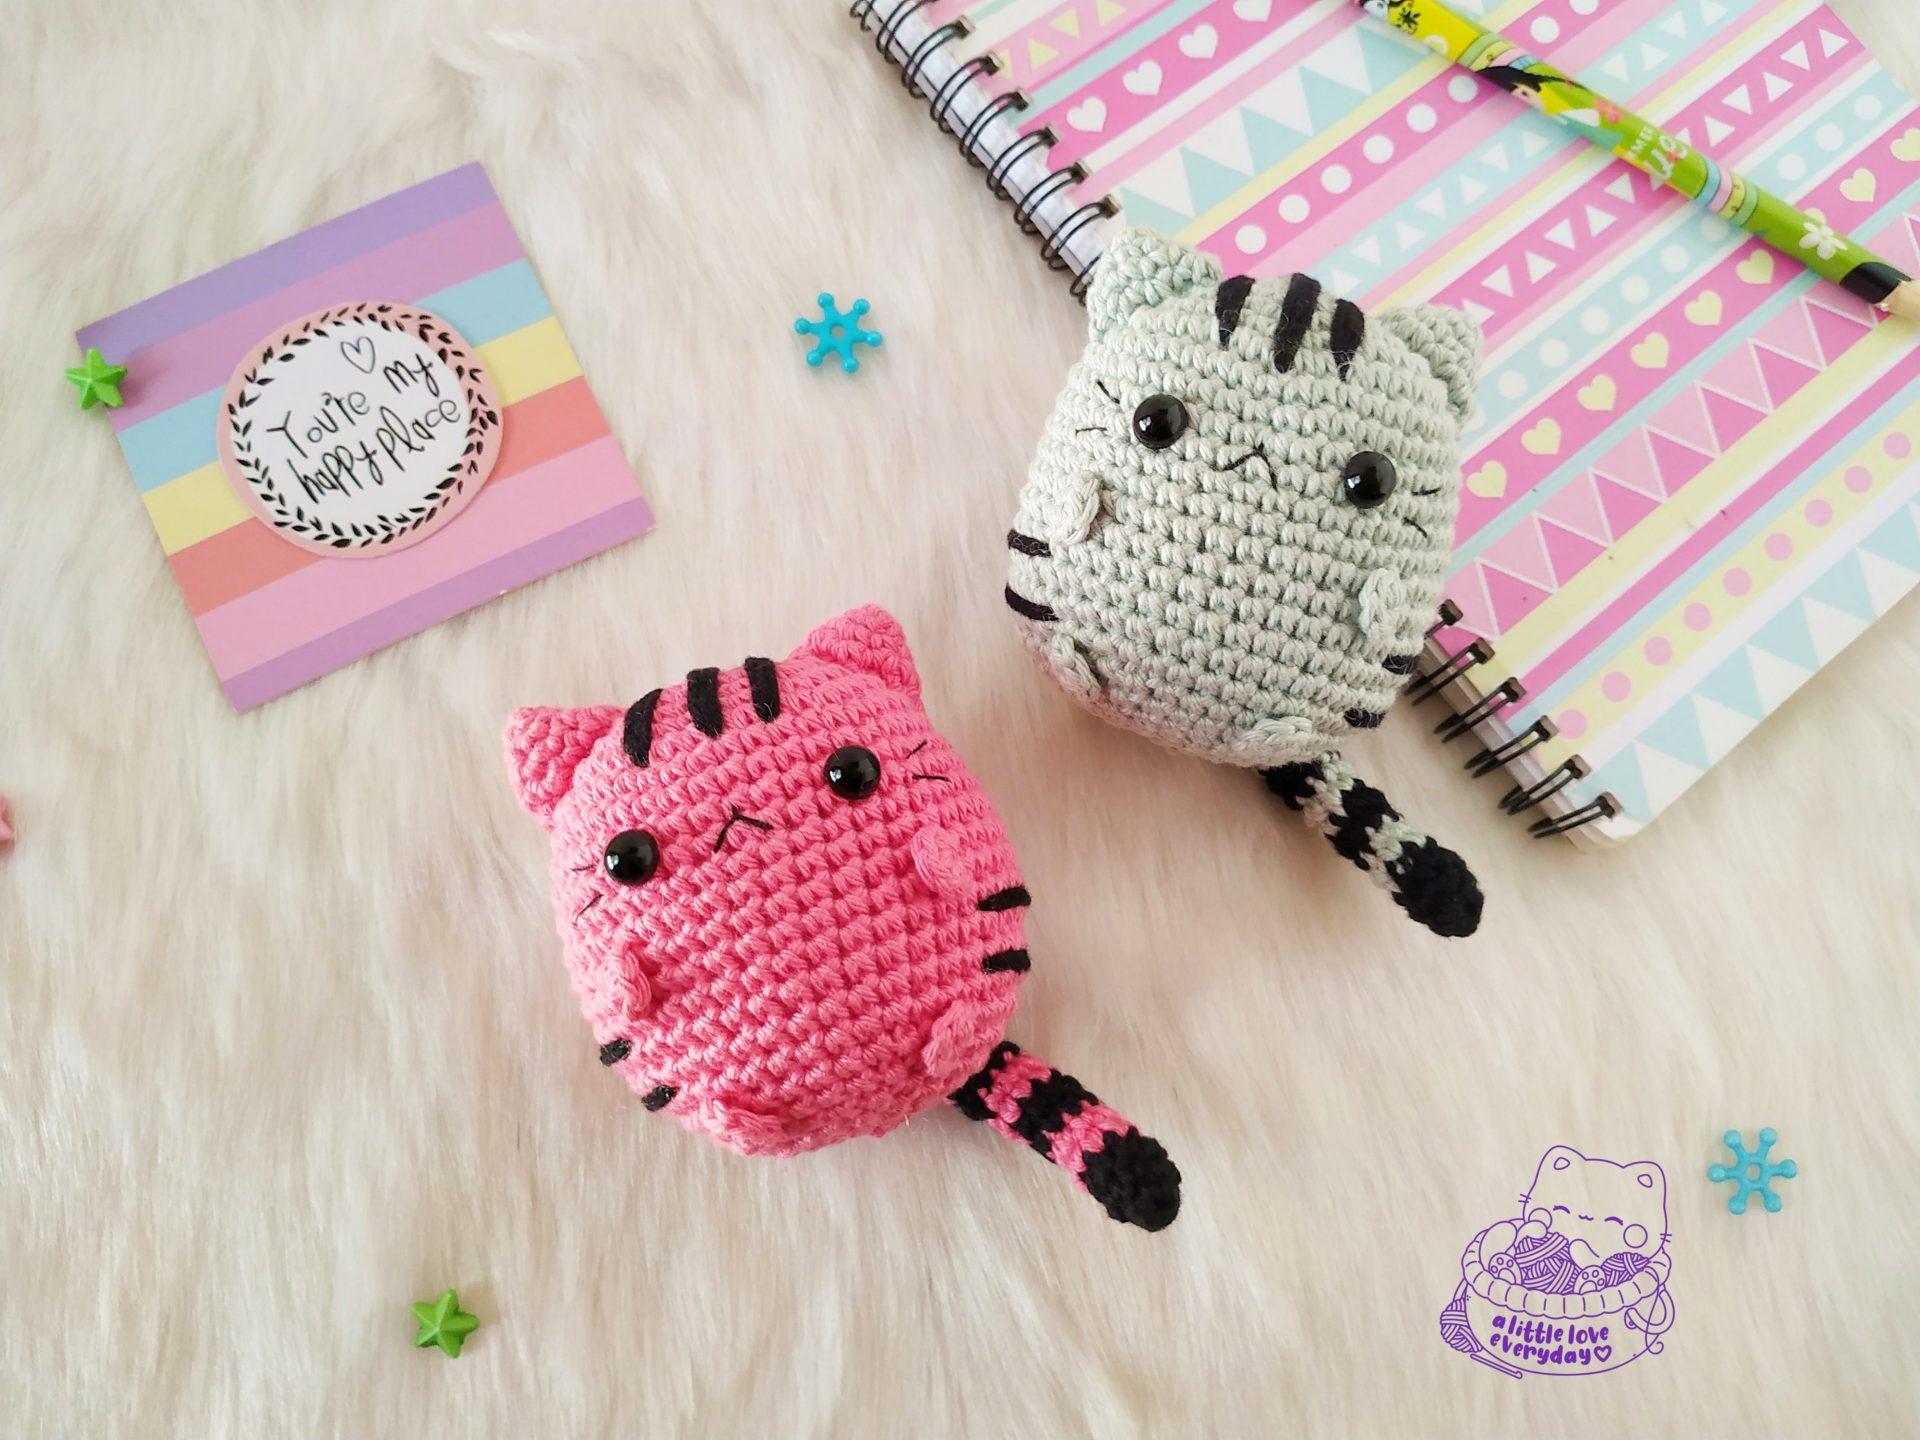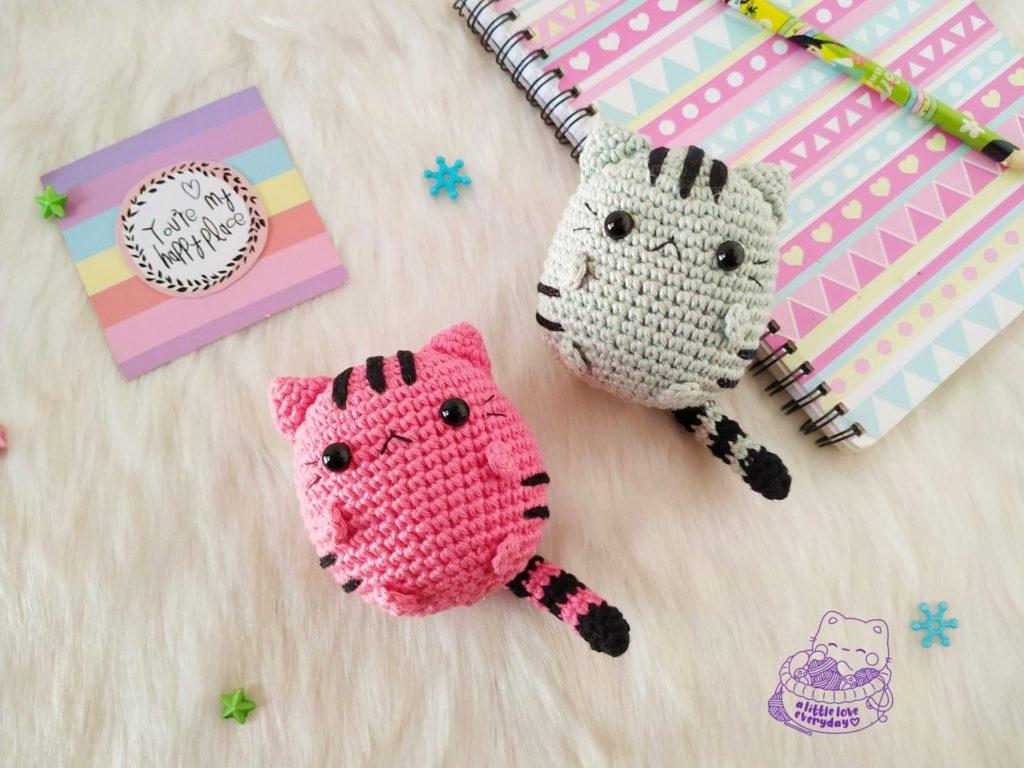
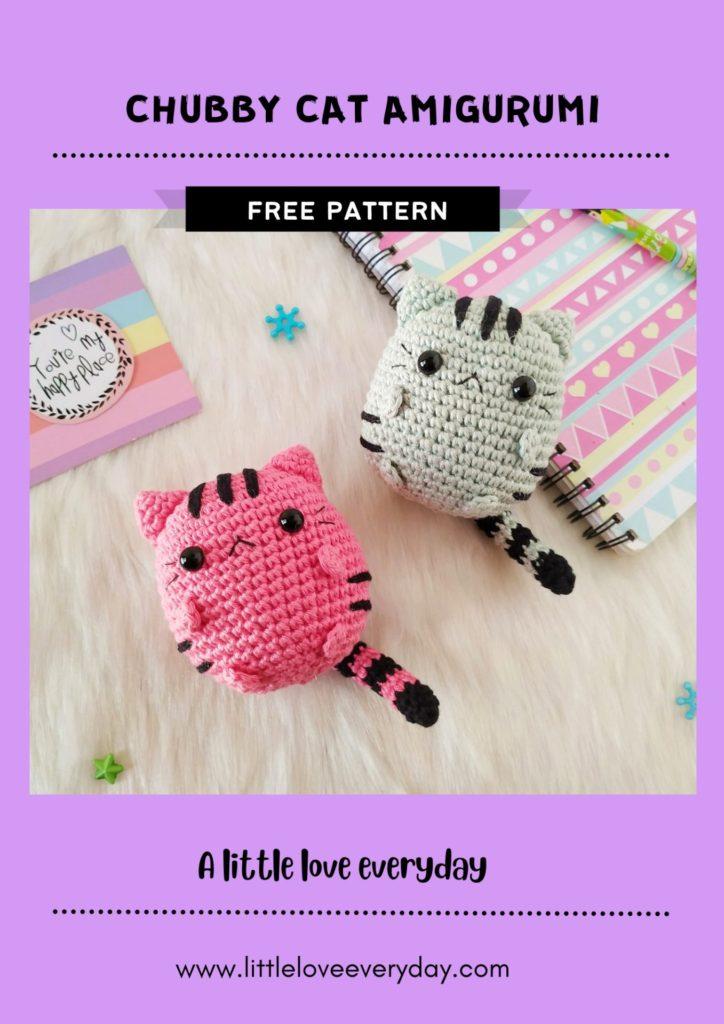
Remember the Pastel cat pattern that I published on my old blog back in 2019? I recently made these chubby cat amigurumi again to make a pdf pattern and thought why not update the little changes here.
The pattern basically remains same but I’ve changed the pattern instruction style so it’s easier to understand. There’s little changes in the tail and included additional details on stripes. So I hope this new version helps to make a cute chubby cat amigurumi.
You can buy the pdf pattern with step by step instructions and detailed pictures from my Ravelry shop
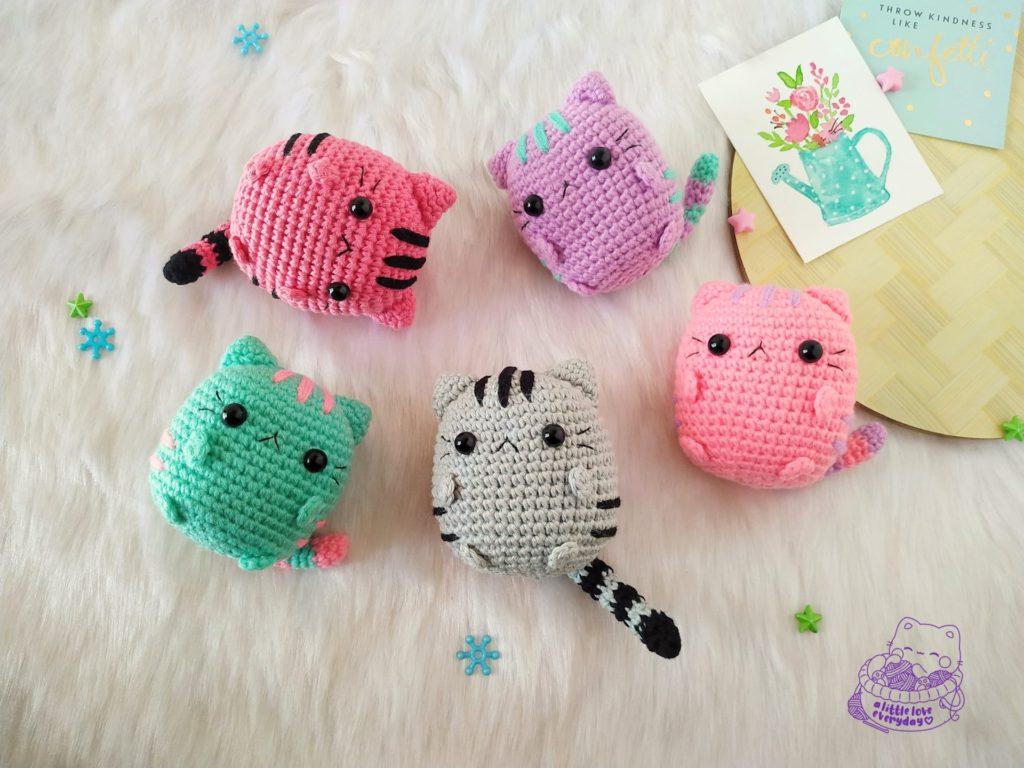
Materials needed:
- Sport weight cotton yarn in any two colours of your choice ( I have used pink as main colour and black for stripes)
- 2 mm crochet hook.
- 8 mm flat back or safety eyes.
- Fiber fill for stuffing.
- Tapestry needle.
- Black embroidery thread and needle.
Head and body:
Using pink yarn,
R1: 6 sc in a magic ring (6).
R2: Inc in each st (12).
R3: [ Sc, inc ] x 6 (18).
R4: [ Sc 2, inc ] x 6 (24).
R5: [ Sc 3, inc ] x 6 (30).
R6: [ Sc 4, inc ] x 6 (36).
R7: [ Sc 5, inc ] x 6 (42).
R8-19: Sc in each st (42).
R20: [ Sc 5, dec ] x 6 (36).
Insert safety eyes between R10 and R11 with 7 stitches in between.
R21: [ Sc 4, dec ] x 6 (30).
R22: [ Sc 3, dec ] x 6 (24).
R23: [ Sc 2, dec ] x 6 (18).
Stuff firmly with fiberfill and continue to stuff till the end.
R24: [ Sc, dec ] x 6 (12).
R25: Dec x 6 (6).
Fasten off and close the ends.
Legs (Make 4):
Using pink yarn,
5 sc in magic ring.
Don’t join and fasten off leaving
a long tail for sewing.
Ears (Make 2):
Using pink yarn,
R1: 4 sc in magic ring (4).
R2: [ Sc, inc ] x 2 (6).
R3: [ Sc, inc ] x 3 (9).
R4: [ Sc 2, inc ] x 3 (12).
Fasten off leaving a long tail for sewing.
Tail:
Start with black yarn,
R1: 6 sc in magic ring.
R2: [ Sc 2, inc ] x 2 (8).
R3: Sc in each st (8).
R4-R5: (Pink) Sc in each st (8).
R6-R7: (Black) Sc in each st (8).
R8-R9: (Pink) Sc in each st (8).
R10-R11: (Black) Sc in each st (8).
R12-R13: (Pink) Sc in each st (8).
R14-R15: (Black Sc in each st (8).
R16-R17: (Pink Sc in each st (8).
Sc through both the top layers to close.
Fasten off leaving a long tail for sewing.
Assembling:
- Sew the ears from R4 to R8.
- Attach the forelegs slantingly from R14 to R15.
- Attach the hind legs slanting inward from R20 to R21.
- Using 2 or 3 strands of embroidery thread, make an inverted ‘v’ shape for the mouth
- Sew the whiskers one stitch away from the eyes.
- Using Tapestry needle and black yarn, make 3 long stripes from top of the head to R7 at the center.
- Similarly make 2 more stripes at the sides, 2 stitches away from the center stripe.
- Add in 2 side stripes at R16 and another at R18 on both sides of the body.
- Sew 2 back stripes at R10 and another at R12 at the back of the body.
- Finally attach the tail slantingly from R18 to R19 at the back.

And your little cat is now done!
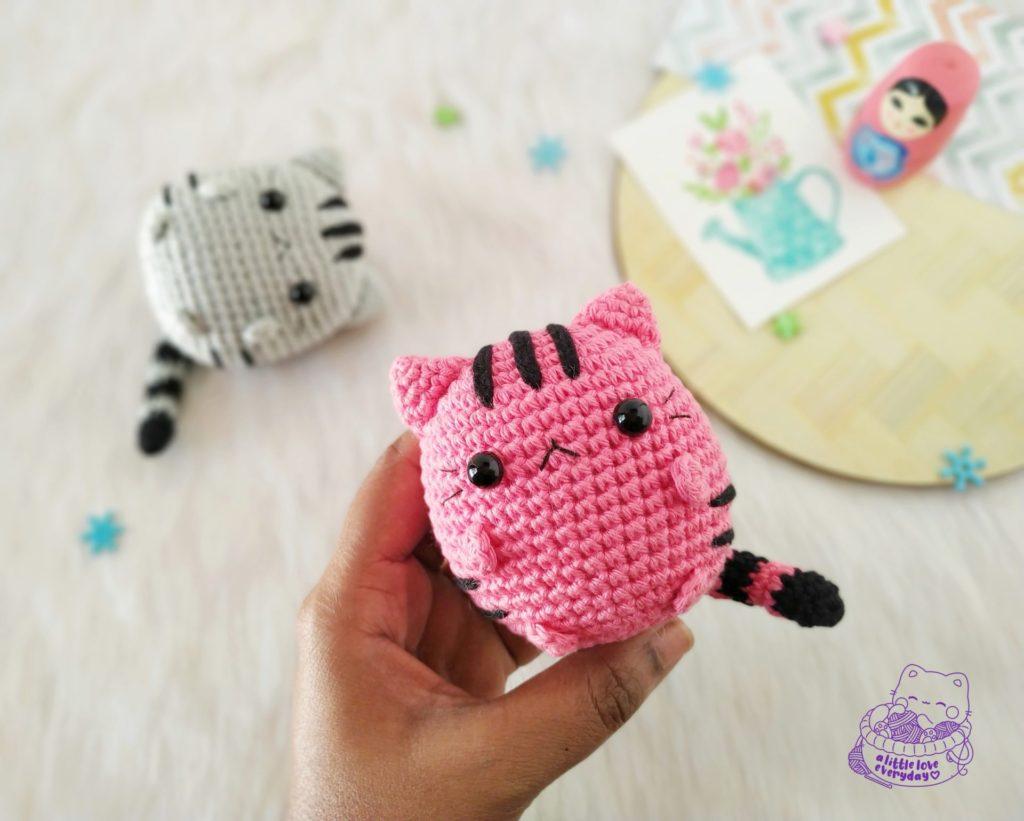
Click below image to save this pattern on Pinterest
I really hope you enjoyed making this chubby cat amigurumi. I’d love to see your works. Share your makes on instagram @littleloveeveryday using the hashtag #littleloveeveryday.
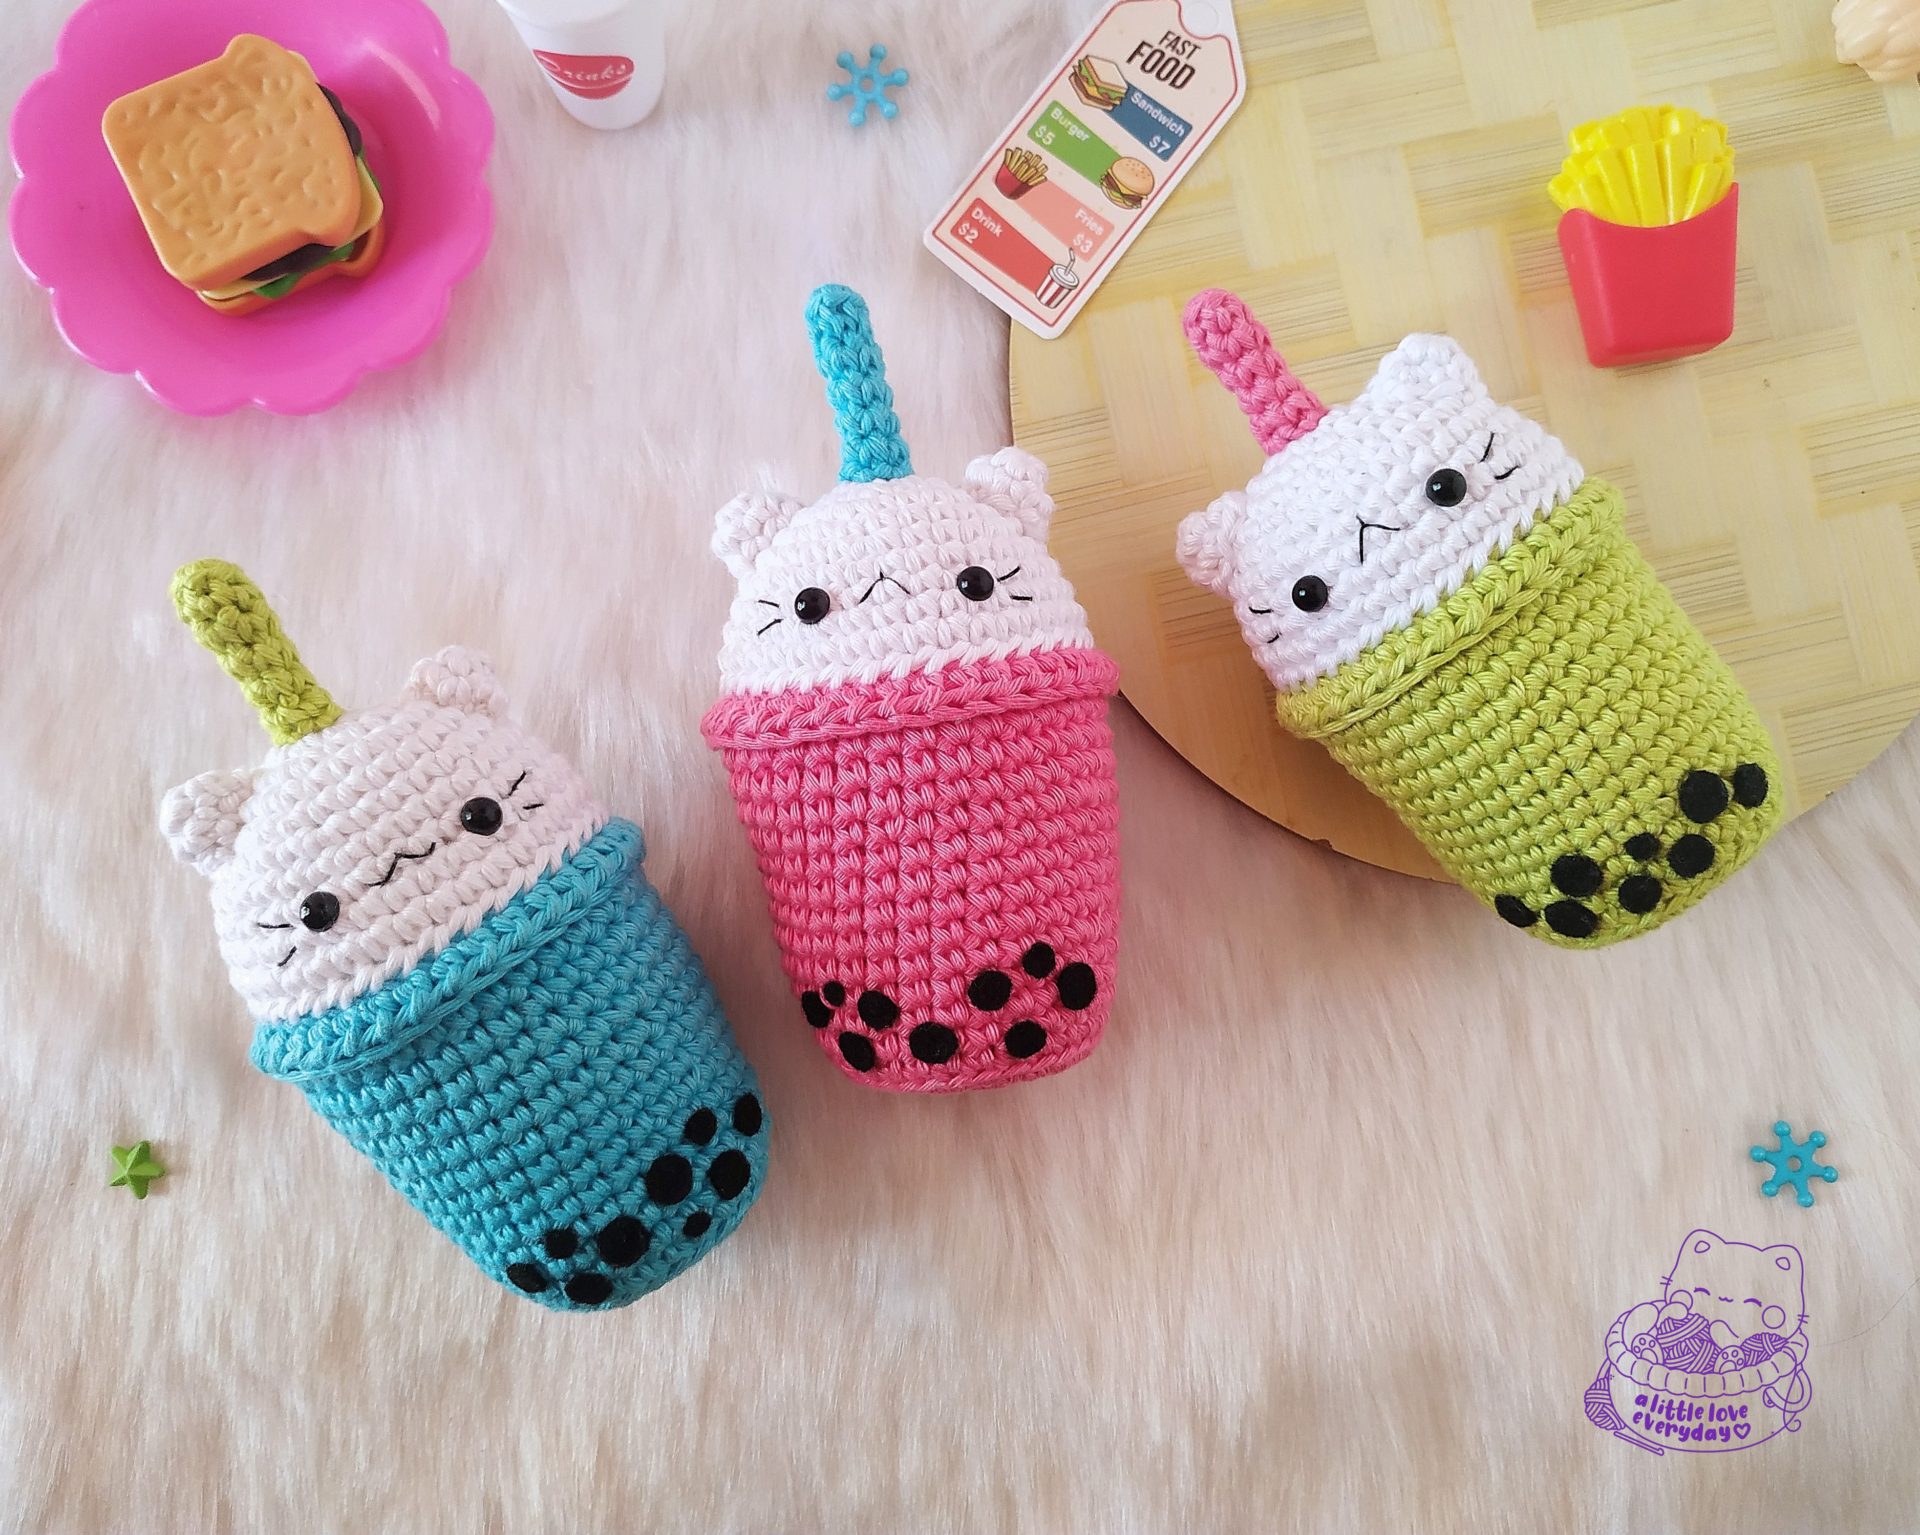
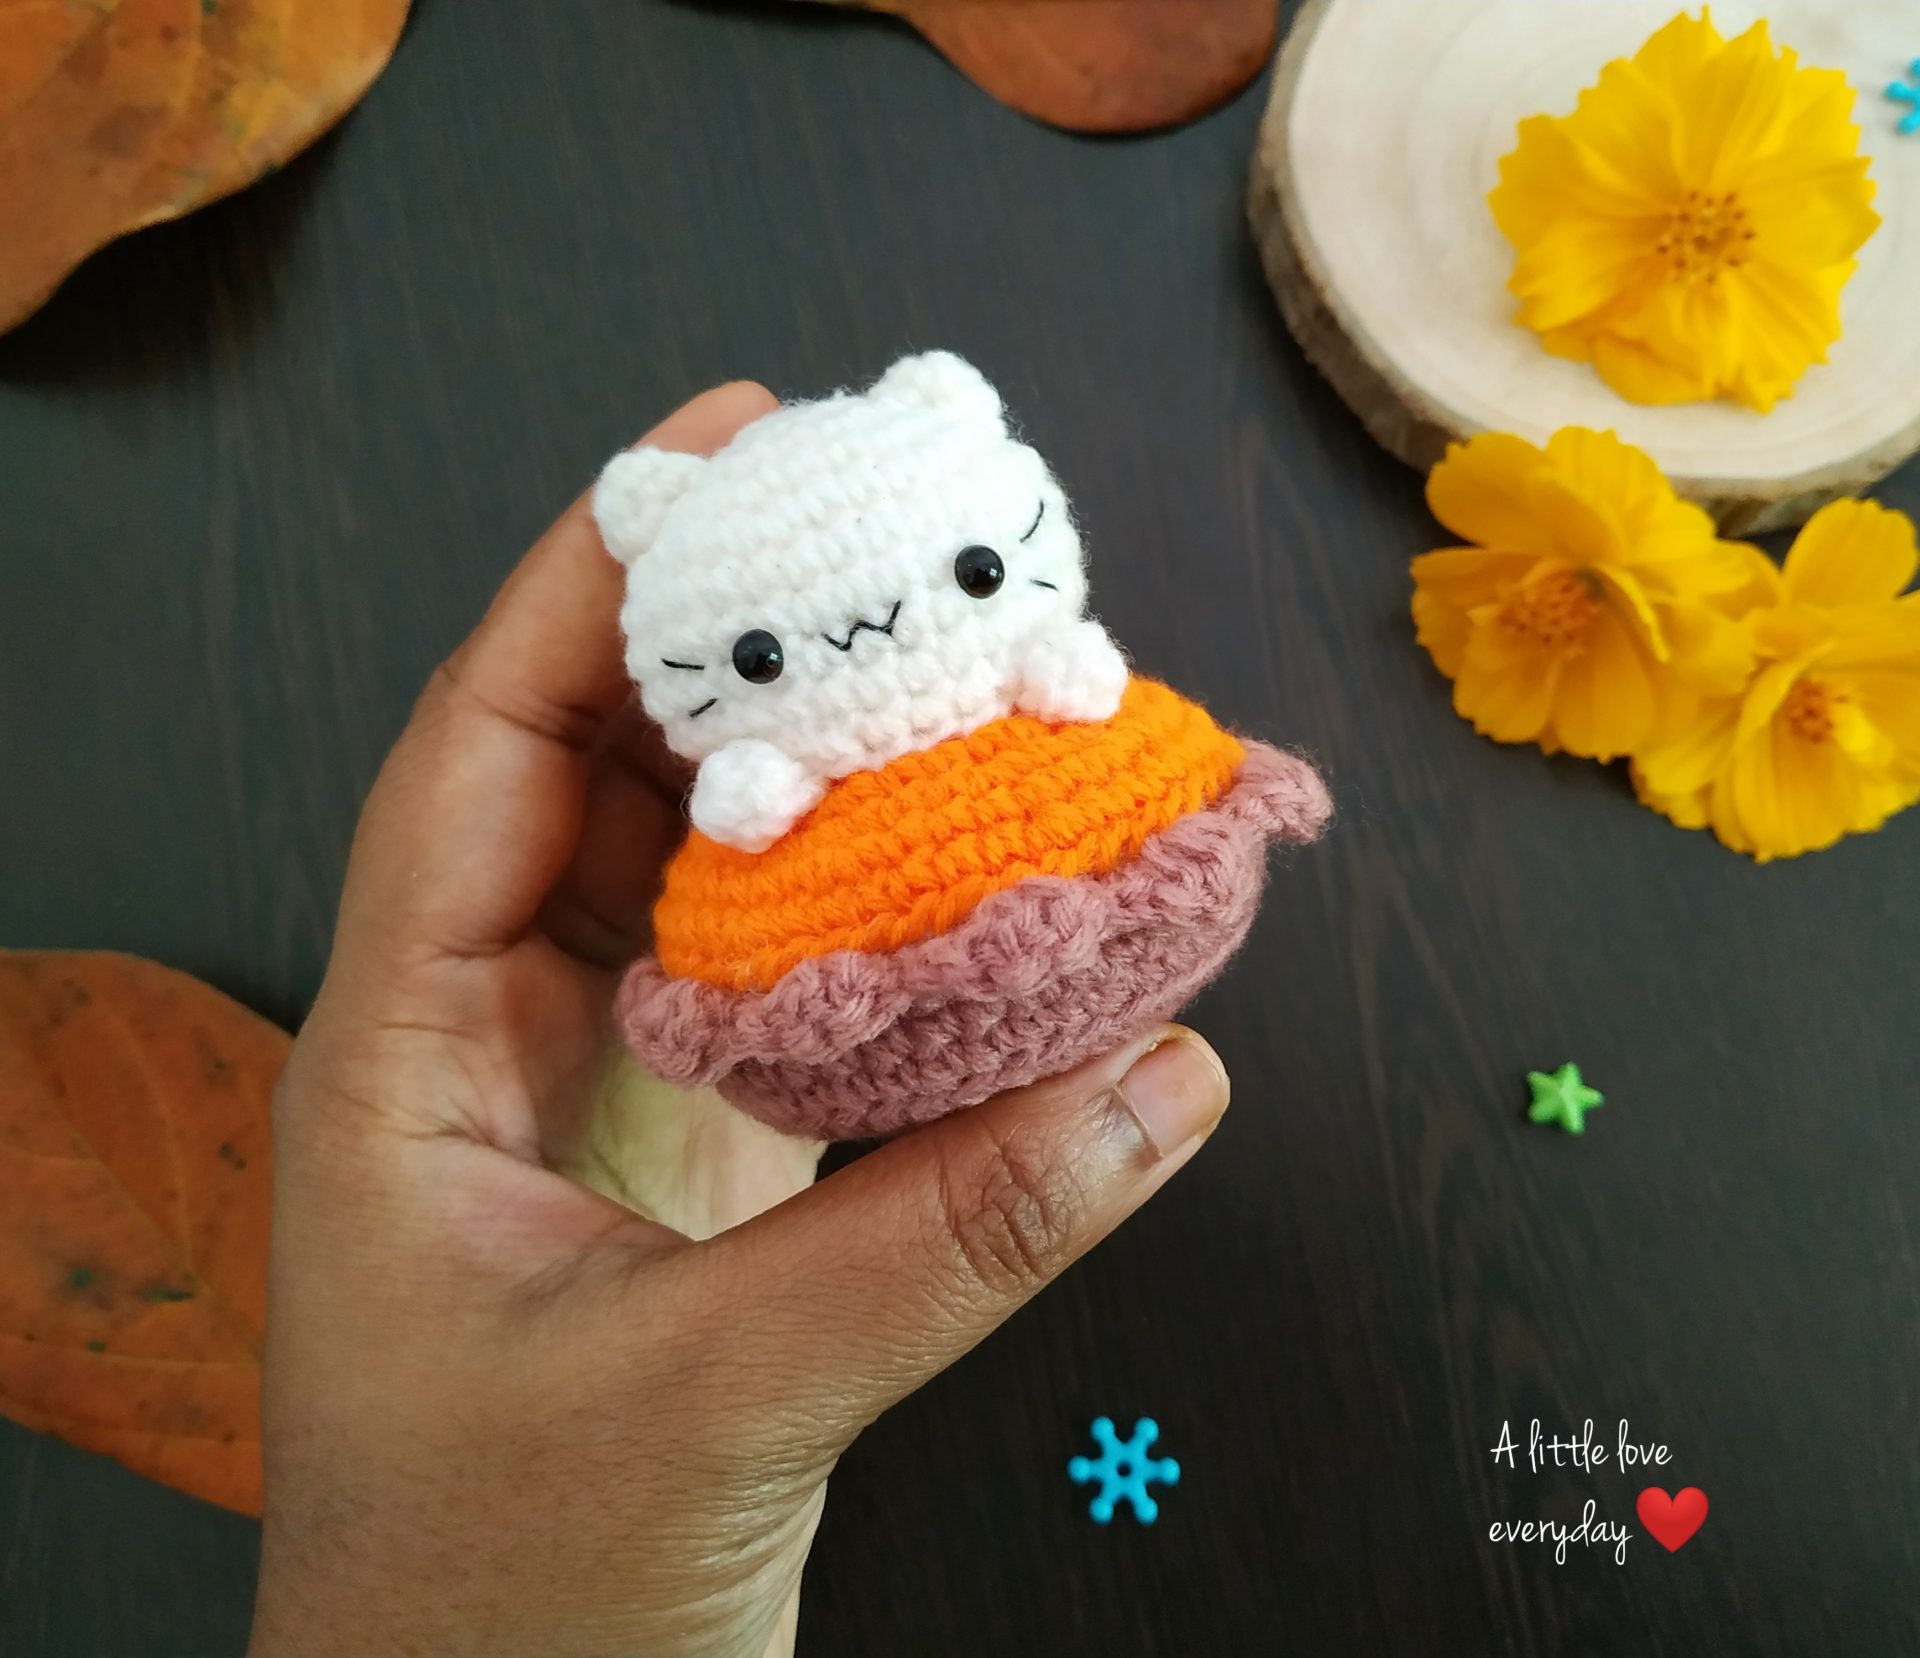
Looking for more cat amigurumi projects? check out below patterns.

Join the family!

