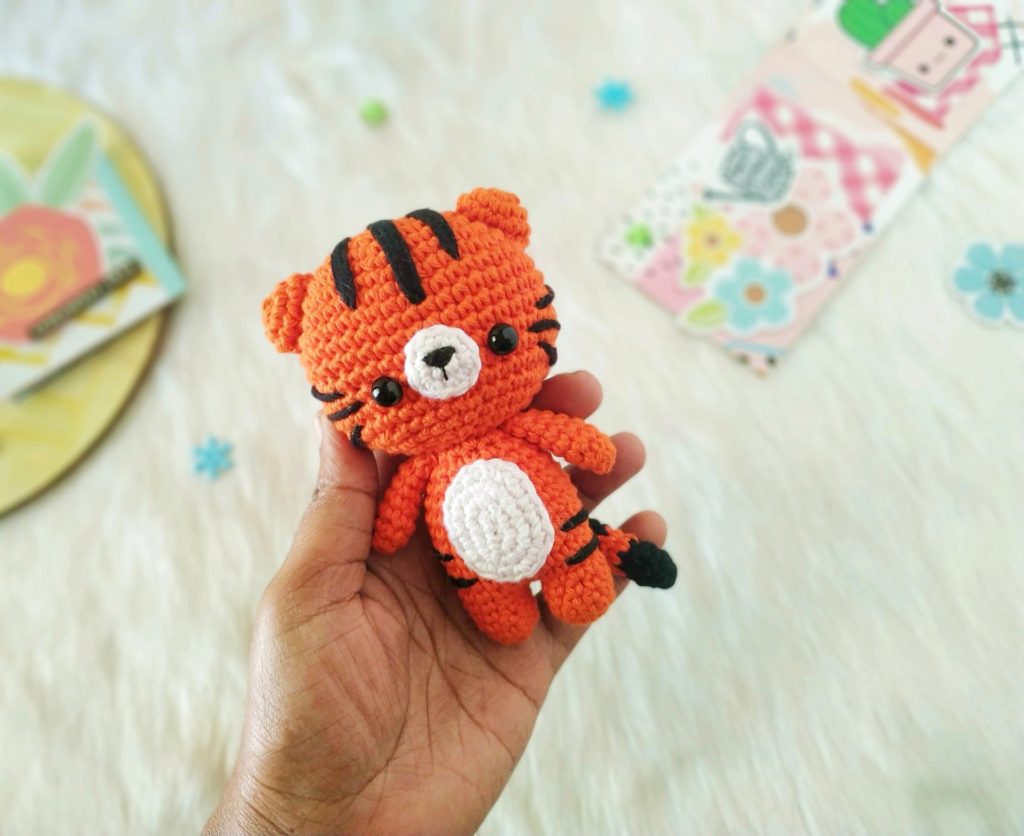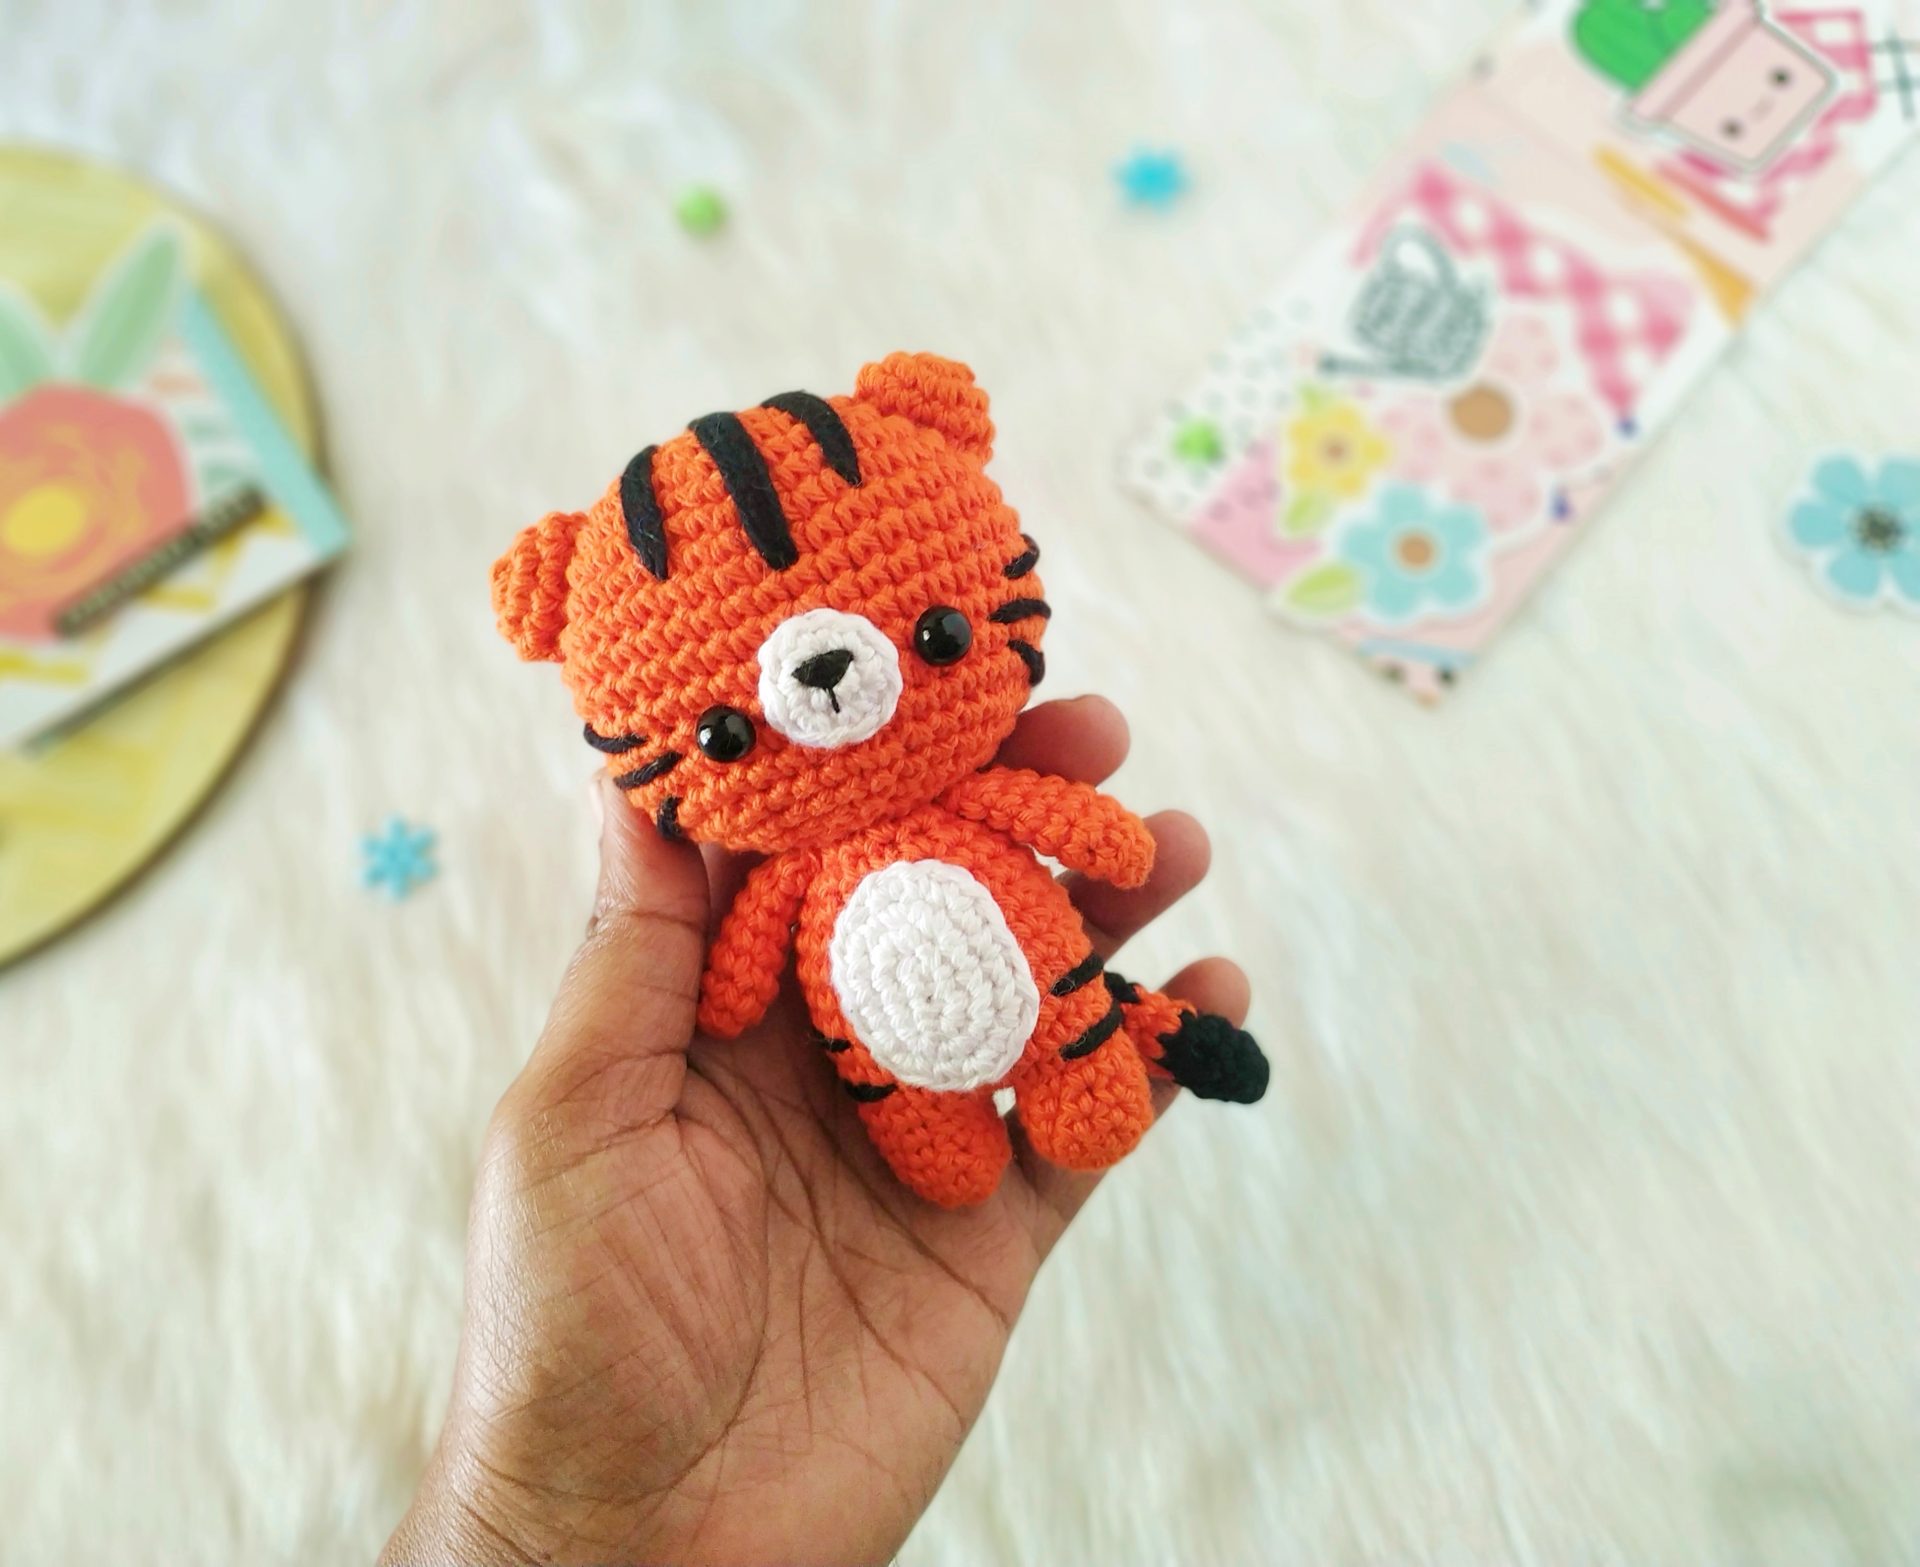
Hello all! Wishing you a very happy New Year! According to Chinese Zodiac, 2022 is the year of the Tiger. People born on year of the Tiger are said to be extremely competitive and very generous. With Chinese New Year coming up soon, I think it’s perfect time to post this Amigurumi Tiger pattern.
Please note: This pattern is for personal use only. Please don’t copy, reproduce, alter, distribute or sell the pattern in anyway. You may sell the finished products but please credit me, Anitha of ‘A little love everyday’ as the designer and link back to this post.
You can buy printable version of this pattern with detailed instructions and lots of pictures from my Etsy shop.
Instructions:
This pattern is written in US English terms and worked in continuous rounds unless stated otherwise.
Materials Needed:
- Sport weight cotton yarn in orange, white and black colour.
- 2 mm crochet hook.
- Fiber fill for stuffing.
- 8 mm safety eyes.
- Tapestry needle.
- Black embroidery thread and needle.
Head:
Using orange colour yarn,
R1: 6 sc in a magic ring (6).
R2: Inc in each st (12).
R3: [ Sc, inc ] x 6 (18).
R4: [ Sc 2, inc ] x 6 (24).
R5: [ Sc 3, inc ] x 6 (30).
R6: [ Sc 4, inc ] x 6 (36).
R7: [ Sc 5, inc ] x 6 (42).
R8-15: Sc in each st (42).
R16: [ Sc 4, dec ] x7 (35).
R17: [ Sc 3, dec ] x 7 (28).
Insert 8 mm safety eyes between R13 and R14 with 7 stitches in between.
Start stuffing with fiberfill and continue to stuff as you go.
R18: [ Sc 2, dec ] x 7 (21).
R19: [ Sc, dec ] x 7 (14).
Stuff firmly and fasten off leaving a long tail for sewing.
Ears (make 2):
Using orange colour yarn,
R1: 6 sc in magic ring (6).
R2: Inc in each st (12).
R3: Sc in each st (12).
Fasten off leaving a long tail for sewing.
Muzzle:
Using white colour yarn,
R1: 6 sc in magic ring (6).
R2: Inc in each st (12).
Fasten off invisibly leaving a long tail for sewing.
Embroider a triangle shape for nose using black embroidery thread.
Arms (make 2):
Using orange colour yarn,
R1: 6 sc in magic ring (6).
R2: [ Sc 2, inc ] x 2 (8).
R3-R7: Sc in each st (8).
Sc through both the top layers to close.
Fasten off leaving a long tail for sewing.
Legs (make 2):
Using orange colour yarn,
R1: 6 sc in magic ring (6).
R2: [ Sc, inc 2 ] x 2 (10).
R3-5: Sc in each st (10).
Fasten off the first leg but don’t cut off the yarn in second one. Stuff the legs and continue to body part.
Body:
R6: With the second leg, chain 2 and join to the first leg and sc around the first leg (10 sts), sc in the 2 chains (2 sts), sc around the second leg (10 sts) and sc in the other side of 2 chains (2 sts). [24 sts in total].
R7-14: Sc in each st (24).
R15: [ Sc 2, dec ] x 6 (18).
R16: Sc in each st (18).
R17: Sc 3, dec 2, sc 5, dec 2, sc 2 (14).
Stuff the body, fasten off and weave in the ends.
Belly patch:
Using white colour yarn,
R1: ch 5, starting from 2nd ch on hook, sc 3, 3 sc in last ch. Continue to work on other side of the chain and sc 2, inc in last (10).
R2: Inc, sc 2, inc 3, sc 2, inc 2 (16).
R3: Sc, inc, sc 2, (sc, inc) x 3, sc 2, (sc, inc) x 2 (22).
Fasten off invisibly leaving a long tail for sewing.
Tail:
Start with black colour yarn,
R1: 6 sc in magic ring.
R2: [ Sc 2, inc ] x 2 (8).
R3: Sc in each st (8).
R4-R5: (Orange colour) Sc in each st (8).
R6-R7: (Back colour) Sc in each st (8).
R8-R9: (Orange colour) Sc in each st (8).
R10-R11: (Black colour) Sc in each st (8).
R12: (Orange colour) Sc in each st (8).
Sc through both the top layers to close. Fasten off leaving a long tail for sewing.
Assembling:
- Sew the muzzle in between the eyes.
- Attach the ears from R6-R9 of the head.
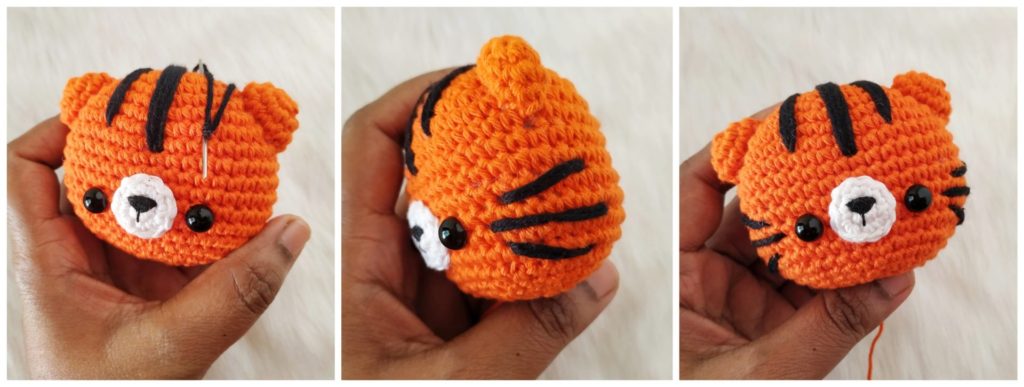
Forehead stripes:
- Using tapestry needle and black yarn, sew 3 long stripes from top of the head to R9 at the center.
- Sew 2 more stripes from R2 to R8 on both sides from center.
Side stripes:
- Make 2 center stripes covering 7 stitches on R13, two stitches away from the eyes.
- Make 2 stripes slantingly from R12 to R11 and another from R14-R15, 3 stitches away from the eyes.

- Attach the head to body using the remaining yarn tail.
- Add in belly patch to the center of the body.
- Sew the arms where the head and body meets.
- Add in two stripes covering about 4 stitches on R8 and R10 from the bottom of the body
- Finally sew the tail slantingly between R11 and R12 at the back of the body.
And your little tiger is now done!
Click below image to save this pattern on Pinterest

Hope you guys liked this Amigurumi Tiger pattern. I’d love to see your amigurumi creations. Do share them with me on Instagram @littleloveeveryday using the hashtag #littleloveeveryday.
Your support means a lot to me. Kindly subscribe to my Newsletter to get updates about new and free patterns.
Join the family!
[mc4wp_form id=”293″]
May this year brings you lots of happiness and prosperity to you and your family! Much love:)

Comments
2 responses to “Amigurumi Tiger pattern”
Anitha, I’m a huge fan of your work!! Your design is unique, full of cuteness!!
Thank you very much for sharing it with us!! Hugs from Brazil
Hi Anitha, thank you for this cutie, he’s so lovely I couldn’t resist to crochet him 🐯❤️I’m going to share a little white friend in my insta 🎊Happy new Tiger year to you 🤗