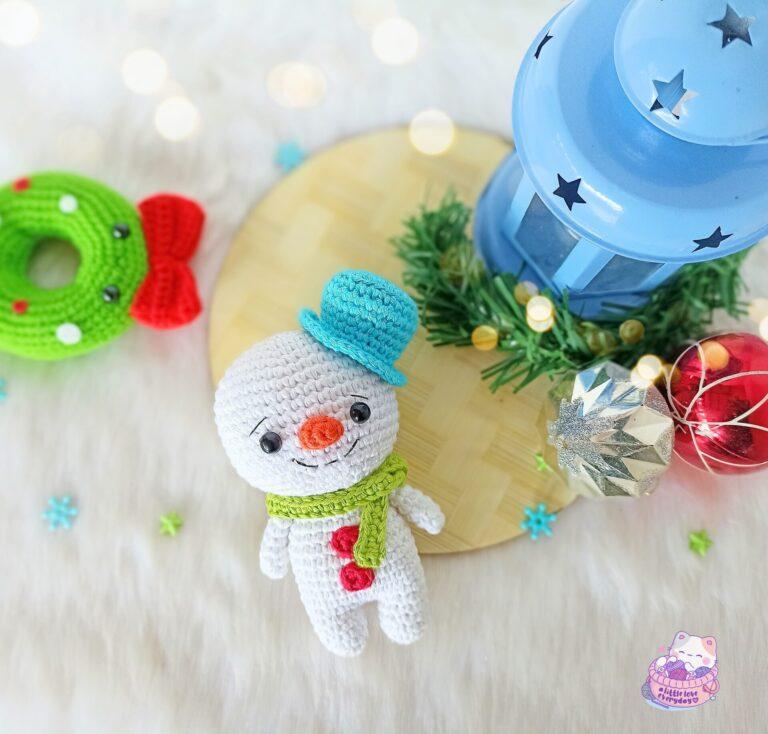
Amigurumi snowman

Head:

Using white yarn,

R1: 6 sc in a magic ring (6).                      

R2: Inc x 6 (12).

R3: [ Sc, inc ] x 6 (18).

R4: [ Sc 2, inc ] x 6 (24).

R5: [ Sc 3, inc ] x 6 (30).

R6: [ Sc 4, inc ] x 6 (36).

R7: [ Sc 5, inc ] x 6 (42).

R8-15: Sc in each st (42).

R16: [ Sc 5, dec ] x 6 (36).

R17: [ Sc 4, dec ] x 6 (30).

Insert 8 mm safety eyes between R12 and R13 with 7 stitches in between.

R18: [ Sc 3, dec ] x 6 (24).

R19: [ Sc 2, dec ] x 6 (18).

Stuff firmly and fasten off leaving a long tail for sewing.

Arms (make 2):

Using white yarn,

R1: 6 sc in magic ring (6).

R2: [ Sc 2, inc ] x 2 (8).

R3-R7: Sc in each st (8).

Sc through both the top layers to close.

Stuff a little and fasten off leaving a long tail for sewing.

Legs (make 2):

Using white yarn,

R1: 6 sc in magic ring (6).

R2: [ Sc, inc 2 ] x 2 (10).

R3-5: Sc in each st (10).

Fasten off the first leg but don’t cut off the yarn in second one. Stuff the legs and continue to body part.

Body:

R6: With the second leg, chain 2, join to the first leg and sc around the first leg (10 sts), sc in the 2 chains (2 sts), sc around the second leg (10 sts) and sc in the other side of 2 chains (2 sts). [ 24 sts in total].   

R7: [ Sc 10, inc 2 ] x 2(28).

R8-13: Sc in each st (28).

R14: [ Sc 5, dec ] x 4 (24).

R15: Sc in each st (24).

R16: [ Sc 4, dec ] x 4 (20).

R17: [ Sc 8, dec ] x 2 (18).

Stuff the body, fasten off and weave in the ends.

Nose:

Using orange yarn,

R1: 5 sc in magic ring (5).                                             

R2: [ Sc, inc, sc, inc, sc ] (7).

Fasten off leaving a long tail for sewing.

Hat:

Using blue yarn,

R1: 6 sc in a magic ring (6).                      

R2: Inc in each st (12).

R3: [ Sc, inc ] x 6  (18).                            

R4: [ Sc 2, inc ] x 6  (24).

R5: (BLO) Sc in each st (24).

R6: Sc in each st (24).

R7: [ Sc 10, dec ] x 2 (22).

R8: Sc in each st (22).

R9: [ Sc 9, dec ] x 2 (20).

R10: Sc in each st (20).

R11: (FLO) Inc x 20 (40).

R12: Sc in each st (40).

Fasten off leaving a long tail for sewing.

Stuff the hat with fiber fill.

Scarf:

Using green yarn, Ch 51.

Starting from second chain on hook, sc 50 (50).

Fasten off and weave in the ends.               


Buttons (make 2):

Using red yarn,

R1: 6 sc in magic ring (6). Sl st to the first st.

Fasten off leaving a long tail for sewing.

Assembling:


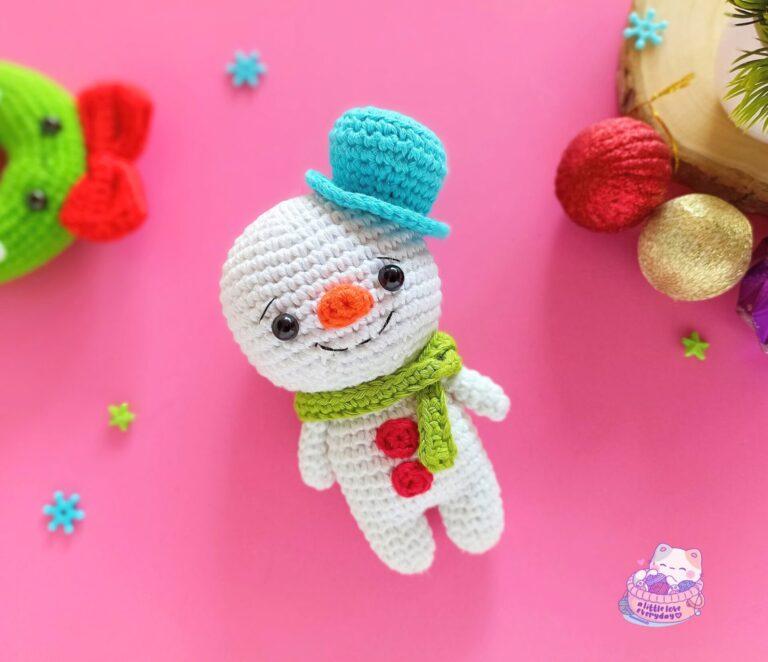
      • Flatten the nose and sew it in between the eyes.

      • Add in the mouth using running stitch. I used sewing pins for guide.

      • Embroider two slanting lines around R11 for eyebrows.

      • Attach the head to the body.

      • Sew the arms where the head  meets the body.

      • Attach the hat slantingly to the head using the back loops left on R11.

      • Sew the buttons to the snowman’s body.

      • Finally tie the scarf around the snowman.

    And your cute little snowman is now ready!
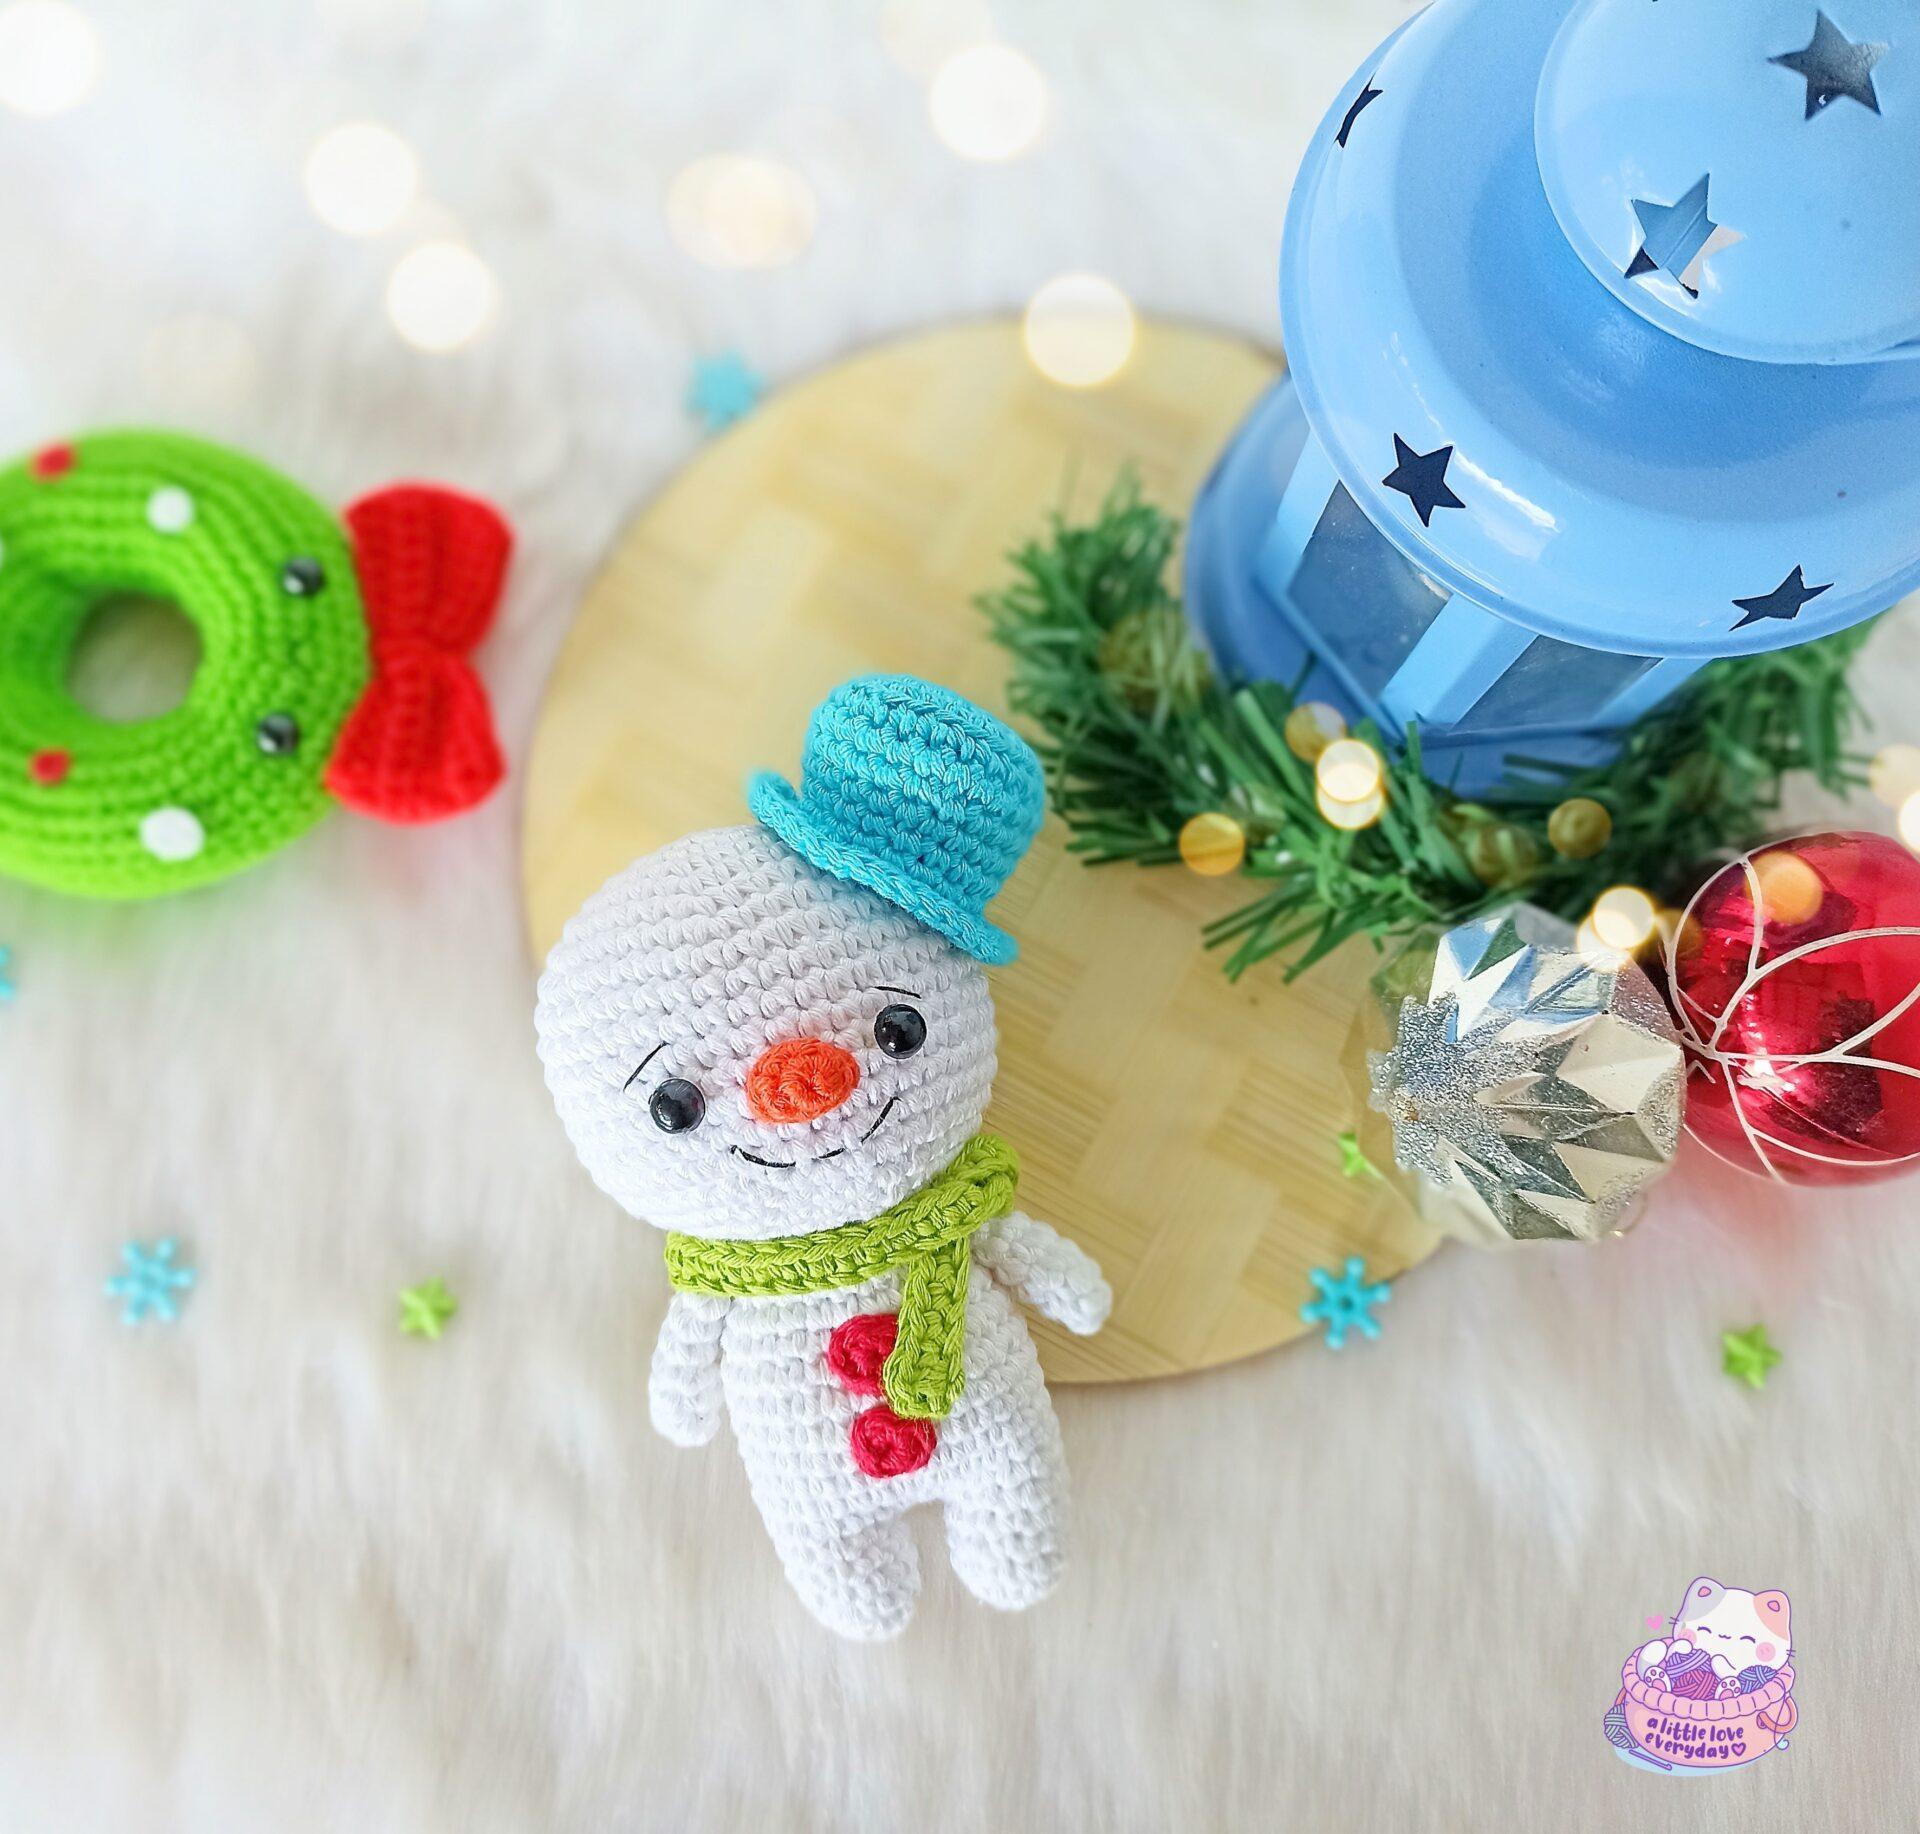
    Loved making this Snowman Amigurumi? Share your works with me on Instagram using the hashtag #littleloveeveryday to get featured 🙂

    Click below image to save this pattern on Pinterest

    Amigurumi Snowman Pinterest

    Cyber sale is happening in my Etsy shop. The sale lasts till the end of this month. Do use this opportunity to grab my patterns at 15% off.

    Looking for more Christmas makes? Check out below patterns.

    Amigurumi Snowman

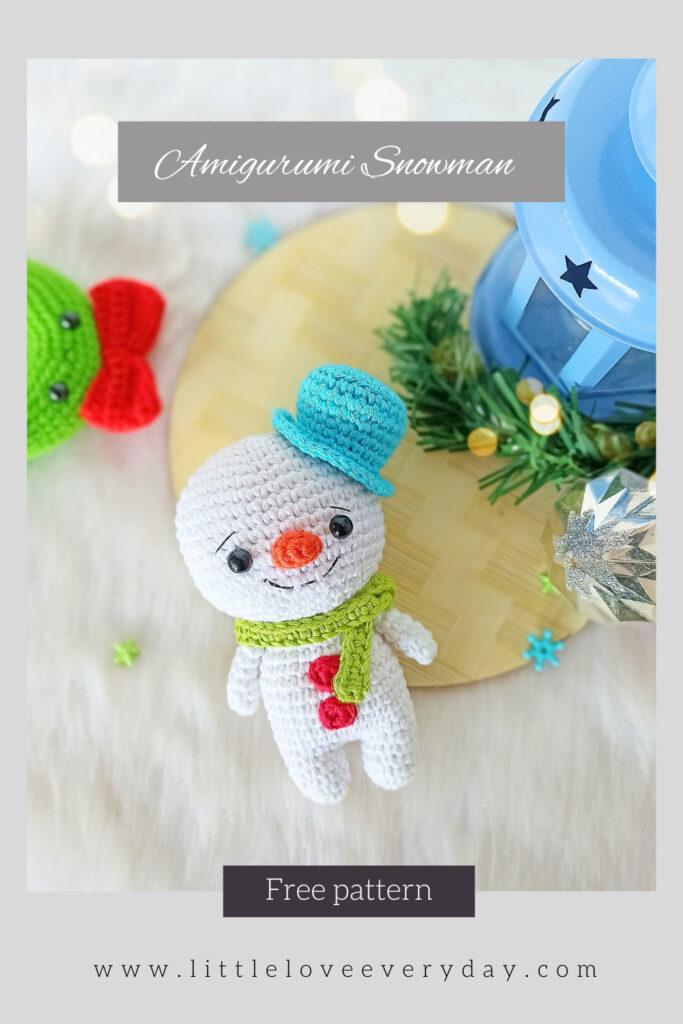
    Have you guys started making Christmas projects? I know crafters like us would love to make something unique and special for our beloved ones during this holiday season. Worry not, for I’m here with a cute Snowman amigurumi pattern which I’m super excited to share with you all! This snowman amigurumi will make a wonderful gift for kids and perfect for stocking stuffer.

    Please note: This pattern is for personal use only. Please don’t copy, reproduce, alter, distribute or sell this pattern in whole or in parts. You may sell the finished products but please credit me as the designer and link back to this post.

    You can buy the ad free printable PDF pattern with detailed instructions and step by step pictures from my Etsy shop.

    Instructions:

    This pattern is written in US English terms and worked in continuous rounds unless stated otherwise.

    Materials needed:

      • DK weight cotton yarn in white, orange, blue, green and red colour.

      • 2.75 mm crochet hook.

      • Fiberfill for stuffing.

      • 8mm safety eyes.

      • Tapestry needle.

      • Black embroidery thread and needle.

    Stitches/Abbreviations:  

      • R – round/ row.

      • Ch – chain.

      • St(s) – stitch(es).

      • Sc – single crochet.

      • Inc – increase (2sc in one st).

      • Dec – decrease (sc 2 st together).

      • BLO – back loops only.

      • FLO – front loops only.

      • Sl st – slip stitch.

      • […] – repeat the instructions given in between the bracket.
    •  
      • (..) – Total number of stitches

    Amigurumi snowman

    Head:

    Using white yarn,

    R1: 6 sc in a magic ring (6).                      

    R2: Inc x 6 (12).

    R3: [ Sc, inc ] x 6 (18).

    R4: [ Sc 2, inc ] x 6 (24).

    R5: [ Sc 3, inc ] x 6 (30).

    R6: [ Sc 4, inc ] x 6 (36).

    R7: [ Sc 5, inc ] x 6 (42).

    R8-15: Sc in each st (42).

    R16: [ Sc 5, dec ] x 6 (36).

    R17: [ Sc 4, dec ] x 6 (30).

    Insert 8 mm safety eyes between R12 and R13 with 7 stitches in between.

    R18: [ Sc 3, dec ] x 6 (24).

    R19: [ Sc 2, dec ] x 6 (18).

    Stuff firmly and fasten off leaving a long tail for sewing.

    Arms (make 2):

    Using white yarn,

    R1: 6 sc in magic ring (6).

    R2: [ Sc 2, inc ] x 2 (8).

    R3-R7: Sc in each st (8).

    Sc through both the top layers to close.

    Stuff a little and fasten off leaving a long tail for sewing.

    Legs (make 2):

    Using white yarn,

    R1: 6 sc in magic ring (6).

    R2: [ Sc, inc 2 ] x 2 (10).

    R3-5: Sc in each st (10).

    Fasten off the first leg but don’t cut off the yarn in second one. Stuff the legs and continue to body part.

    Body:

    R6: With the second leg, chain 2, join to the first leg and sc around the first leg (10 sts), sc in the 2 chains (2 sts), sc around the second leg (10 sts) and sc in the other side of 2 chains (2 sts). [ 24 sts in total].   

    R7: [ Sc 10, inc 2 ] x 2(28).

    R8-13: Sc in each st (28).

    R14: [ Sc 5, dec ] x 4 (24).

    R15: Sc in each st (24).

    R16: [ Sc 4, dec ] x 4 (20).

    R17: [ Sc 8, dec ] x 2 (18).

    Stuff the body, fasten off and weave in the ends.

    Nose:

    Using orange yarn,

    R1: 5 sc in magic ring (5).                                             

    R2: [ Sc, inc, sc, inc, sc ] (7).

    Fasten off leaving a long tail for sewing.

    Hat:

    Using blue yarn,

    R1: 6 sc in a magic ring (6).                      

    R2: Inc in each st (12).

    R3: [ Sc, inc ] x 6  (18).                            

    R4: [ Sc 2, inc ] x 6  (24).

    R5: (BLO) Sc in each st (24).

    R6: Sc in each st (24).

    R7: [ Sc 10, dec ] x 2 (22).

    R8: Sc in each st (22).

    R9: [ Sc 9, dec ] x 2 (20).

    R10: Sc in each st (20).

    R11: (FLO) Inc x 20 (40).

    R12: Sc in each st (40).

    Fasten off leaving a long tail for sewing.

    Stuff the hat with fiber fill.

    Scarf:

    Using green yarn, Ch 51.

    Starting from second chain on hook, sc 50 (50).

    Fasten off and weave in the ends.               


    Buttons (make 2):

    Using red yarn,

    R1: 6 sc in magic ring (6). Sl st to the first st.

    Fasten off leaving a long tail for sewing.

    Assembling:


      • Flatten the nose and sew it in between the eyes.

      • Add in the mouth using running stitch. I used sewing pins for guide.

      • Embroider two slanting lines around R11 for eyebrows.

      • Attach the head to the body.

      • Sew the arms where the head  meets the body.

      • Attach the hat slantingly to the head using the back loops left on R11.

      • Sew the buttons to the snowman’s body.

      • Finally tie the scarf around the snowman.

    And your cute little snowman is now ready!
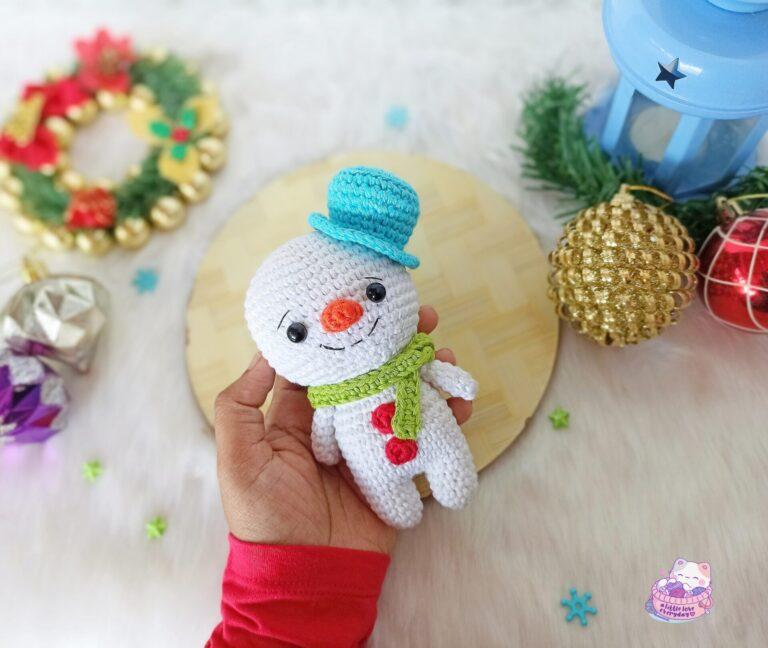
    Loved making this Snowman Amigurumi? Share your works with me on Instagram using the hashtag #littleloveeveryday to get featured 🙂

    Click below image to save this pattern on Pinterest

    Amigurumi Snowman Pinterest

    Cyber sale is happening in my Etsy shop. The sale lasts till the end of this month. Do use this opportunity to grab my patterns at 15% off.

    Looking for more Christmas makes? Check out below patterns.

    Comments

    1. vickey stamps says

      I am 82 and I love these little critters. Just saw the snowman. I really want to make these guys. Did I miss doing the eye part and would it be safer if around babies and toddlers to embroider eye like a ‘crocheted bump’ instead? Thanks a million. Look me up on google if you wish. I have 4 short books on amazon/kindle and more in the works. Love knitting, crocheting, simple drawing and painting. Just have to keep one foot in front of the other these days, otherwise lots of ‘chair work’ for this lady. Thanks a million for posting this. I have COPD so am lung compromised for air intake. Hubby had 2 heart attacks and 2 swerious back injuries, but we keep on keeping on the best we can. Thanks again. Vickey Stamps

    error: Content is protected !!