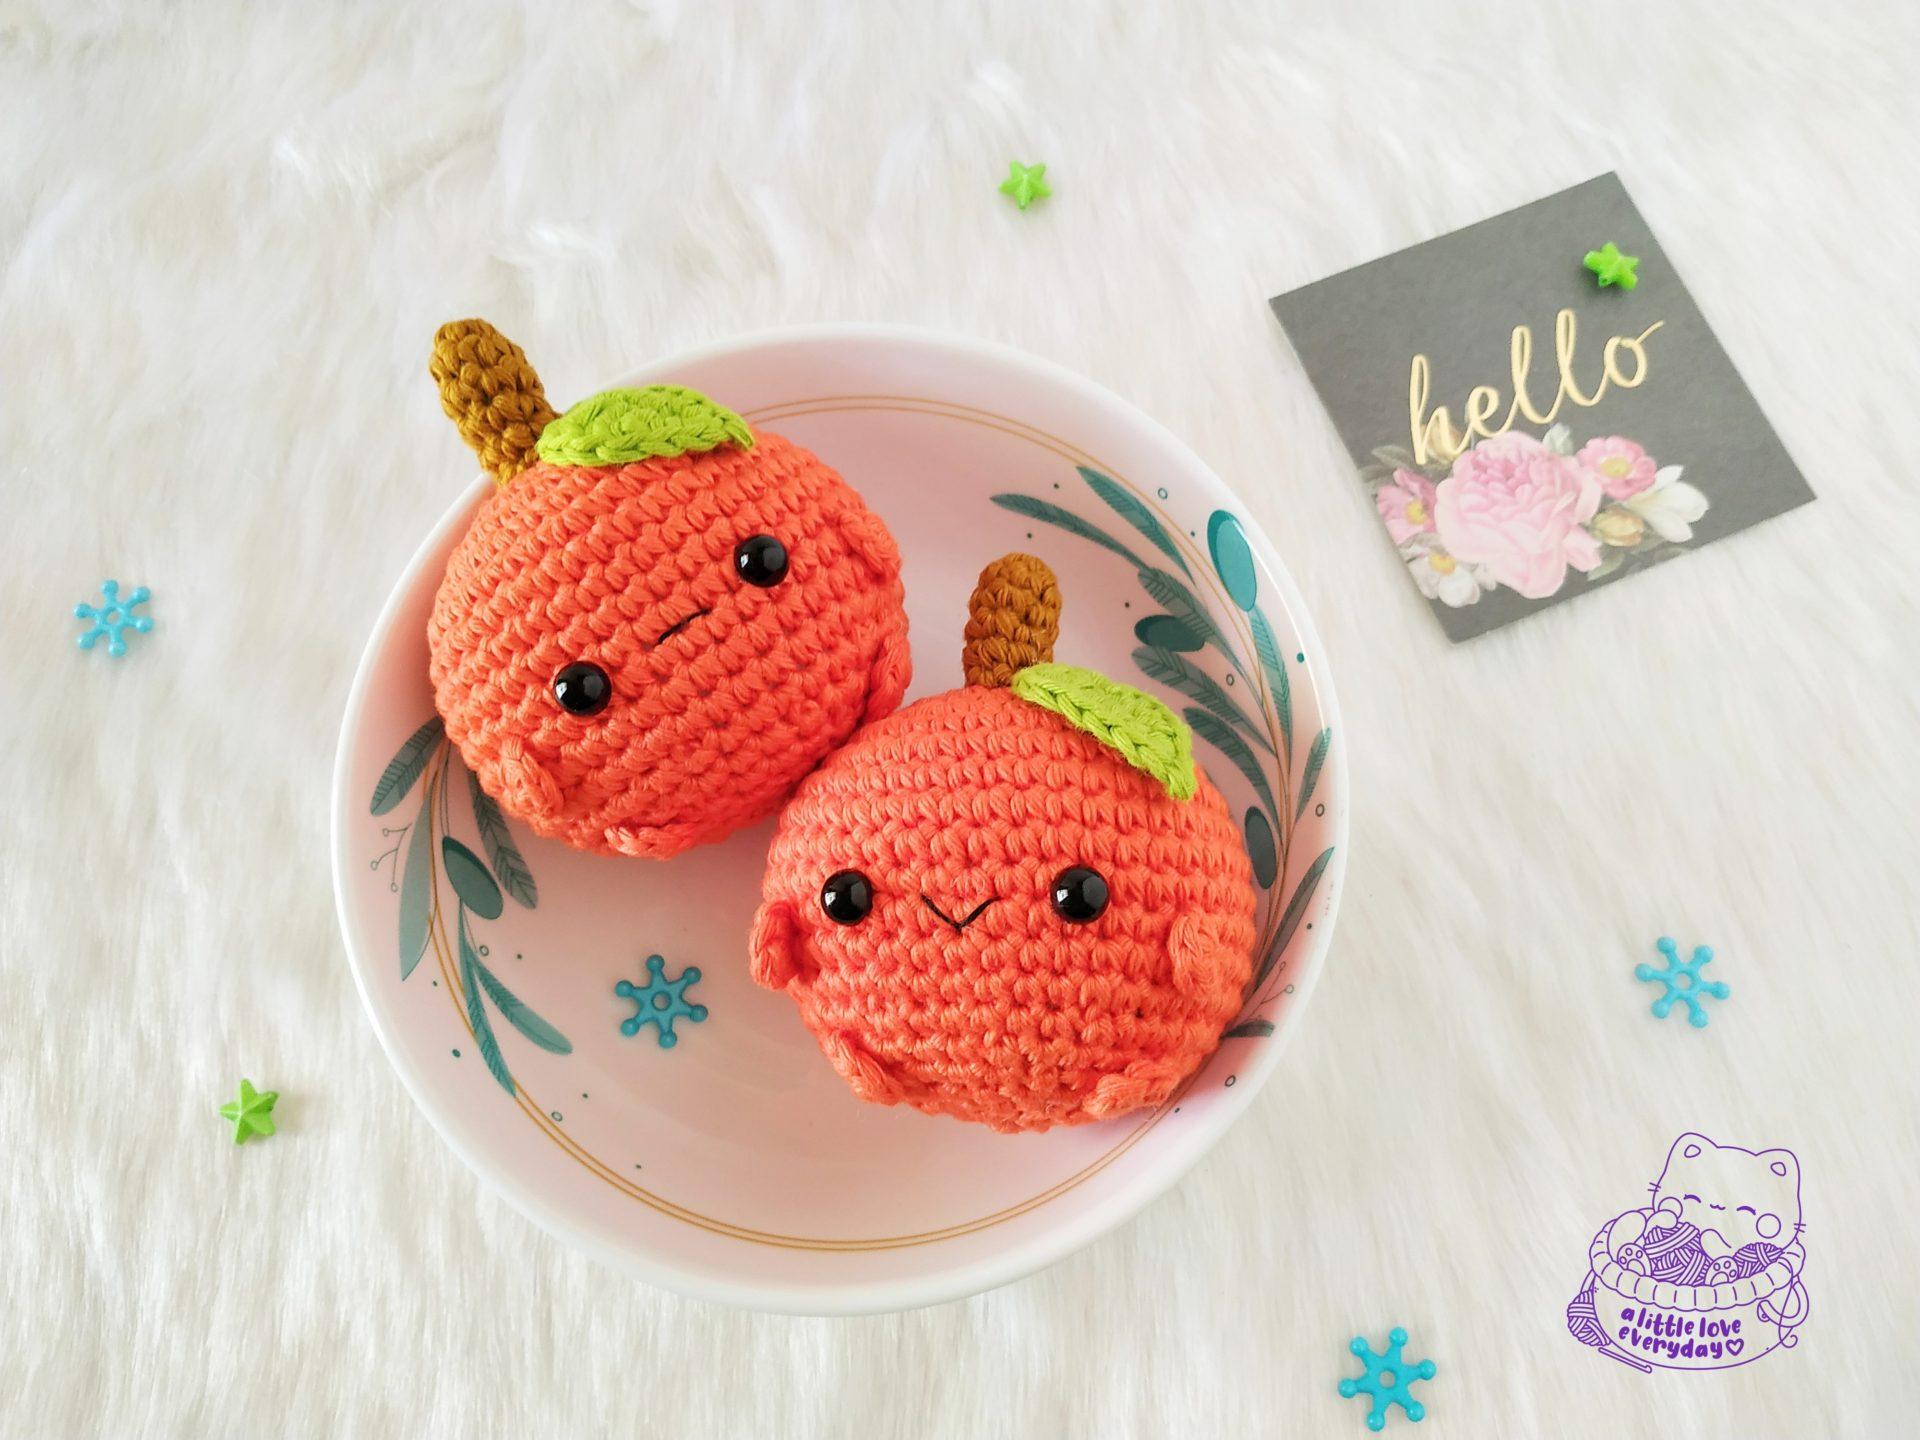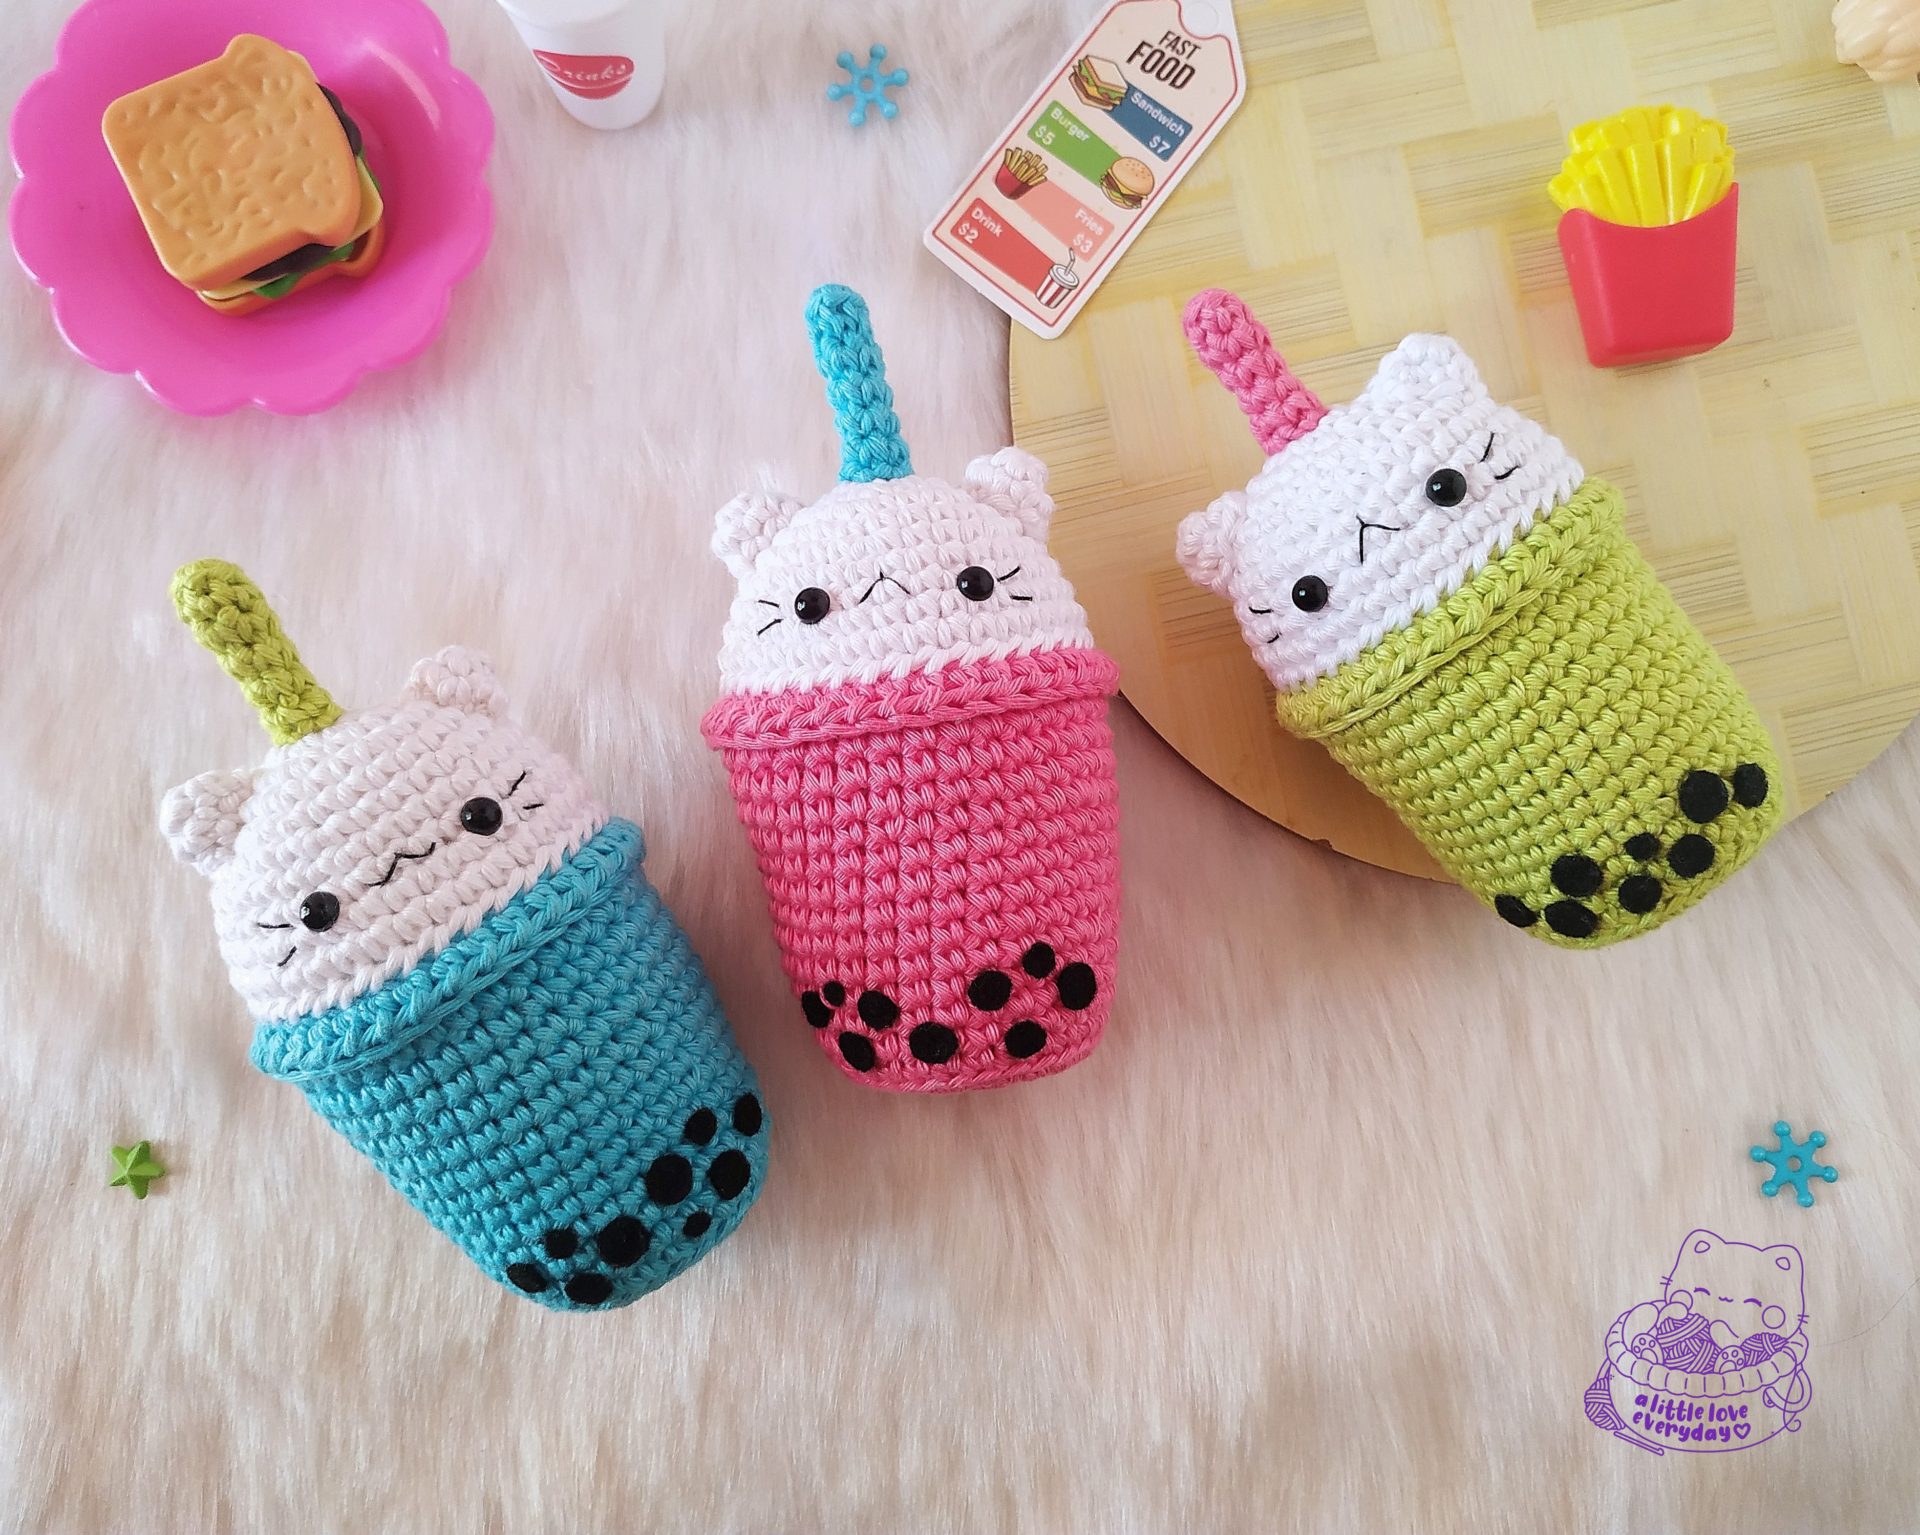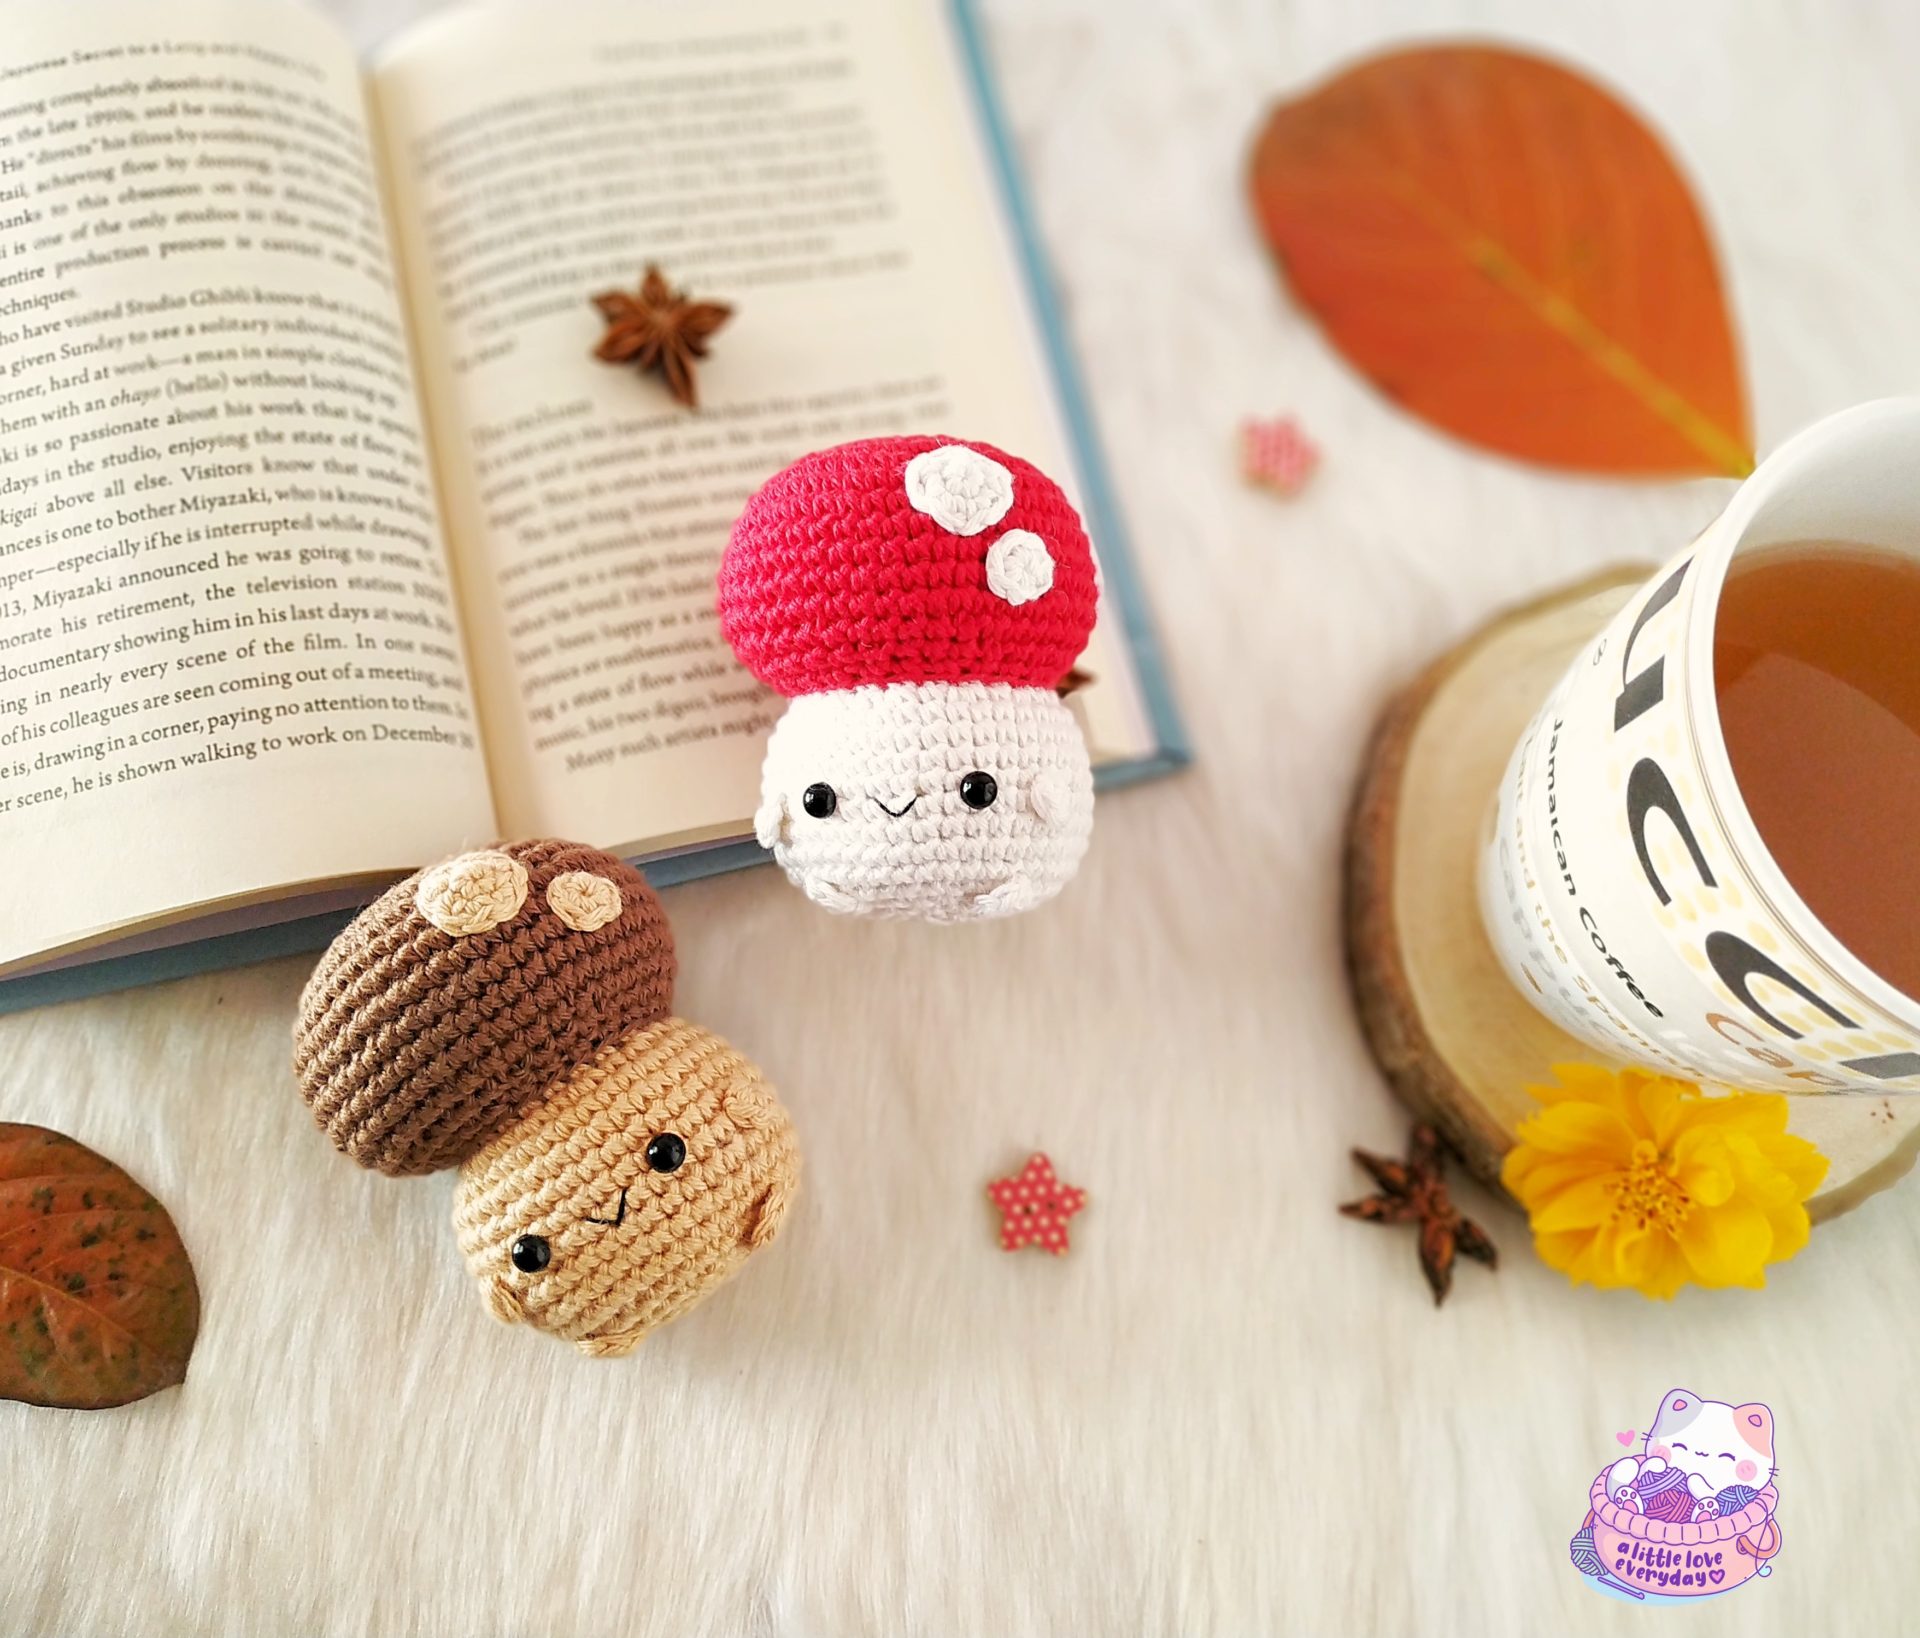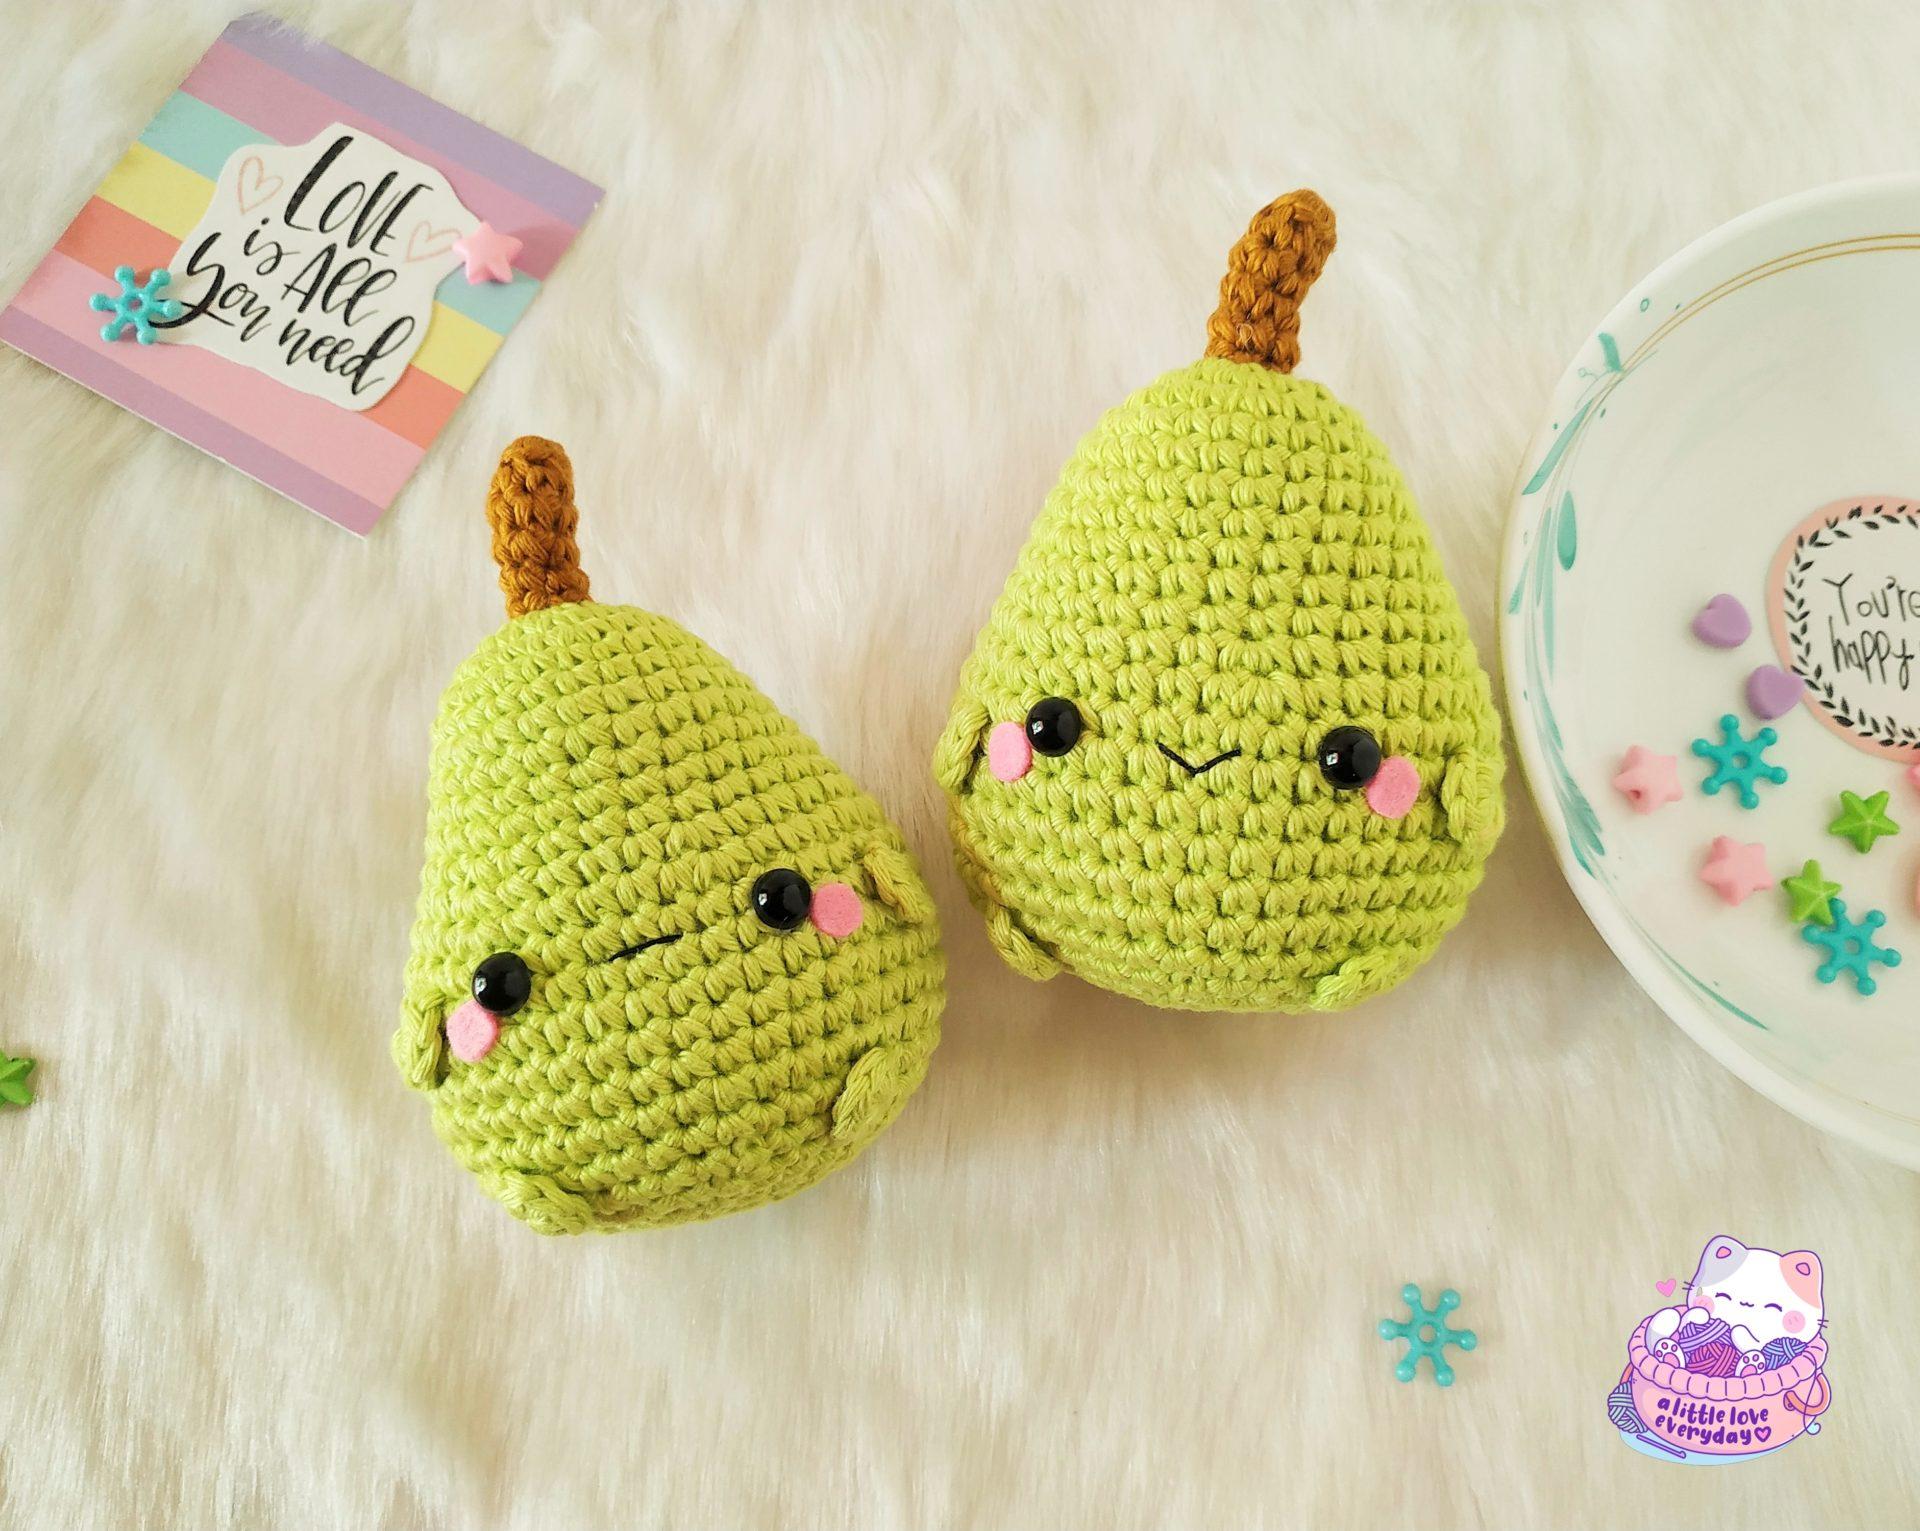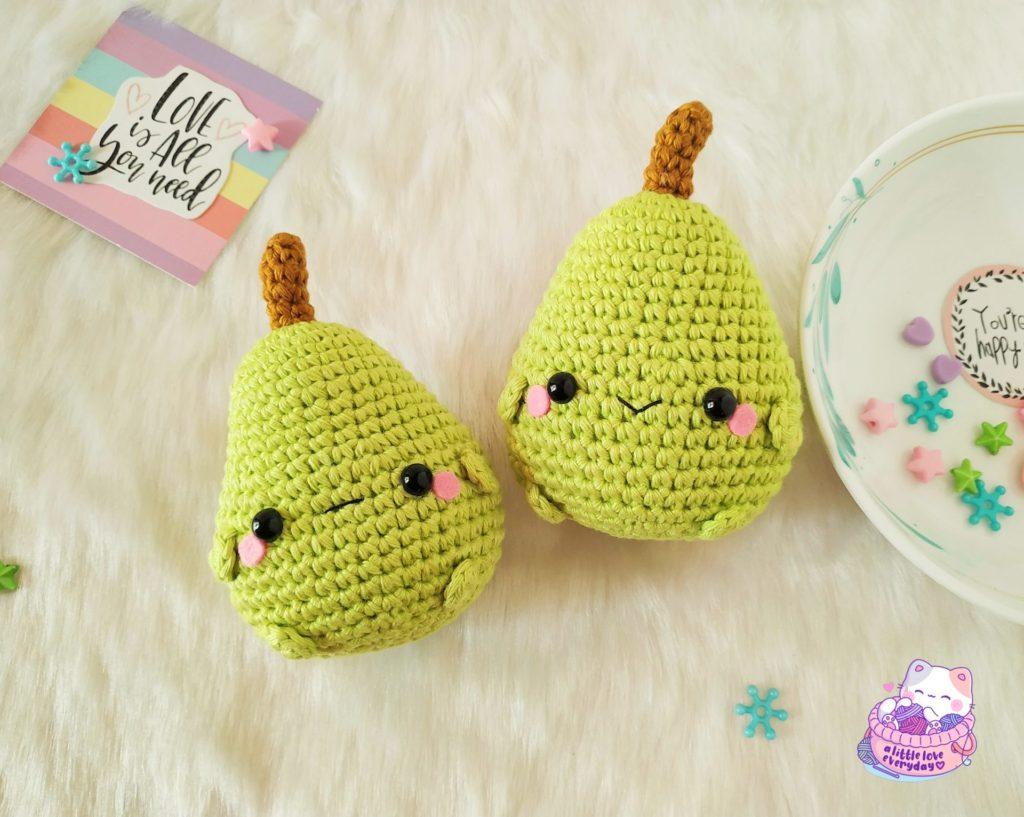
Hello all! I’m here with yet another easy, beginner friendly amigurumi pattern. I love making small amigurumi that doesn’t consume much time. This amigurumi pear is one such pattern. Have fun making them!
Pattern notes: This Amigurumi pear pattern is for personal use only. Do not copy, reproduce, alter, distribute or sell the pattern in any way. You may sell the finished products but please credit me as the designer and link back to this post.
You can buy the inexpensive ad-free pdf pattern with step by step instructions and pictures from my Etsy shop
Instructions:
Amigurumi pear pattern is written in US English terms and worked in continuous rounds unless stated otherwise.
Stitches/ Abbreviations
- R – round/ row.
- Ch – chain.
- St(s) – stitch(es).
- Sc – single crochet.
- Inc – increase (2sc in one st).
- Dec – decrease (sc 2 st together).
- BLO – back loops only.
- Sl st – slip stitch.
- […] – repeat the instructions given in between the brackets.
- (…) – total number of stitches.
Materials needed:
- DK weight cotton yarn in green and brown colour.
- 2.5 mm crochet hook.
- 8 mm flat back or safety eyes.
- Fiber fill for stuffing.
- Tapestry needle.
- Black embroidery thread.
- Small amount of pink felt for blush.
Pear:
Using green yarn,
R1: 6 sc in a magic ring (6).
R2: Inc x 6 (12).
R3: [ Sc, inc ] x 6 (18).
R4: [ Sc 2, inc ] x 6 (24).
R5-6: Sc in each st (24).
R7: [ Sc 7, inc ] x 3 (27).
R8: Sc in each st (27).
R9: [ Sc 8, inc ] x 3 (30).
R10-11: Sc in each st (30).
R12: [ Sc 4, inc ] x 6 (36).
R13: [ Sc 5, inc ] x 6 (42).
R14-20: Sc in each st (42).
R21: [ Sc 5, dec ] x 6 (36).
R22: [ Sc 4, dec ] x 6 (30).
Insert 8 mm safety eyes between R14 and R15 with 7 stitches in between.
R23: [ Sc 3, dec ] x 6 (24).
R24: [ Sc 2, dec ] x 6 (18).
Stuff firmly with fiberfill and continue to stuff till the end.
R25: [ Sc, dec ] x 6 (12).
R26: Dec x 6 (6).
Fasten off and close the ends.
Arms and Legs (Make 4):
Using green yarn,
5 sc in magic ring.
Don’t join and fasten off leaving a long
tail for sewing.

Stem:
Using brown yarn,
R1: 6 sc in magic ring (6).
R2: (BLO) Sc in each st (6).
R3: Sc in each st (6).
R4: [ Sc 5, inc ] (7).
R5: Sc in each st (7).
Stuff firmly and fasten off leaving
a long tail for sewing.
Assembling:
- Sew the stem at the top of pear.
- Embroider the mouth between the eyes using black embroidery thread.
- Attach the arms slanting outward from R15 to R16.
- Attach the legs slanting inward from R20 to R21.
- Finally, Cut two small round shape in pink felt and glue them below the eyes.
Your little amigurumi pear is now done!
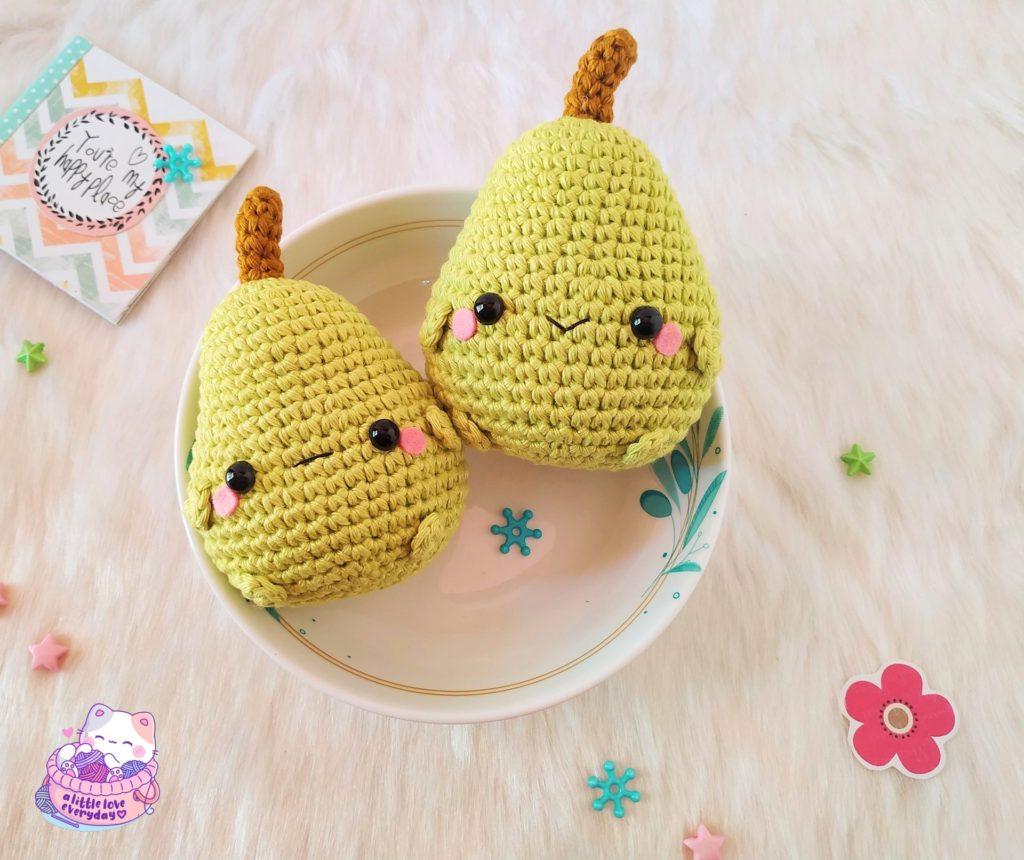
I really hope you enjoyed making this amigurumi pear. I’d like to see your works. Share your makes on instagram @littleloveveryday using the hashtag #littleloveeveryday.
Click below image to save this pattern on Pinterest
Looking for more cute amigurumi patterns? check out below free patterns.
