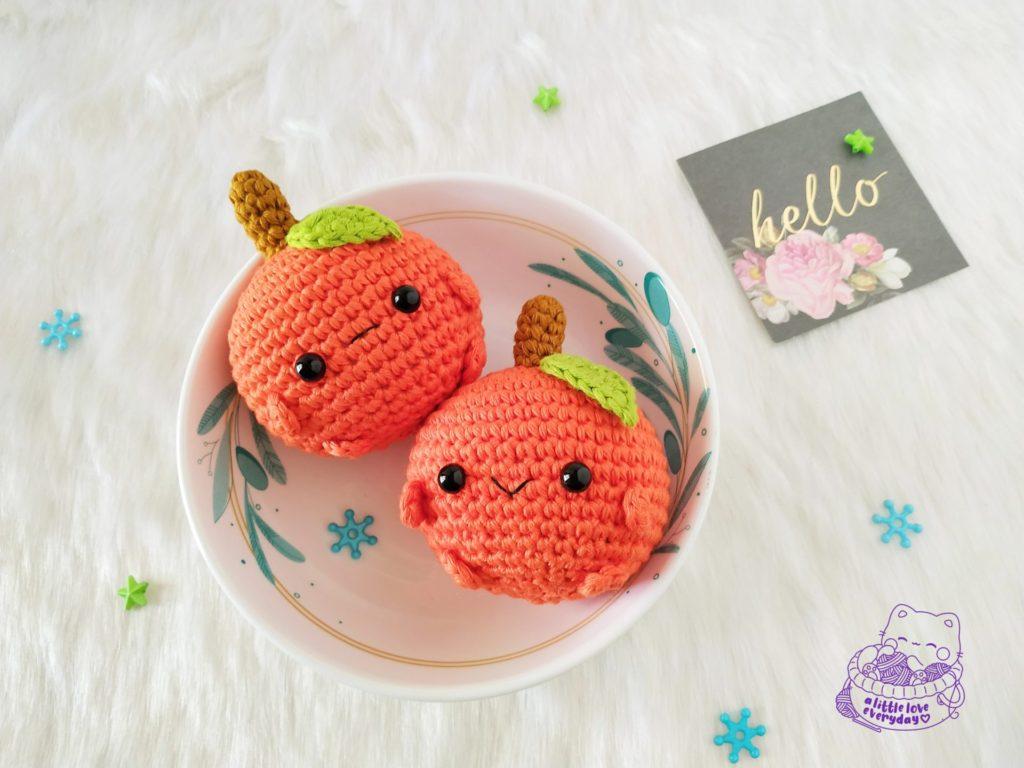
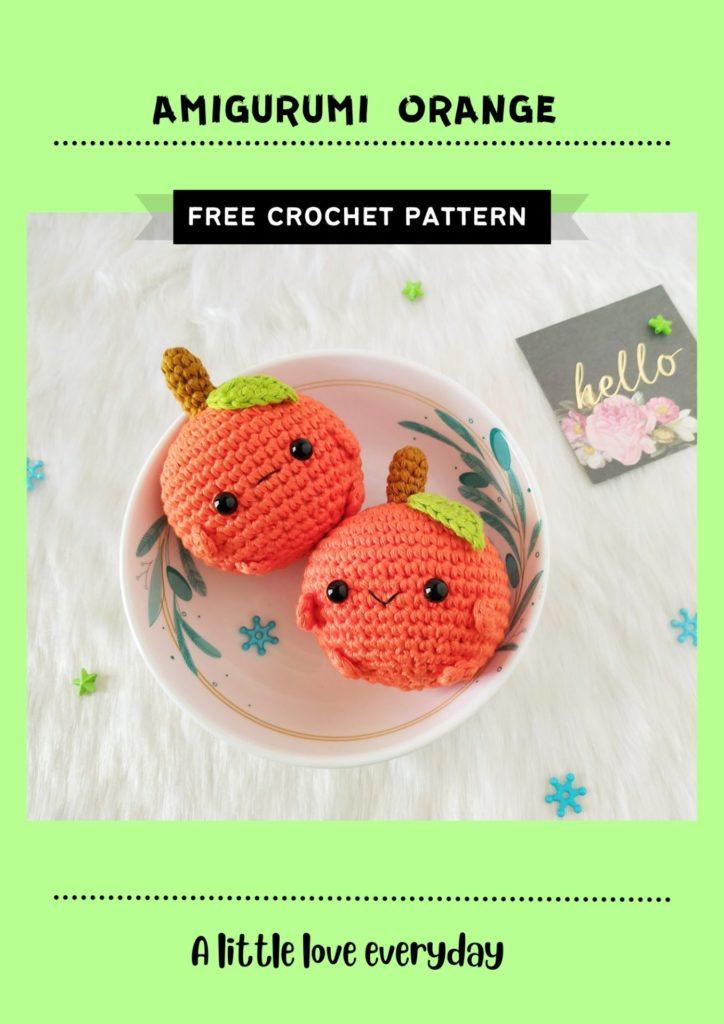
Hello all! I’m back with another cute little project for you guys to make. I’ve always wanted to make a fruit series amigurumi. The first one I chose to do is amigurumi orange because of it’s simple shape. It’s a quick little project and perfect for beginners. Hopefully I’ll be able to make more fruits in future. Now let’s see how to make this Amigurumi orange.
You can buy the pdf pattern with step by step instructions and detailed pictures from my Etsy shop.
Instructions: This pattern is written in US English terms and worked in continuous rounds unless stated otherwise.
Materials Needed:
- DK weight cotton yarn in orange, brown and green colour.
- 3 mm crochet hook.
- 8 mm flat back or safety eyes.
- Fiber fill for stuffing.
- Tapestry needle.
- Black embroidery thread and needle.
Stitches/Abbreviations
- R – round/ row.
- Ch – chain.
- St(s) – stitch(es).
- Sc – single crochet.
- Inc – increase (2sc in one st).
- Dec – decrease (sc 2 st together).
- Hdc – half double crochet.
- Dc – double crochet.
- Sl st – slip stitch.
- […] – repeat the instructions given in between the brackets.
- (…) – total number of stitches.
Special stitch:
Picot – chain 2 and sl st in second chain from hook.
Orange:
Using orange colour yarn,
R1: 6 sc in a magic ring (6).
R2: Inc x 6 (12).
R3: [ Sc, inc ] x 6 (18).
R4: [ Sc, inc, sc ] x 6 (24).
R5: [ Sc 3, inc ] x 6 (30).
R6: [ Sc 2, inc, sc 2 ] x 6 (36).
R7: [ Sc 5, inc ] x 6 (42).
R8-14: Sc in each st (42).
R15: [ Sc 5, dec ] x 6 (36).
R16: [ Sc 2, dec, sc 2 ] x 6 (30).
Insert 8 mm safety eyes between R11 and R12 with 6 stitches in between.
Sew the mouth between the eyes using 2 or 3 strands of black embroidery thread.
R17: [ Sc 3, dec ] x 6 (24).
R18: [ Sc, dec, sc ] x 6 (18).
Stuff firmly with fiberfill and continue to stuff till the end.
R19: [ Sc, dec ] x 6 (12).
R20: Dec x 6 (6).
Fasten off and close the ends.
Arms and Legs (Make 4):
Using orange colour yarn,
5 sc in magic ring.
Don’t join and fasten off leaving
a long tail for sewing.
Stem:
Using brown colour yarn,
R1: 7 sc in magic ring (7).
R2-5: Sc in each st (7).
Stuff firmly and fasten off leaving
a long tail for sewing.
Leaf:
Using green colour yarn,
Ch 8 and starting from second chain on hook,
sc, hdc, dc, hdc 2, sc, (sc, picot,sc) in last ch.
Continue to work on other side of the chain and
sc, hdc 2, dc, hdc, sc and sl st to the first st.
Fasten off leaving a long tail for sewing.
Assembling:
- Attach the arms from R12 to R13.
- Attach the hind legs from R16 to R17.
- Sew the stem at the top of the orange.
- Sew the leaf just below the stem.
And your cute little amigurumi orange is now done!
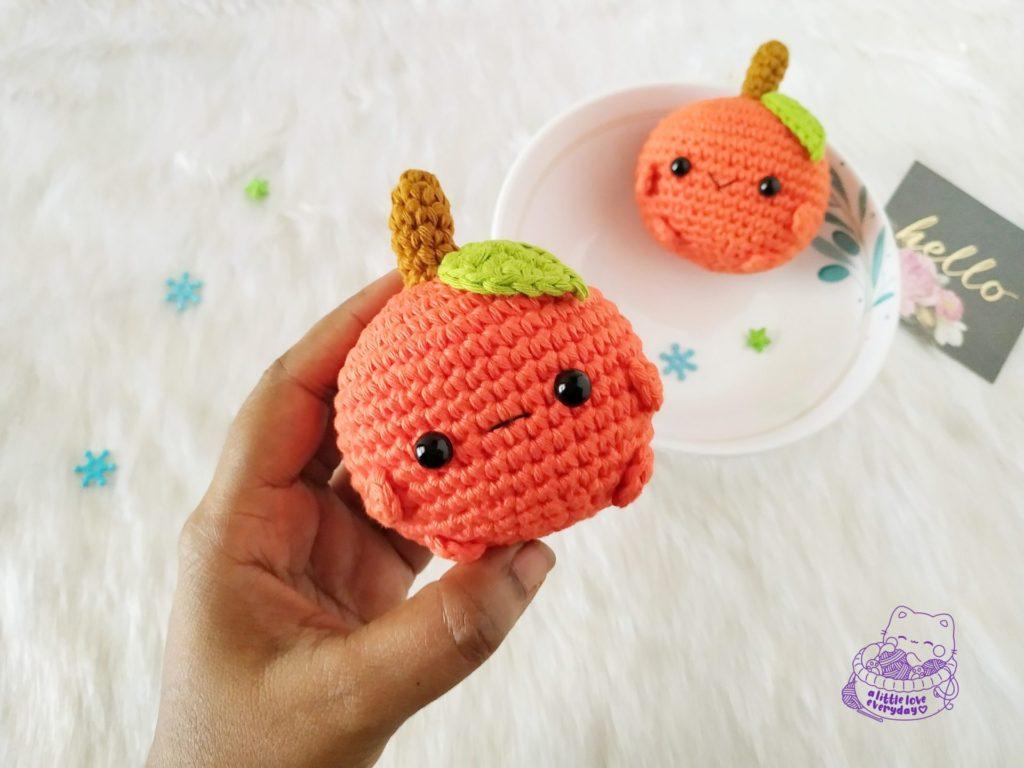
Click below image to save this pattern on Pinterest
I really hope you enjoyed making this amigurumi orange. I’d love to see your works. Share your makes on instagram @littleloveeveryday using the hashtag #littleloveeveryday.

