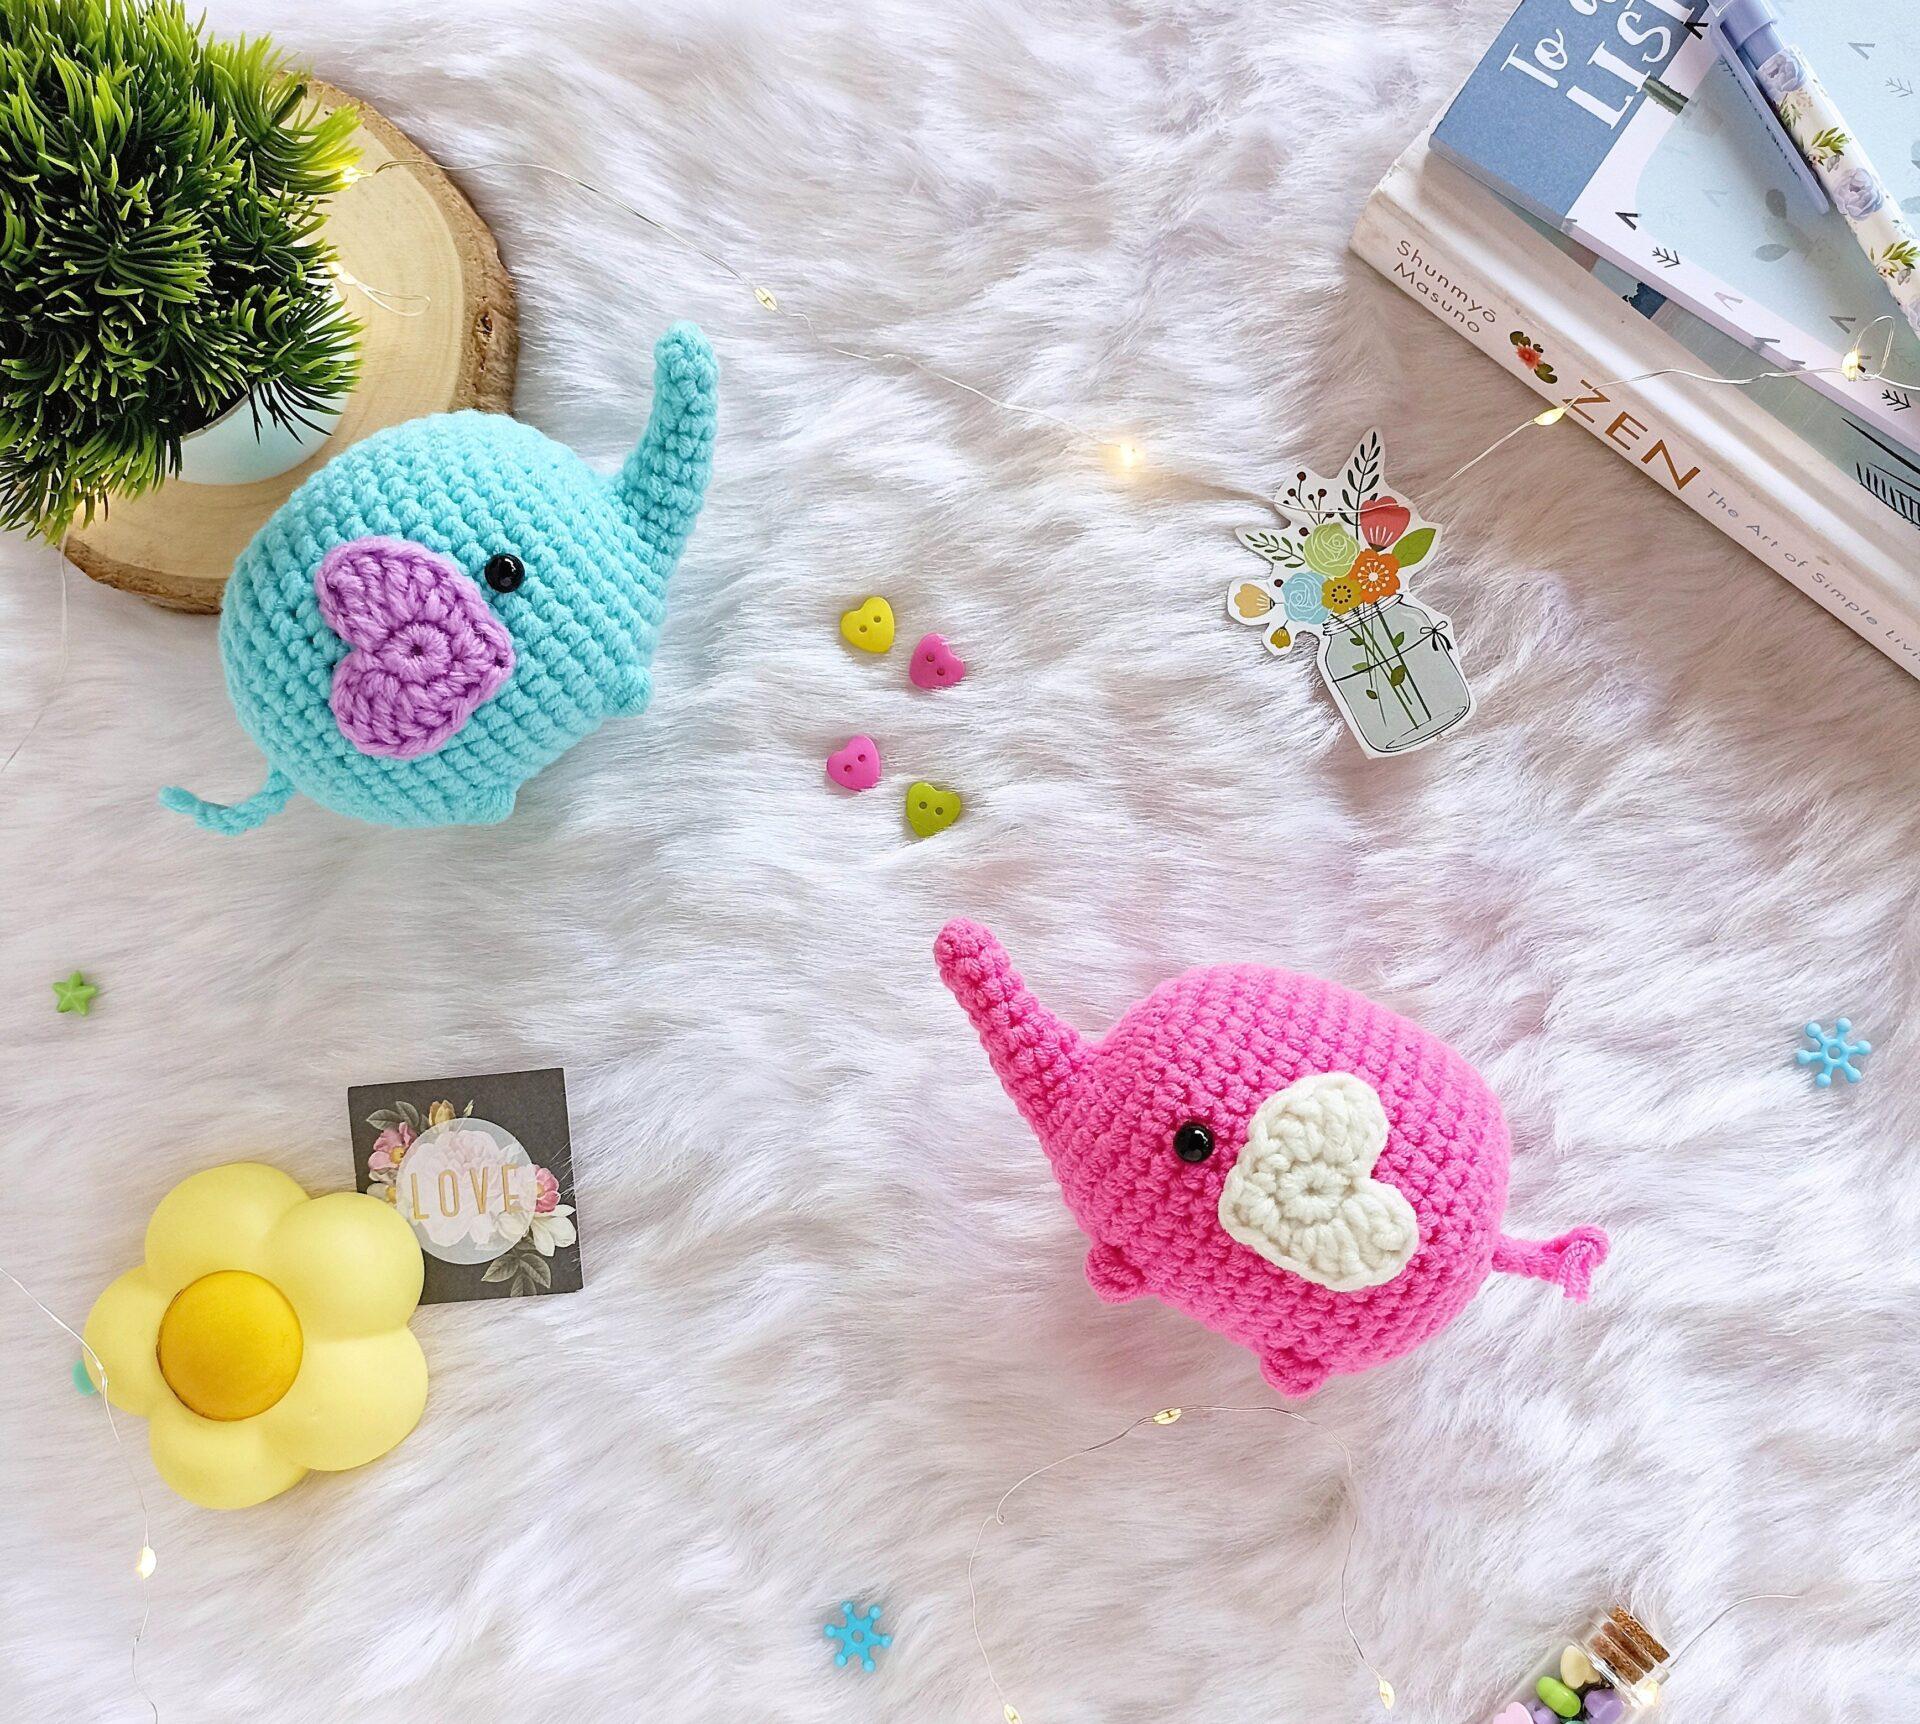
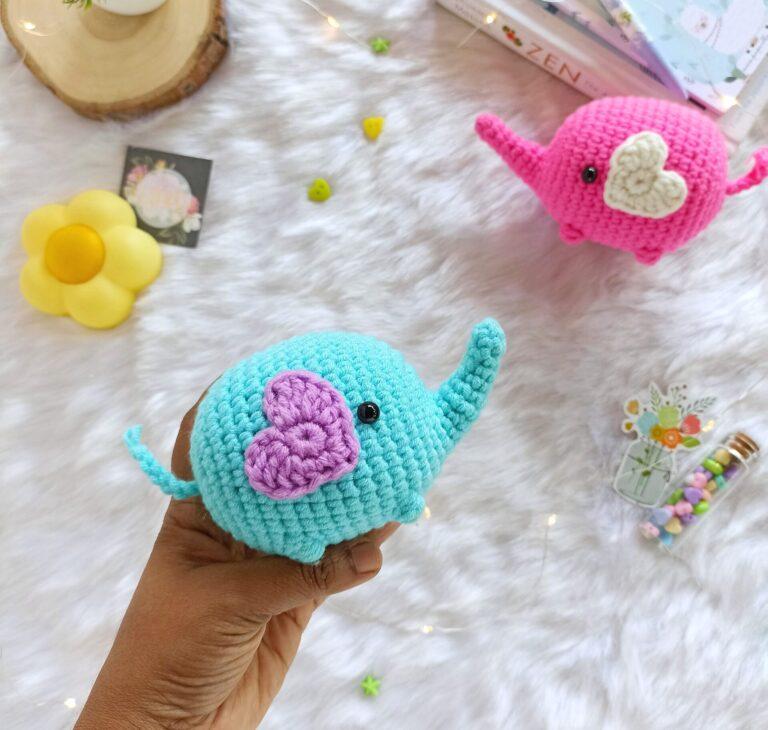
Remember the Amigurumi Elephant pattern I posted on my old blog back in 2020? It is one of my favourite designs but the downside is, sewing the legs can get tedious. So here is a new revamped version that comes with no-sew legs.
I have also made the pattern instructions easier to understand than the previous one. Have fun making it!
Please note:
This amigurumi elephant pattern is for personal use only. Please don’t copy, alter, reproduce, distribute or sell this pattern in whole or in parts. You may sell the finished products but kindly credit me as designer and link back to this post.
You can buy the inexpensive ad-free PDF pattern with step-by-step instructions and pictures for reference from my Etsy and Ravelry shop.
Have you purchased the pattern previously? I have updated the new pattern file so you can download the new version in both Etsy and Ravelry.
Instructions:
This pattern is written in US English terms and worked in continuous rounds unless stated otherwise.
Materials needed:
- Worsted weight yarn in 2 different colours (main colour for elephant and contrast colour for ears).
- 3.5 mm crochet hook.
- 8mm safety eyes.
- Polyester fiberfill for stuffing.
- Tapestry needle, stitch marker, scissors.
Stitches/ Abbreviations
- R – round/ row.
- ch – chain.
- st(s) – stitch(es).
- sc – single crochet.
- hdc – half double crochet.
- dc – double crochet.
- trc – triple crochet/treble crochet.
- bo – bobble stitch.
- inc – increase (2sc in one st).
- dec – decrease (sc 2 st together).
- sl st – slip stitch.
- […] – repeat the instructions given in between the bracket.
- (…) – total number of stitches.
Pattern Instructions:
Head and Body:
We will work in the order of trunk, head and body.
Using main colour yarn,
R1: 6 sc in a magic ring (6).
R2-5: Sc in each st (6).
R6: [ Sc, inc ] x 3 (9).
R7-8: Sc in each st (9).
R9: Sc 3, inc x 3, sc 3 (12).
R10: Sc 3, inc x 6, sc 3 (18).
R11: Sc 6, inc x 6, sc 6 (24).
Stuff a little amount of fiber fill in trunk.
R12: [ Sc 3, inc ] x 6 (30).
R13: [ Sc 2, inc, sc 2 ] x6 (36).
R14: Sc in each st (36).
R15: Sc 33, bo, sc 2 (36).
R16: Sc 4, bo, sc 31 (36).
R17-21: Sc in each st (36).
Insert 8mm safety eyes between R15 and R16, six stitches above from the front legs.
R22: Sc 34, bo, sc (36).
R23: Sc 5, bo, sc 30 (36).
R24-25: Sc in each st (36).
R26: [ Sc 2, dec, sc 2 ] x 6 (30).
R27: [ Sc 3, dec ] x 6 (24).
R28: [ Sc, dec, sc ] x 6 (18).
R29: [ Sc, dec ] x 6 (12).
Stuff the elephant firmly using fiber fill.
R30: Dec x 6 (6).
Fasten off and leave a long tail. Weave the yarn tail through the front loops of the remaining 6 stitches. Pull tight to close the hole and weave in the yarn tail.
Ears (Make 2):
Using yarn colour of your choice,
R1: 9 sc in magic ring and sl st to the first sc.
R2: (ch 3, 2 trc) in the same st, 2 dc in next, hdc in next, sc in next, (sc, dc, sc) in next, sc in next, hdc in next, 2 dc in next, ( 2 trc, ch 3, sl st) into the last stitch.
Fasten off leaving a long tail for sewing.
Tail:
Take two strands of yarn together in main colour.
Leaving a little yarn at the start for sewing, Ch 7 and fasten off.
Cut off the excess leaving a small tail end. With yarn needle, split the tail end for a fuzzy look.
Assembling:
- Attach the tail at the back of the body.
- Sew the ears between R17-R23.
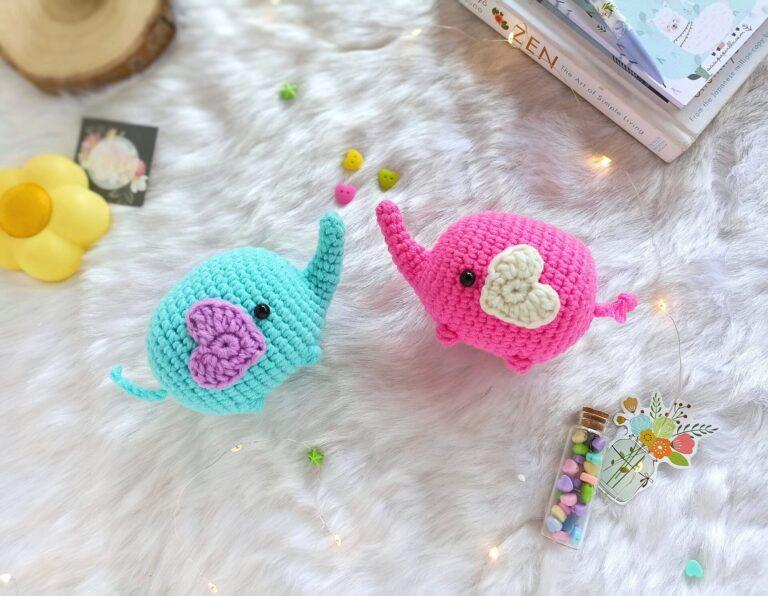
Loved making this amigurumi elephant? Do share your works on Instagram using the hashtag #littleloveeveryday to get featured!
Click below image to save this pattern on pinterest
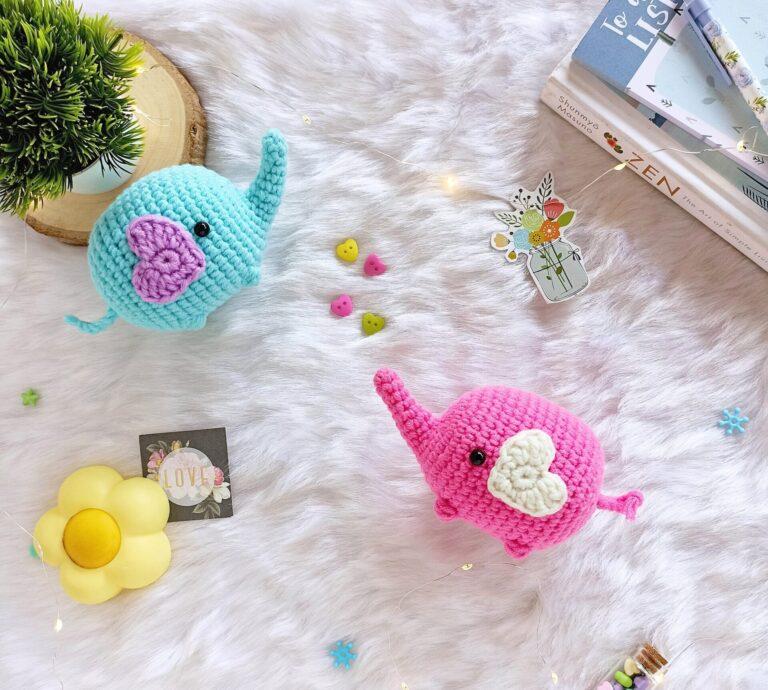
Looking for more similar makes? check out below free patterns.


Comments
One response to “Amigurumi Elephant pattern”
Hi Anitha
I’m in love with all your patterns. They are all so lovely and cute.
Thank you so much for taking the time to design, write, take pictures and all the work behind each pattern.
I really do appreciate all your work and thank you again for shearing.
Have a wonderful week.