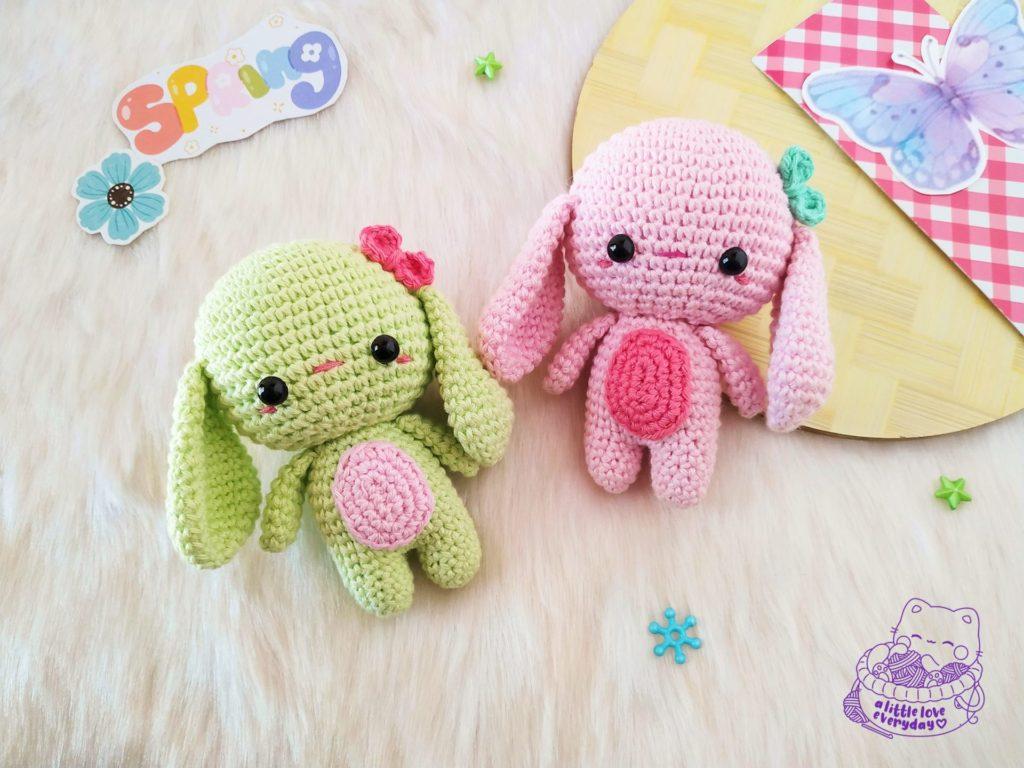
Spring has arrived in most parts of the world and Easter is just a few weeks away. It’s the perfect time to make spring related project don’t you think? So today I’m here with a cute little Spring Bunny amigurumi pattern. These little spring bunnies will make a great Easter basket stuffers for kids.
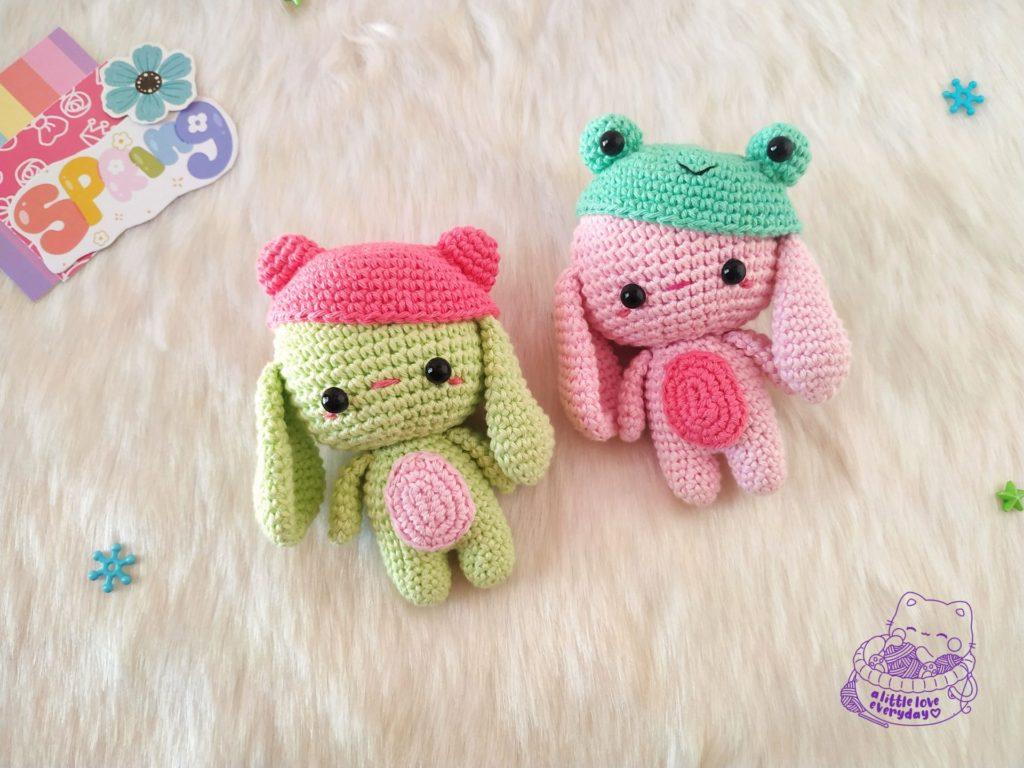
You can purchase the pdf version of the Spring Bunny amigurumi with additional instructions on how to make hat for these spring bunny amigurumi from my Etsy shop.
Materials needed:
- Sport weight cotton yarn in light pink, pink and green colour.
- 2 mm crochet hook.
- Fiber fill for stuffing.
- A pair of 8 mm safety eyes.
- Tapestry needle.
- Black and pink embroidery thread and needle.
Head:
Using light pink yarn,
R1: 6 sc in a magic ring (6).
R2: Inc x 6 (12).
R3: [ Sc, inc ] x 6 (18).
R4: [ Sc 2, inc ] x 6 (24).
R5: [ Sc 3, inc ] x 6 (30).
R6: [ Sc 4, inc ] x 6 (36).
R7: [ Sc 5, inc ] x 6 (42).
R8-15: Sc x 42 (42).
R16: [ Sc 4, dec ] x 7 (35).
R17: [ Sc 3, dec ] x 7 (28).
Insert 8 mm safety eyes between R13 and R14 with 7 stitches in between.
Start stuffing with fiberfill and continue to stuff as you go.
R18: [ Sc 2, dec ] x 7 (21).
R19: [ Sc, dec ] x 7 (14).
Stuff firmly and fasten off leaving a long tail for sewing.
Embroider a small line for mouth and blush using pink thread.
Ears (make 2):
Using light pink yarn,
R1: 6 sc in magic ring (6).
R2: Inc x 6 (12).
R3: [ Sc, inc ] x 6 (18).
R4: [ Sc 2, inc ] x 6 (24).
R5-6: Sc x 24 (24).
R7: [ Sc 6, dec ] x 3 (21).
R8: Sc x 21 (21).
R9: [ Sc 5, dec ]x 3 (18).
R10-11: Sc x 18 (18).
R12: [ Sc 4, dec ] x 3 (15).
R13: Sc x 15 (15).
R14: [ Sc 3, dec ] x 3 (12).
R15: Sc x 12 (12).
R16: [ Sc 2, dec ] x 3 (9).
Sc through both the top layers to close. Fasten off leaving a long tail for sewing.
Arms (make 2):
Using light pink yarn,
R1: 6 sc in magic ring (6).
R2: [ Sc 2, inc ] x 2 (8).
R3-R7: Sc in each st (8).
Sc through both the top layers to close.
Fasten off leaving a long tail for sewing.
Legs (make 2):
Using light pink yarn,
R1: 6 sc in magic ring (6).
R2: [ Sc, inc 2 ] x 2 (10).
R3-5: Sc in each st (10).
Fasten off the first leg but don’t cut off the yarn in second one. Stuff the legs and continue to body part.
Body:
R6: With the second leg, chain 2 and join to the first leg and sc around the first leg (10 sts), sc in the 2 chains (2 sts), sc around the second leg (10 sts) and sc in the other side of 2 chains (2 sts). [24 sts in total].
R7-14: Sc in each st (24).
R15: [ Sc 2, dec ] x 6 (18).
R16: Sc in each st (18).
R17: Sc 3, dec 2, sc 5, dec 2, sc 2 (14).
Stuff the body, fasten off and weave in the ends.
Belly patch:
Using pink yarn,
R1: ch 5, starting from 2nd ch on hook, sc 3, 3 sc in last ch. Continue to work on other side of the chain and sc 2, inc in last (10).
R2: Inc, sc 2, inc 3, sc 2, inc 2 (16).
R3: Sc, inc, sc 2, (sc, inc) x 3, sc 2, (sc, inc) x 2 (22).
Fasten off invisibly leaving a long tail for sewing.
Bow:
Using any yarn colour of your choice,
In magic ring,
[ ch 2, dc, trc, dc, chain 2, sl st to the ring ] x 2.
Pull the tail to close the ring.
Wrap around the middle of the bow 3 times and make a knot at the back.
Fasten off leaving a long tail for sewing.
Assembling:
- Attach the ears at the end of R10 on both sides of the head.
- Sew the arms one row below from the top of the body.
- Attach the head to the body.
- Add in belly patch at the center of the body.
- Finally, sew the bow just above the ears.
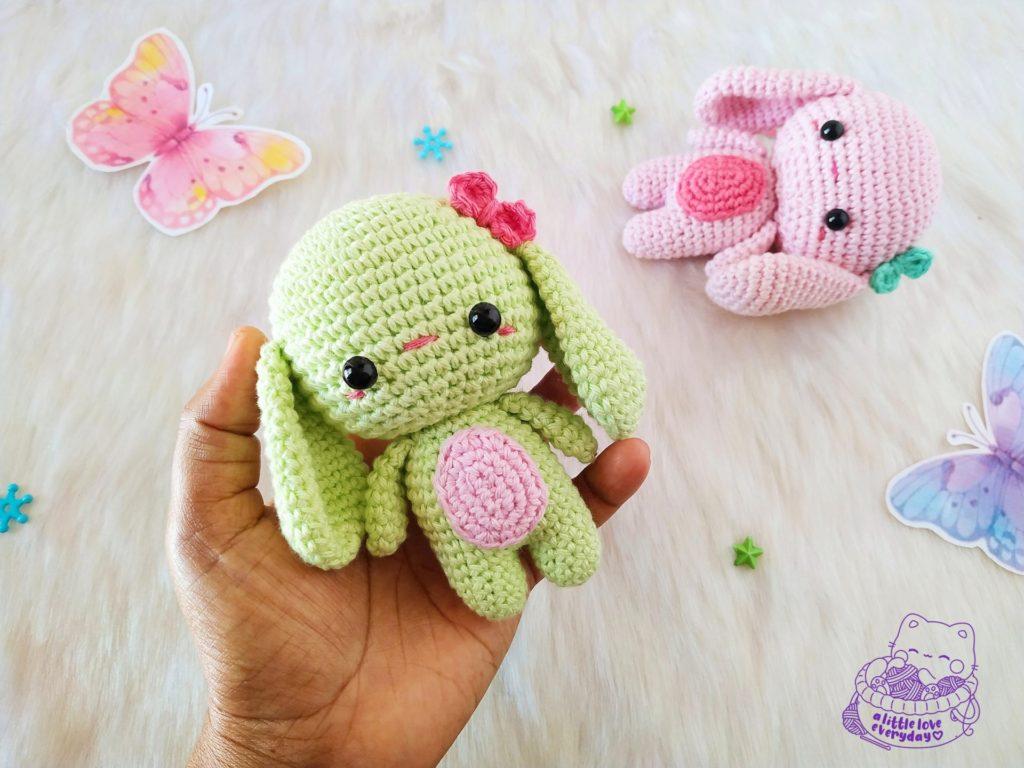
And your spring bunny is now ready!
Click below image to save this pattern on Pinterest
I really hope you enjoyed making this Spring Bunny amigurumi. I’d love to see your works. Share your makes on instagram @littleloveeveryday using the hashtag #littleloveeveryday.
Looking for more spring makes? Check out these free patterns
