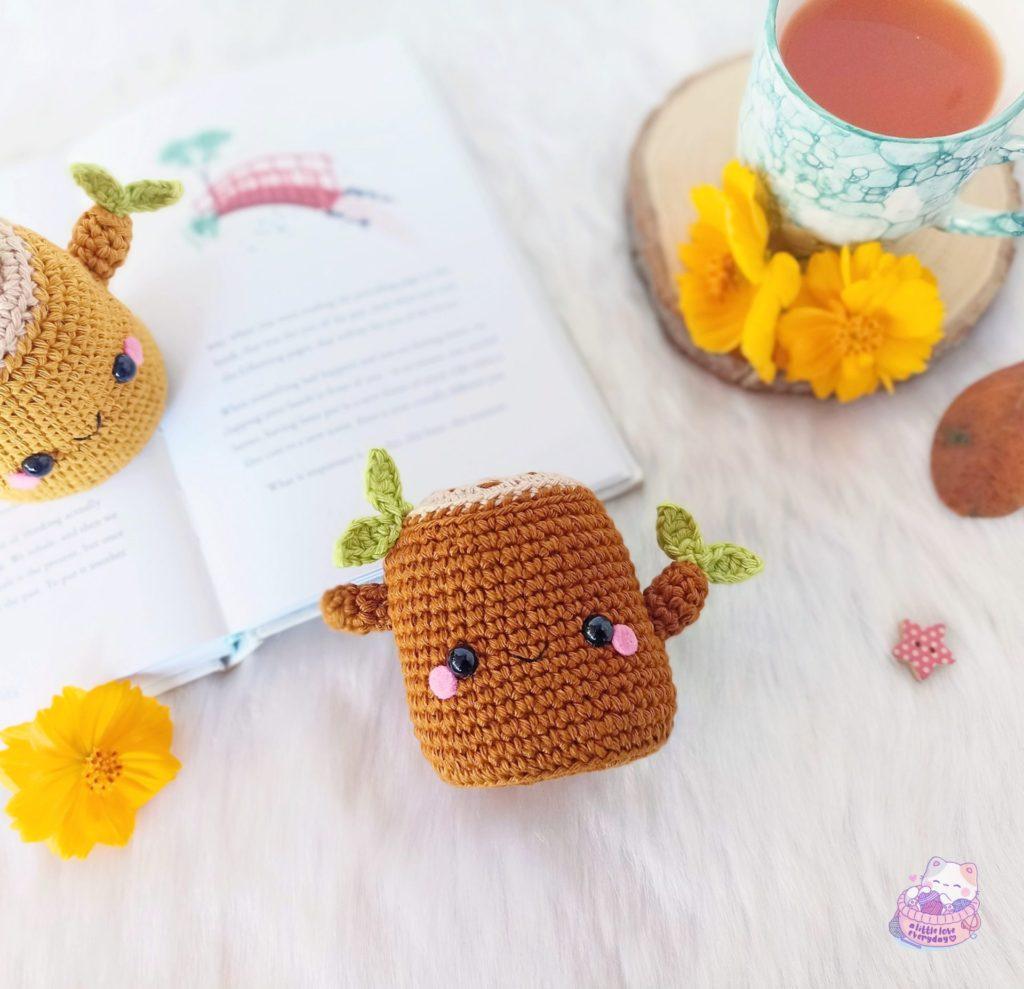
Hello all! Fall is just a day away and I’m sure many of you love this crisp and cozy weather. So I’m here with a tree stump amigurumi pattern to celebrate this season. Hope you’ll like it too.
Please note: This pattern is for personal use only. Please don’t copy, reproduce, alter, distribute or sell this pattern in whole or in parts. You may sell the finished products but please credit me as the designer and link back to this post.
You can buy the ad-free PDF pattern with detailed instructions and step by step pictures from my Etsy shop.
Instructions:
This pattern is written in US English terms and is worked in continuous rounds unless stated otherwise.
Materials needed:
- DK weight cotton yarn in brown, cream and green colour.
- 2.75 mm crochet hook.
- 8 mm safety eyes.
- Polyester fiberfill for stuffing.
- Tapestry needle.
- Black embroidery floss.
- Small amount of felt in pink colour for blush
- Small piece of cardboard.
- Pipe cleaner (optional).
Stitches/ Abbreviations
- R – round/ row.
- Ch – chain.
- St(s) – stitch(es).
- Sc – single crochet.
- Inc – increase (2sc in one st).
- Dec – decrease (sc 2 st together).
- Hdc – half double crochet.
- Dc – double crochet
- Sl st – slip stitch.
- BLO – back loops only.
- […] – repeat the instructions given in between the bracket.
- (…) – total number of stitches.
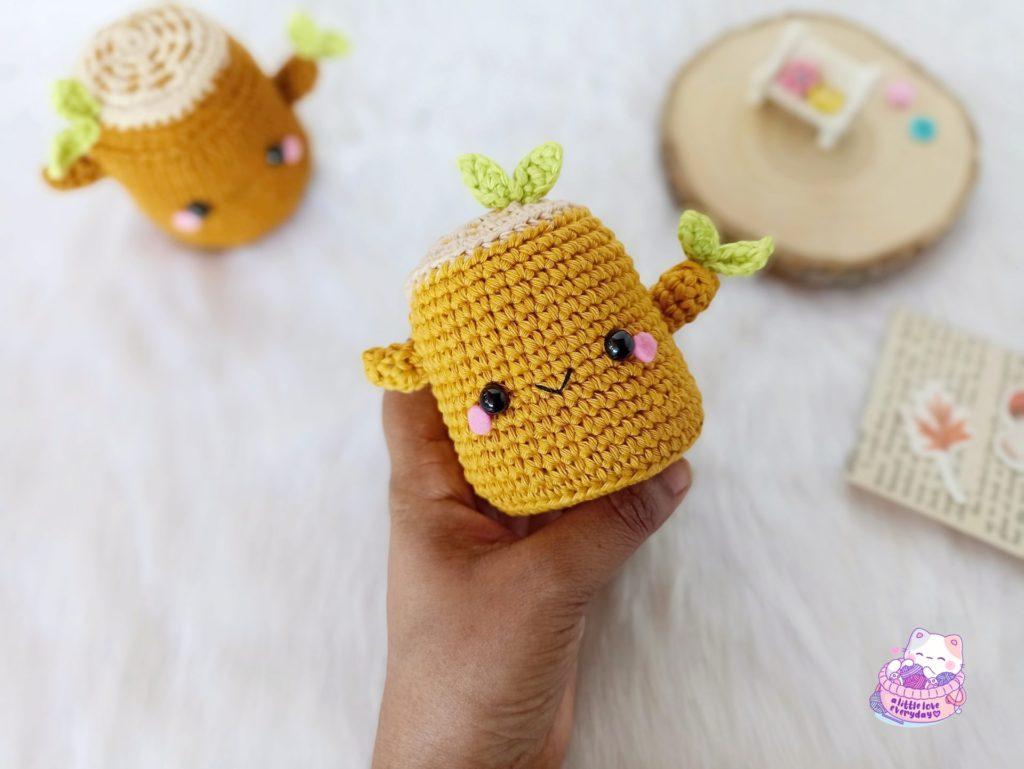
Tree stump:
Using brown yarn,
R1: 8 sc in a magic ring (8).
R2: [ Inc ] x 8 (16).
R3: [ Sc, inc ] x 8 (24).
R4: [ Sc, inc, sc ] x 8 (32).
R5: [ Sc 3, inc ] x 8 (40).
R6: [ Sc 2, inc, sc 2 ] x 8 (48).
R7: (BLO) Sc in each st (48).
R8: [ Sc 14, dec ] x 3 (45).
R9: Sc in each st (45).
R10: [ Sc 13, dec ] x 3 (42).
R11-12: Sc in each st (42).
R13: [ Sc 12, dec ] x 3 (39).
R14-19: Sc in each st (39).
R20: [ Sc 11, dec ] x 3 (36).
R21: Sc in each st (36).
For a rigid base, cut a small piece of cardboard in circular shape and place it at the bottom of the trunk.
Fasten off leaving a long tail for sewing.
Insert 8 mm safety eyes between R13 and R14 with 6 stitches in between.
Branches:
Using brown yarn.
Small branch (make 1):
R1: 6 sc in magic ring (6).
R2: (BLO) Sc in each st (6).
R3: Sc in each st (6)
R4: Sc, hdc 4, sc (6).
Stuff and fasten off leaving a long tail for sewing.
Big branch (make 1):
R1: 7 sc in magic ring (7).
R2: (BLO) Sc in each st (7)
R3-4: Sc in each st (7).
Stuff and fasten off leaving a long tail for sewing.
Alternatively, you can cut a small length of pipe cleaner and insert it into the branch.
Top part:
Using cream yarn,
R1: 6 sc in magic ring (6).
R2: [ Inc ] x 6 (12).
R3: [ Sc, inc ] x 6 (18).
R4: [ Sc, inc, sc ] x 6 (24).
R5: [ Sc 3, inc ] x 6 (30).
R6: [ Sc 2, inc, sc 2 ] x 6 (36).
Fasten off and sew the ends.
Sew the inner rings from R2 to R4 using brown yarn and tapestry needle. I used running stitch to make the rings.
Leaves (make 2):
Using green yarn,
Ch 6, starting from second chain on hook,
[ Sl st, hdc, dc, hdc, sl st ].
Continue to ch 6 and repeat the above instructions given between [..]
Fasten off leaving a long tail for sewing.
Assembling:
- Using the remaining yarn tail from the stump, sew the back loops of stump to the back loops of the top part using a whip stitch.
- Stuff more fiberfill if needed but don’t overstuff at the top
- Sew the small branch between R4-R5 (from the top) on one side of the stump.
- Sew the big branch between R8-R9 (from the top) on the other side of the stump.
- Add in the leaf on the big branch.
- Sew the other leaf at the top or side of the stump.
- Finally embroider the mouth and add in blush.
And the tree stump is now done!

I really hope you enjoyed making this tree stump. Do share your works with me on Instagram using the hashtag #littleloveeveryday to get featured:)
Click below image to save this pattern on Pinterest
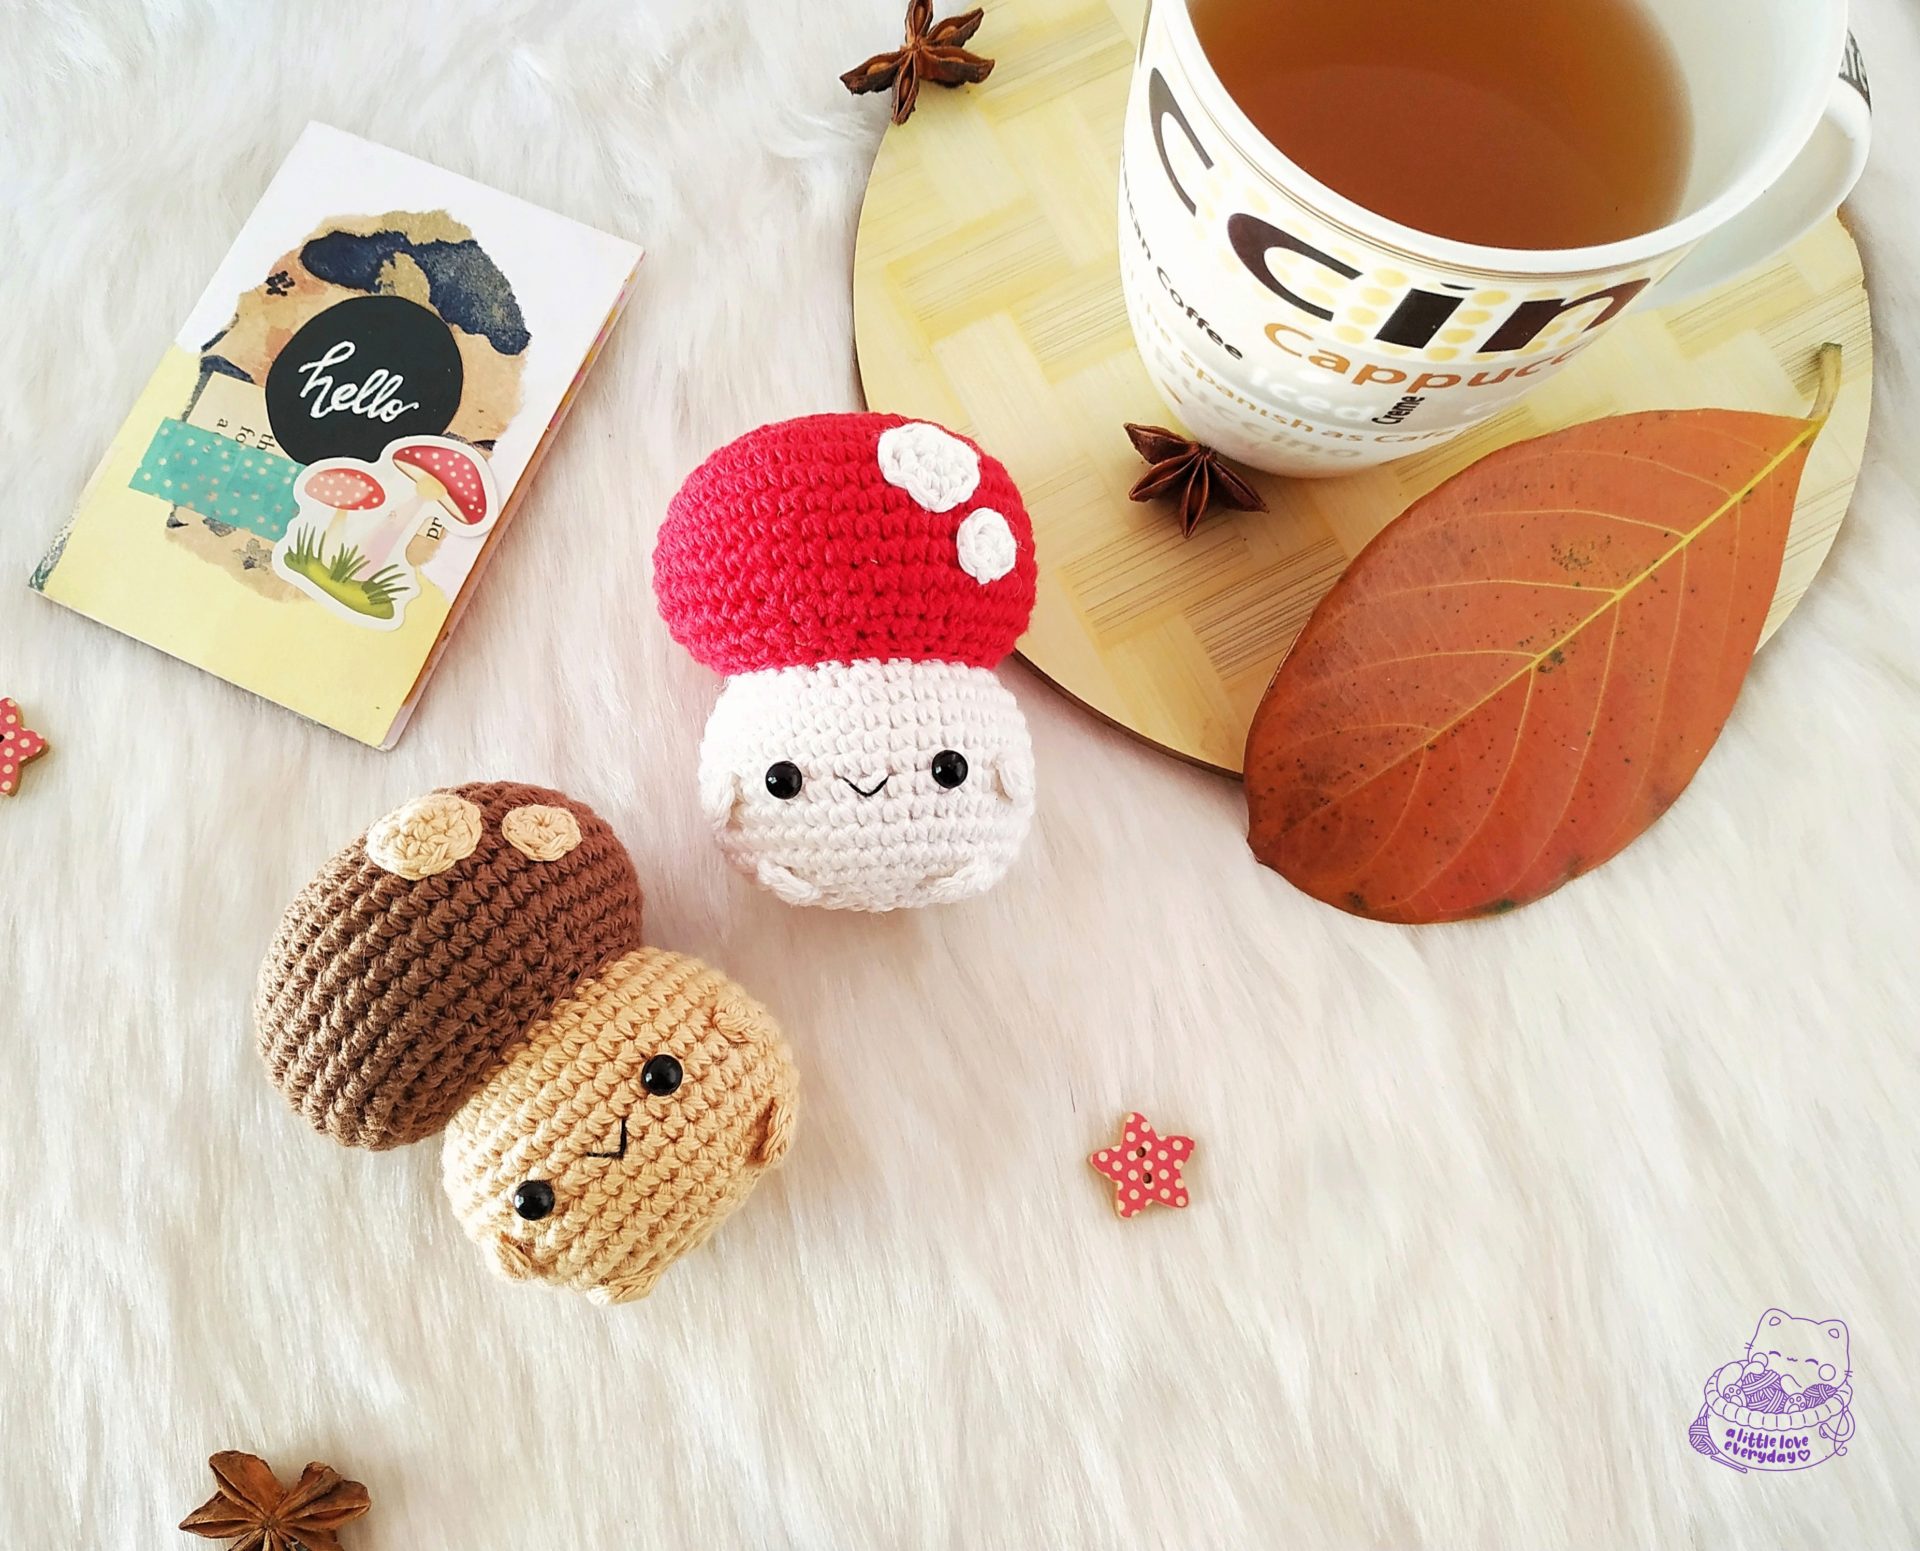
Looking for more autumn makes? Do check out below patterns

Hi Anitha
I love love love 😍😍❤️ all your patterns.
Very easy to make and super adorable.
Your instructions are impeccable.
Thank you so much for taking the time to write them and share them.
I would love to make a contribution for you, for a cup of tea or more yarn.😄
Tell me how I can do it.
Thank you so much.