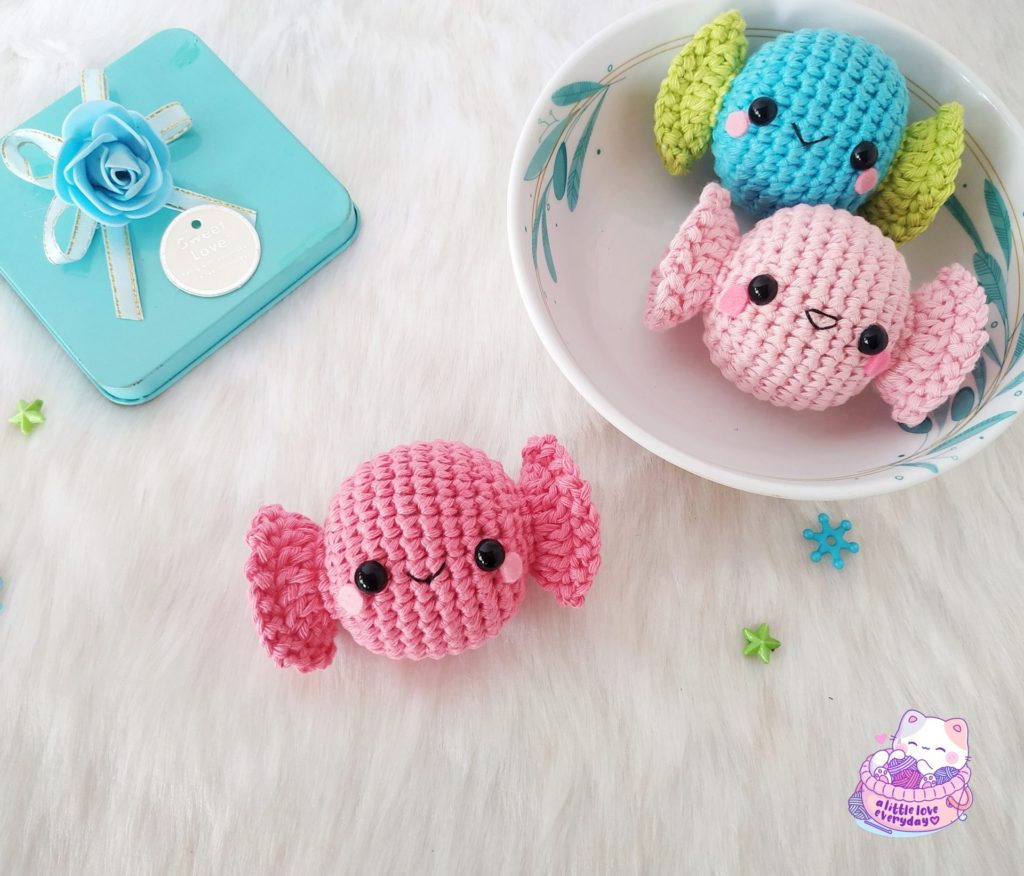
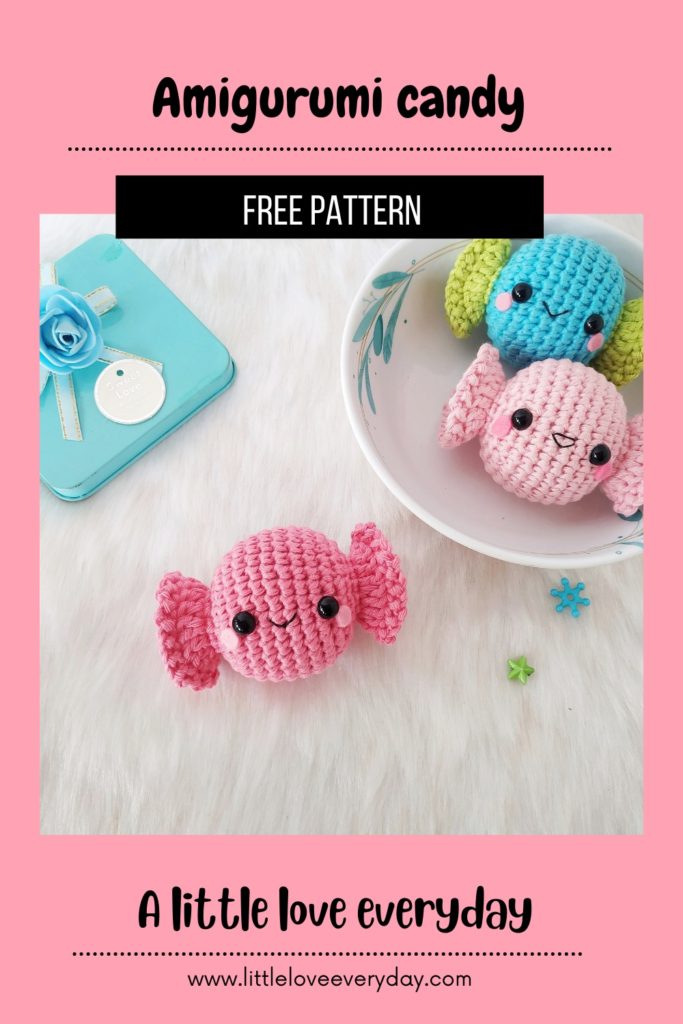
Having lots of scrap yarn lying around? Then this project is perfect for you. Make use of the leftover yarns to create these cute and colourful amigurumi candy. I’m sure kids will love it.
Pattern notes: This amigurumi candy pattern is for personal use only. Do not copy, alter, distribute or sell the pattern in any way. You may sell the finished products but please credit me as the designer and link back to this post.
You can buy the inexpensive ad-free pdf pattern with step by step instructions and pictures from my Etsy shop.
Instructions:
Amigurumi candy pattern is written in US English terms and worked in continuous rounds unless stated otherwise.
Stitches/ Abbreviations
- R – round/ row.
- Ch – chain.
- St(s) – stitch(es).
- Sc – single crochet.
- Inc – increase (2sc in one st).
- Dec – decrease (sc 2 st together).
- Dc – double crochet.
- Sl st – slip stitch.
- BLO – back loops only.
- […] – repeat the instructions given in between the brackets.
- (…) – total number of stitches.

Materials needed:
- DK weight cotton yarn in two different colours. (I have used blue and green)
- 2.5 mm crochet hook.
- 8 mm safety eyes.
- Fibre fill for stuffing.
- Tapestry needle.
- Black embroidery thread and needle.
- Pink felt for blush (optional).
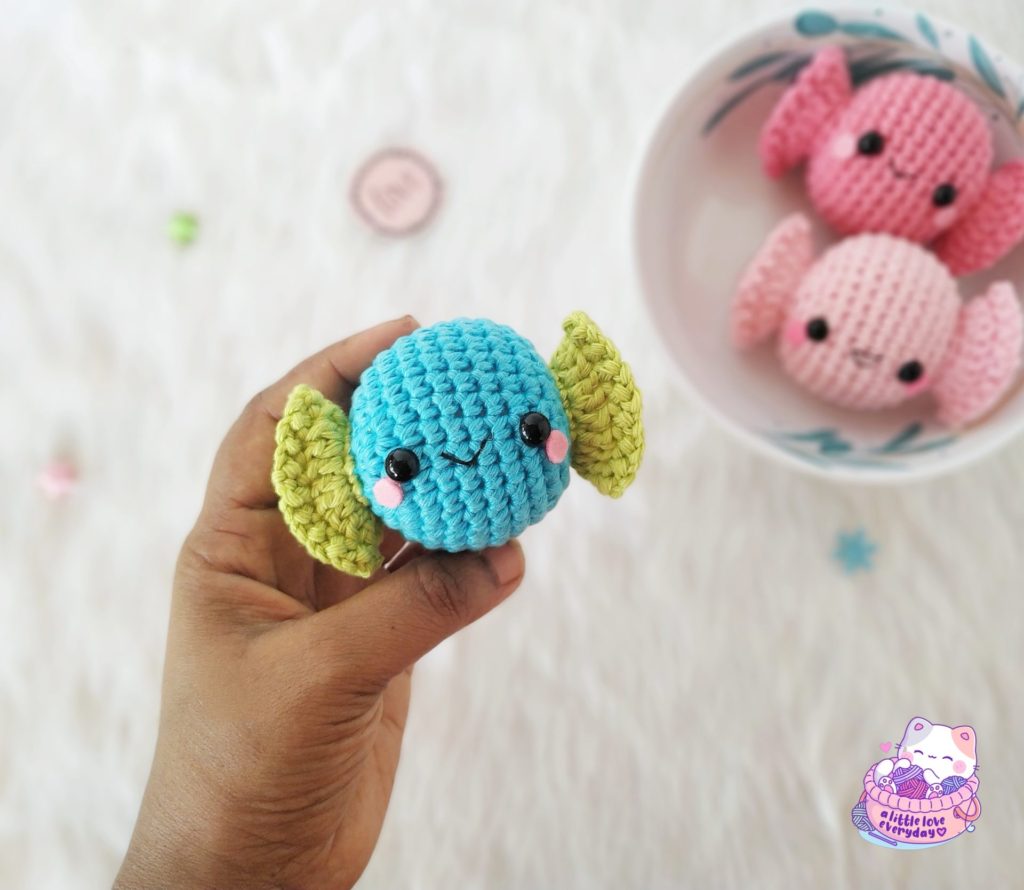
Candy:
Using blue yarn,
R1: 6 sc in a magic ring (6).
R2: Inc x 6 (12).
R3: (BLO) [ Sc, inc ] x 6 (18).
R4: [ Sc, inc, sc ] x 6 (24).
R5: [ Sc 3, inc ] x 6 (30).
R6-11: Sc in each st (30).
R12: [ Sc 3, dec ] x 6 (24).
R13: [ Sc, dec, sc ] x 6 (18).
R14: [ Sc, dec ] x 6 (12).
Insert 8mm safety eyes one between R5-R6 and another between R11-R12.
Stuff firmly with fiberfill and continue to stuff till the end.
R15: (BLO) Dec x 6 (6).
Fasten off and close the ends.
Wrapper:
Insert green yarn into front loop of R2, ch 1 and
R1: Sc in each st and sl st to the first sc stitch (12).
R2: Ch 3, [ Dc, 2 dc ] x 6 . Sl st to the first dc st (18).
R3: [Ch 2, sl st to next st ] x 18
Note: The Ch 3 made at the start of R2 doesn’t count as dc stitch.
Repeat the same instructions on the front loops made at the end of R14.
Embroider the mouth using black thread.
Finally glue two small rounds of pink felt below eyes for blush.
And your amigurumi candy is now done!
I really hope you enjoyed making this amigurumi candy. I would love to see your works. Do share your makes on Instagram @littleloveeveryday using the hashtag #littleloveeveryday.
Click below image to save this pattern on Pinterest
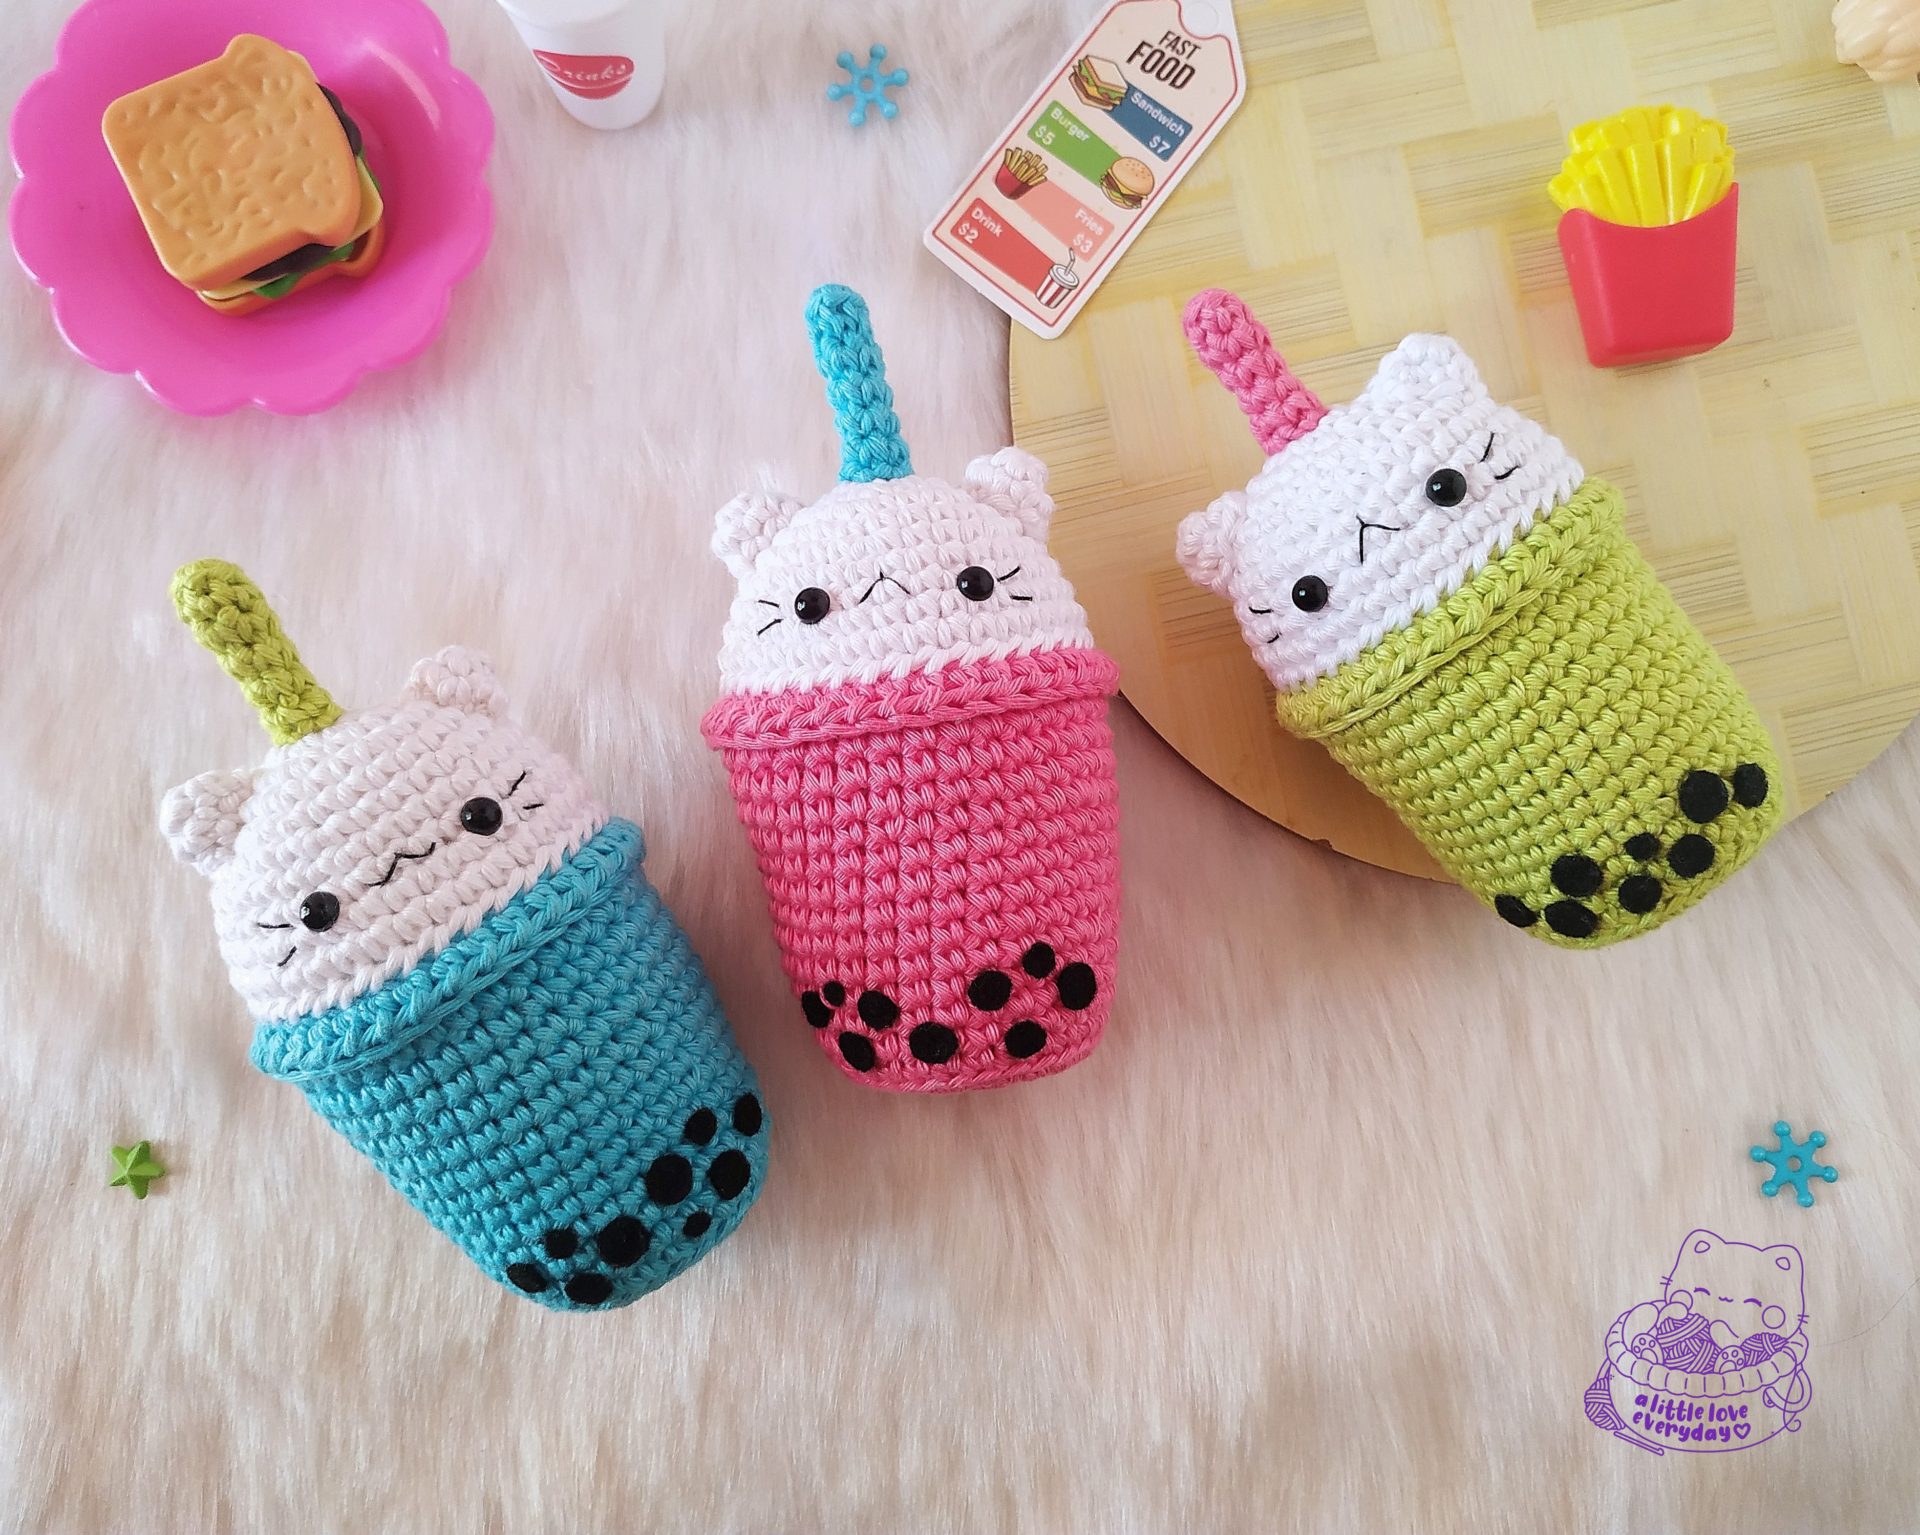
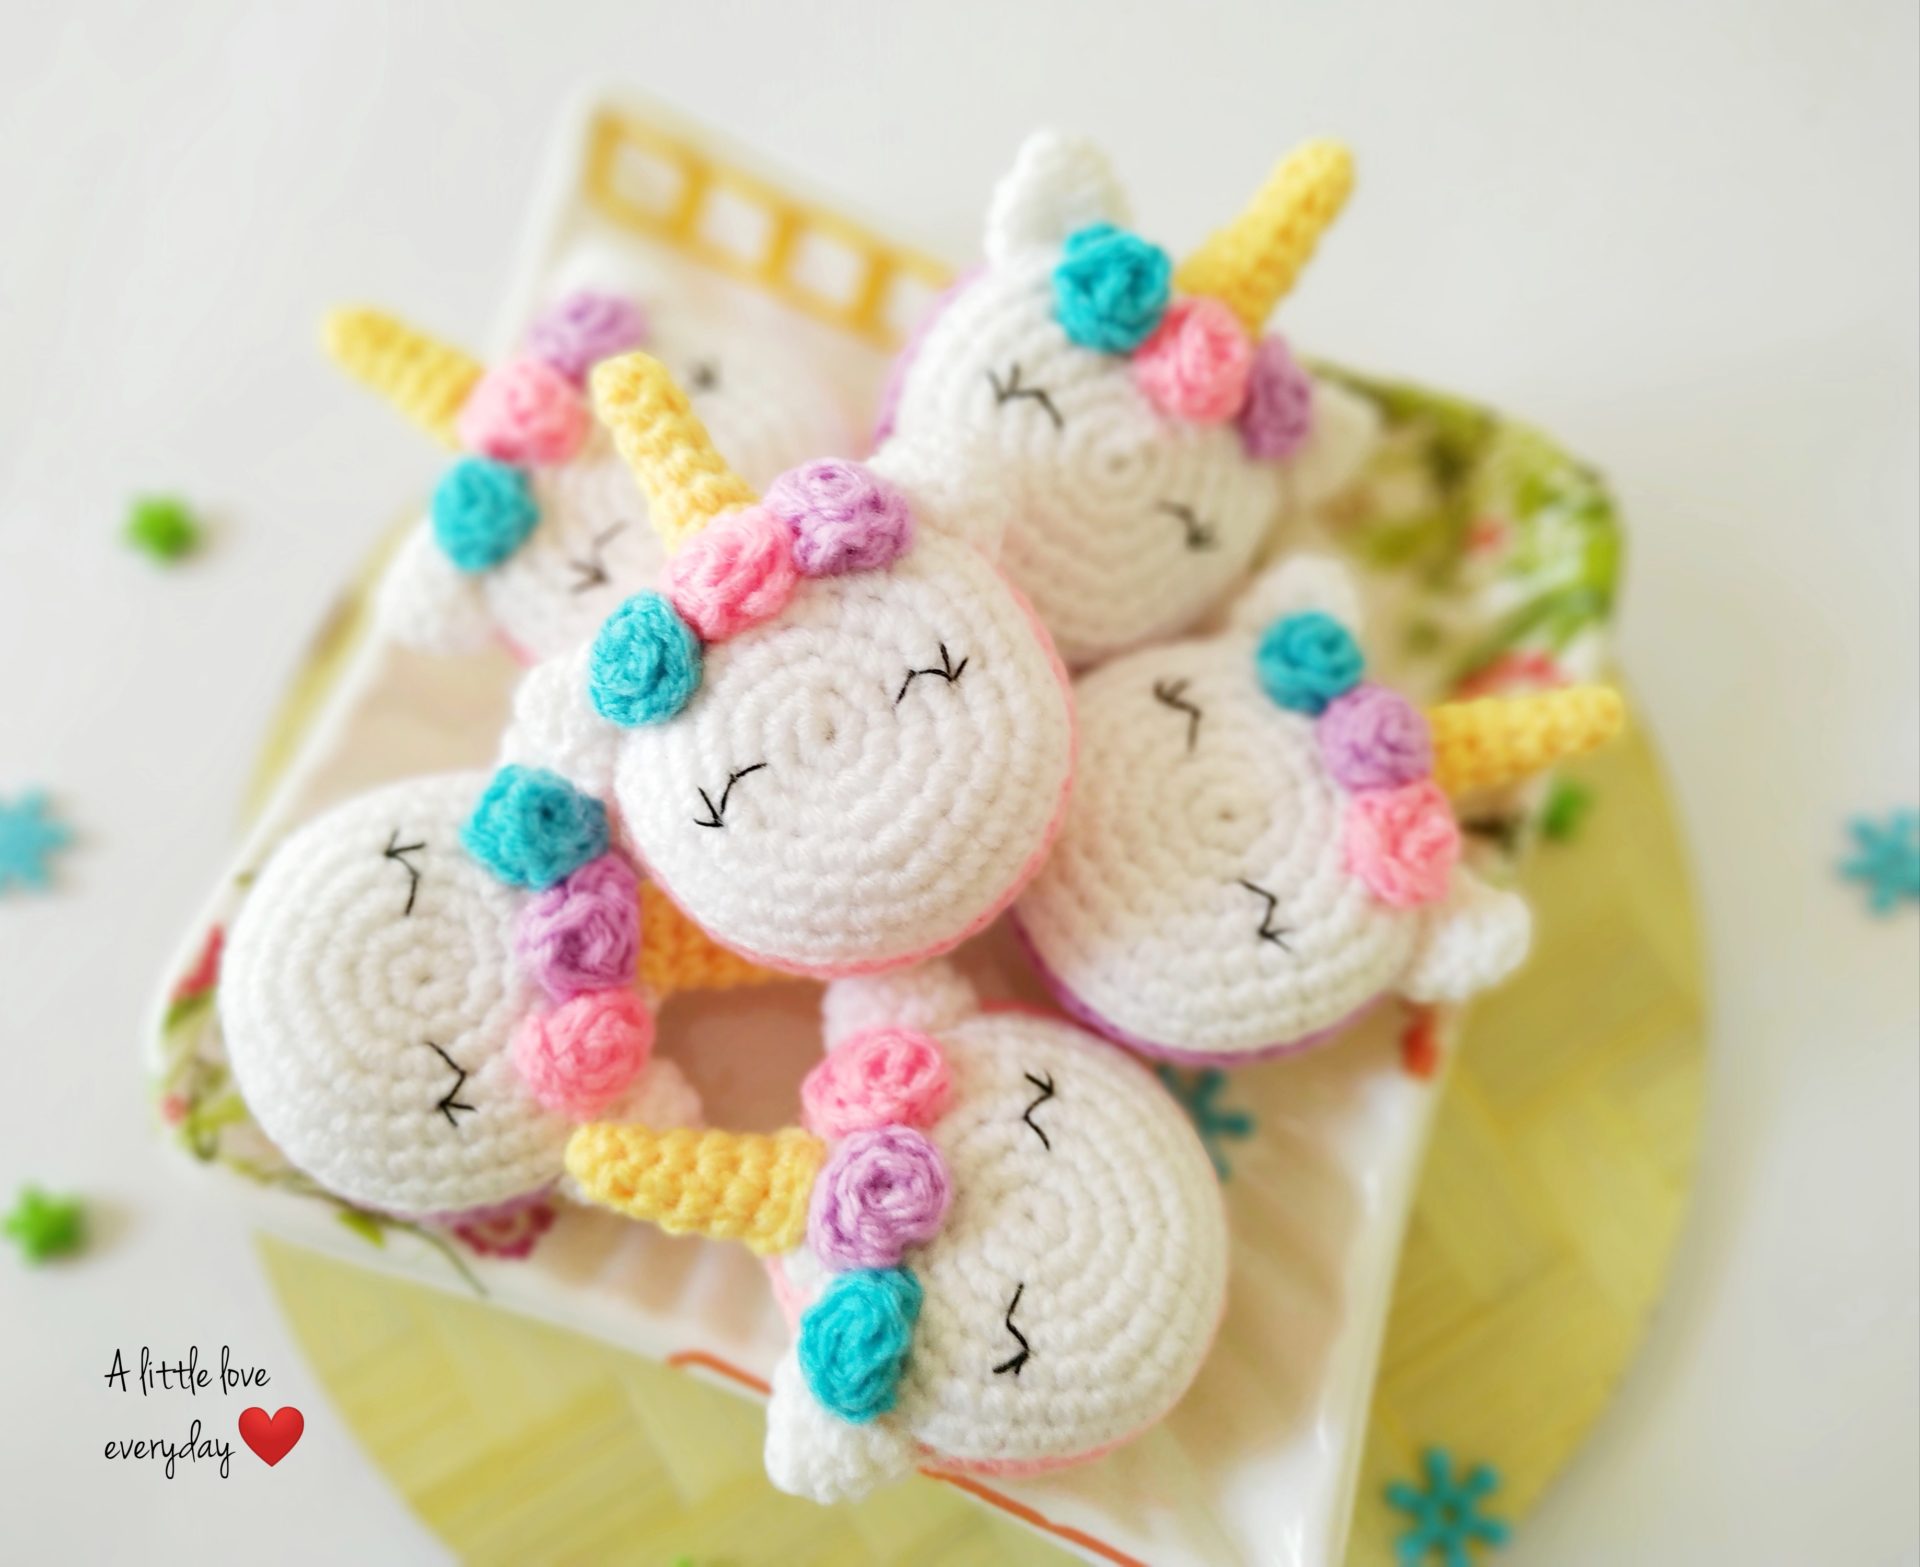
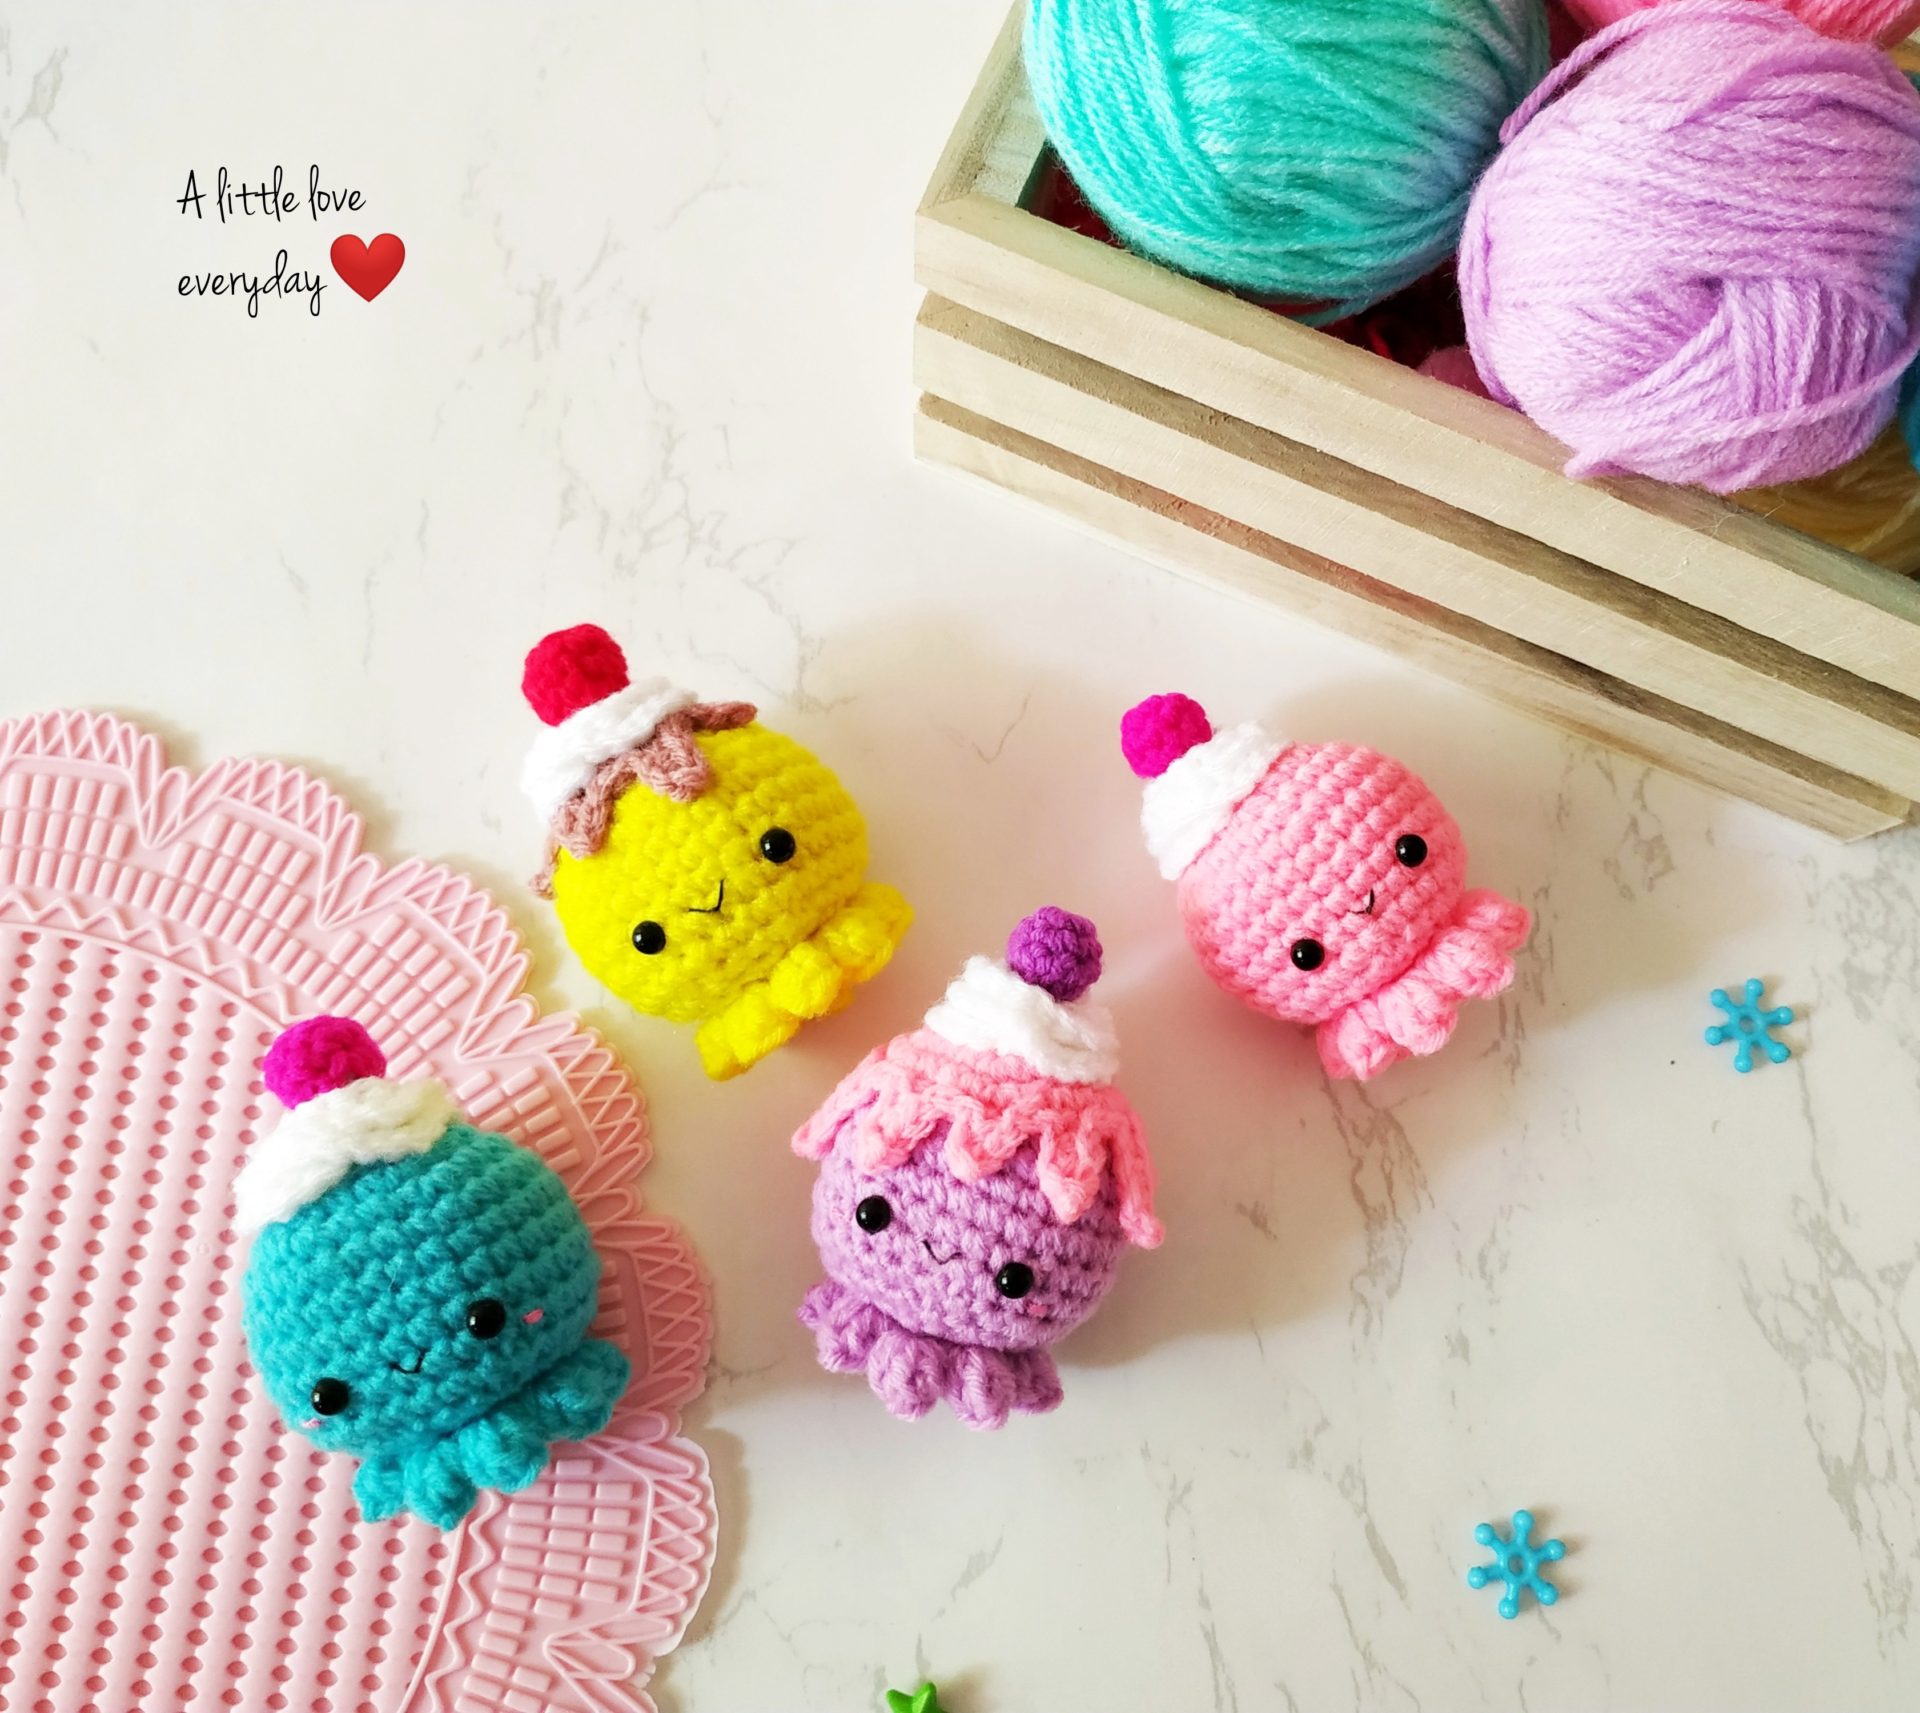
Looking for more amigurumi patterns similar to this? check out below free patterns