
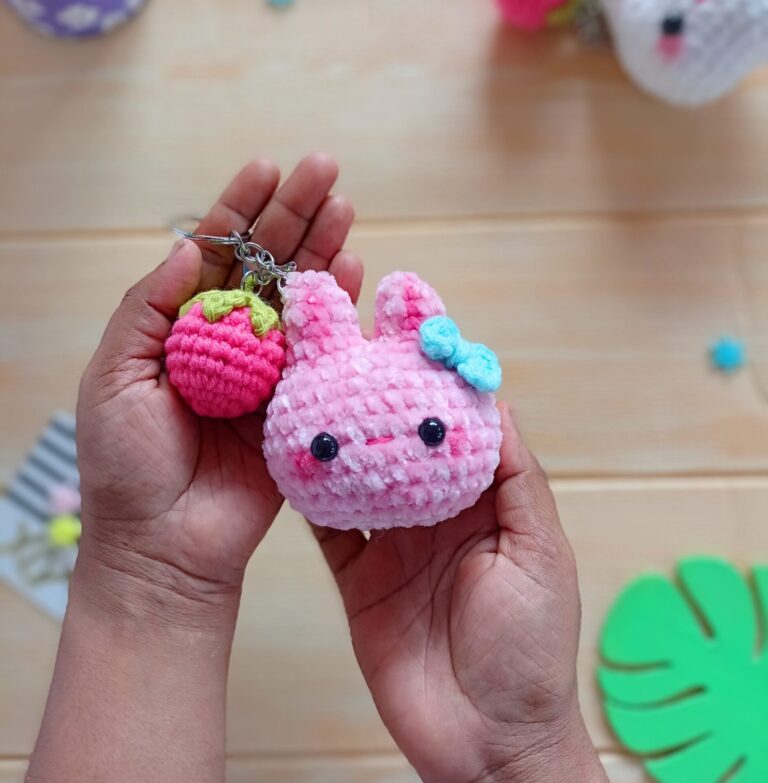
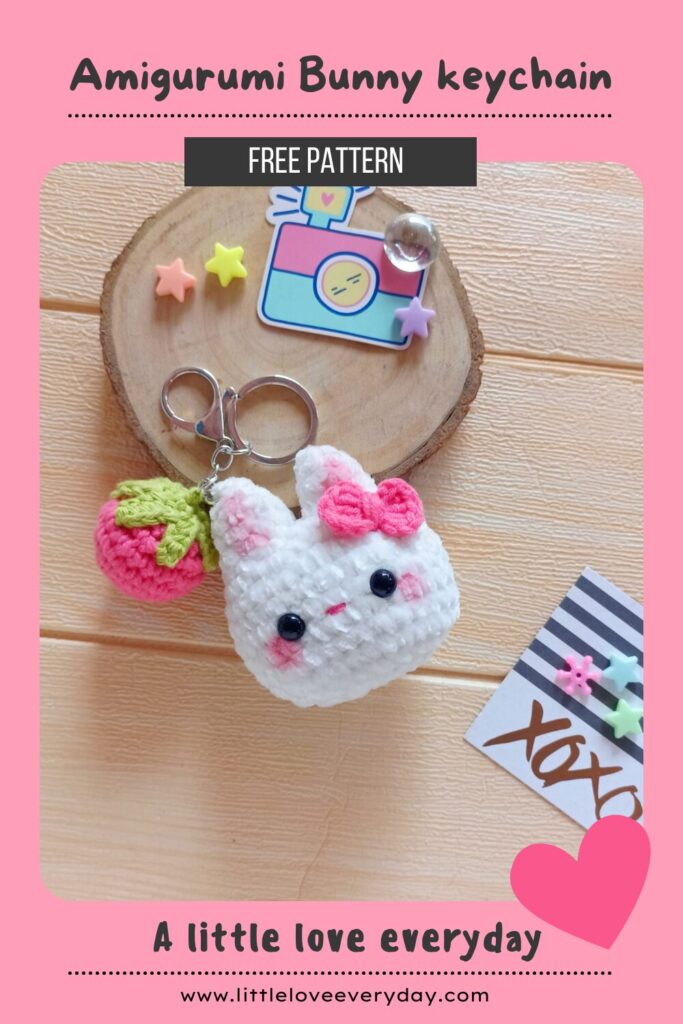
Hello friends! Today, I’m here with a cute amigurumi bunny keychain pattern as an Easter special. They are quick and easy to make with a pretty little strawberry attached. They make perfect Easter basket fillers for kids. Read below for instructions.
Please note:
This amigurumi bunny keychain pattern is for personal use only. Please don’t copy, reproduce, alter, distribute or sell this pattern in whole or in parts. You may sell the finished products but kindly credit me as the designer and link back to this post.
Instructions:
Amigurumi bunny keychain pattern is written in US English terms and worked in continuous rounds unless stated otherwise.
Materials needed:
- Thin velvet yarn in main colour.
- Worsted weight acrylic yarn in pink and green.
- 3.5 mm hook.
- 8 mm safety eyes.
- Fiberfill for stuffing.
- Yarn needle, stitch marker and scissors.
- Chalk pastel/ acrylic paint/ makeup blush for adding blush.
- Keychain, jump rings and pliers for turning it into a keychain.
Stitches/Abbreviations:
- R – Round/Row.
- Ch – chain.
- St(s) – stitch(es).
- Sc – single crochet.
- Hdc – half double crochet.
- Inc – increase ( 2 sc in one stitch).
- Dec – decrease ( sc 2 st together).
- Sl st – slip stitch.
- […] – repeat the instructions given in between the brackets.
- (…) – total number of stitches.

Ears (Make 2):
Using thin velvet yarn (main colour).
R1: 6 sc in magic ring (6).
R2: [ Sc 2, inc ] x 2 (8).
R3-4: Sc in each st (8).
Fasten off the first ear but don’t cut off the yarn for the second one. Stuff the ears and continue to the head section.
Head:
R5: with the second ear, ch 1, join to the first ear and sc around the first ear (8 sts), sc in the chain (1 st), sc in the second ear (8 sts) and sc in the other side of the chain (1 st). You should have 18 sts in total.
R6: [ Sc, inc, sc ] x 6 (24).
R7: [ Sc, inc, sc ] x 8 (32).
R8-13: Sc in each st (32).
R14: [ Sc, dec, sc ] x 8 (24).
Insert 8 mm safety eyes between R10 and R11 with 5 stitches in between.
R15: [ Sc, dec ] x 8 (16).
Stuff the head.
R16: Dec x 8 (8).
Fasten off and leave a long tail.
Using yarn needle, weave the yarn tail through the front loops of the remaining 8 stitches.
Pull tight to close the hole and weave in the tail.
Hairbow:
Using worsted weight yarn in contrasting colour.
In magic ring, [ Ch 3, dc 3, ch 3, sl st to the ring ] x 2.
Pull the yarn tail to close the ring.
Cut a long tail and wrap this yarn tail 3 times around the middle of the bow and make a knot at the back.
Now sew the bow to one side of the bunny just below the ears.
Add in blush to the cheeks and to the inside of the ears. You can either use chalk pastel, acrylic paint or makeup blush according to your preference.
Strawberry:
Fruit:
Using worsted weight yarn in pink,
R1: 6 sc in magic ring (6).
R2: Inc x 6 (12).
R3: [ Sc, inc ] x 6 (18).
R4: Sc in each st (18).
R5: [ Sc, inc, sc ] x 6 (24).
R6: Sc in each st (24).
R7: [ Sc, dec, sc ] x 6 (18).
R8: [ Sc, dec ] x 6 (12).
Stuff firmly.
R9: Dec x 6 (6).
Fasten off and weave in the end.
Leaf:
Using worsted weight yarn in green,
R1: 6 sc in magic ring (6).
R2: [ Ch 4, starting in second chain from the hook, sc 2, hdc, sl st to the next st ] x 6
Fasten off leaving a long tail for sewing.
Sew the leaf to the fruit at the top. You can also use glue if you prefer.
Assembling the keychain:
Using the remaining yarn tail from the leaf, insert a jump ring to the top of the fruit.
Open another jump ring and insert it into one of the bunny ears at the top. Add in the end of the keychain to it and close the jump ring.
Attach the strawberry to one or two chain above the bunny.
And now your cute bunny keychain is done!
CLICK BELOW IMAGE TO SAVE THIS PATTERN ON PINTEREST
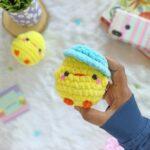
Looking for more Spring/Easter makes? check below free patterns.

Awesome work… Really it’s very helpful and useful for me. Thank you so much.. God bless you
Awesome work… Really it’s very helpful and useful for me. Thank you so much.. God bless you
Cute pattern!
[…] Learn How It’s Made: Velvet Amigurumi Bunny Keychain […]
[…] littleloveeveryday […]
[…] littleloveeveryday […]